RS Blog 25 - Suspension, Wheels and Body
After meeting up with Mark from Fit & Finish Hot Rod Interiors I apparently had to get my shit in gear and put some things on the car so I could migrate to his shop for upholstery. Yes I know I probably could have went with the factory option and glued it in myself, but that just wasn’t the plan for this build. I also enjoy supporting local friends. Especially when they are extremely talented.
Queue the montage!
Rubber

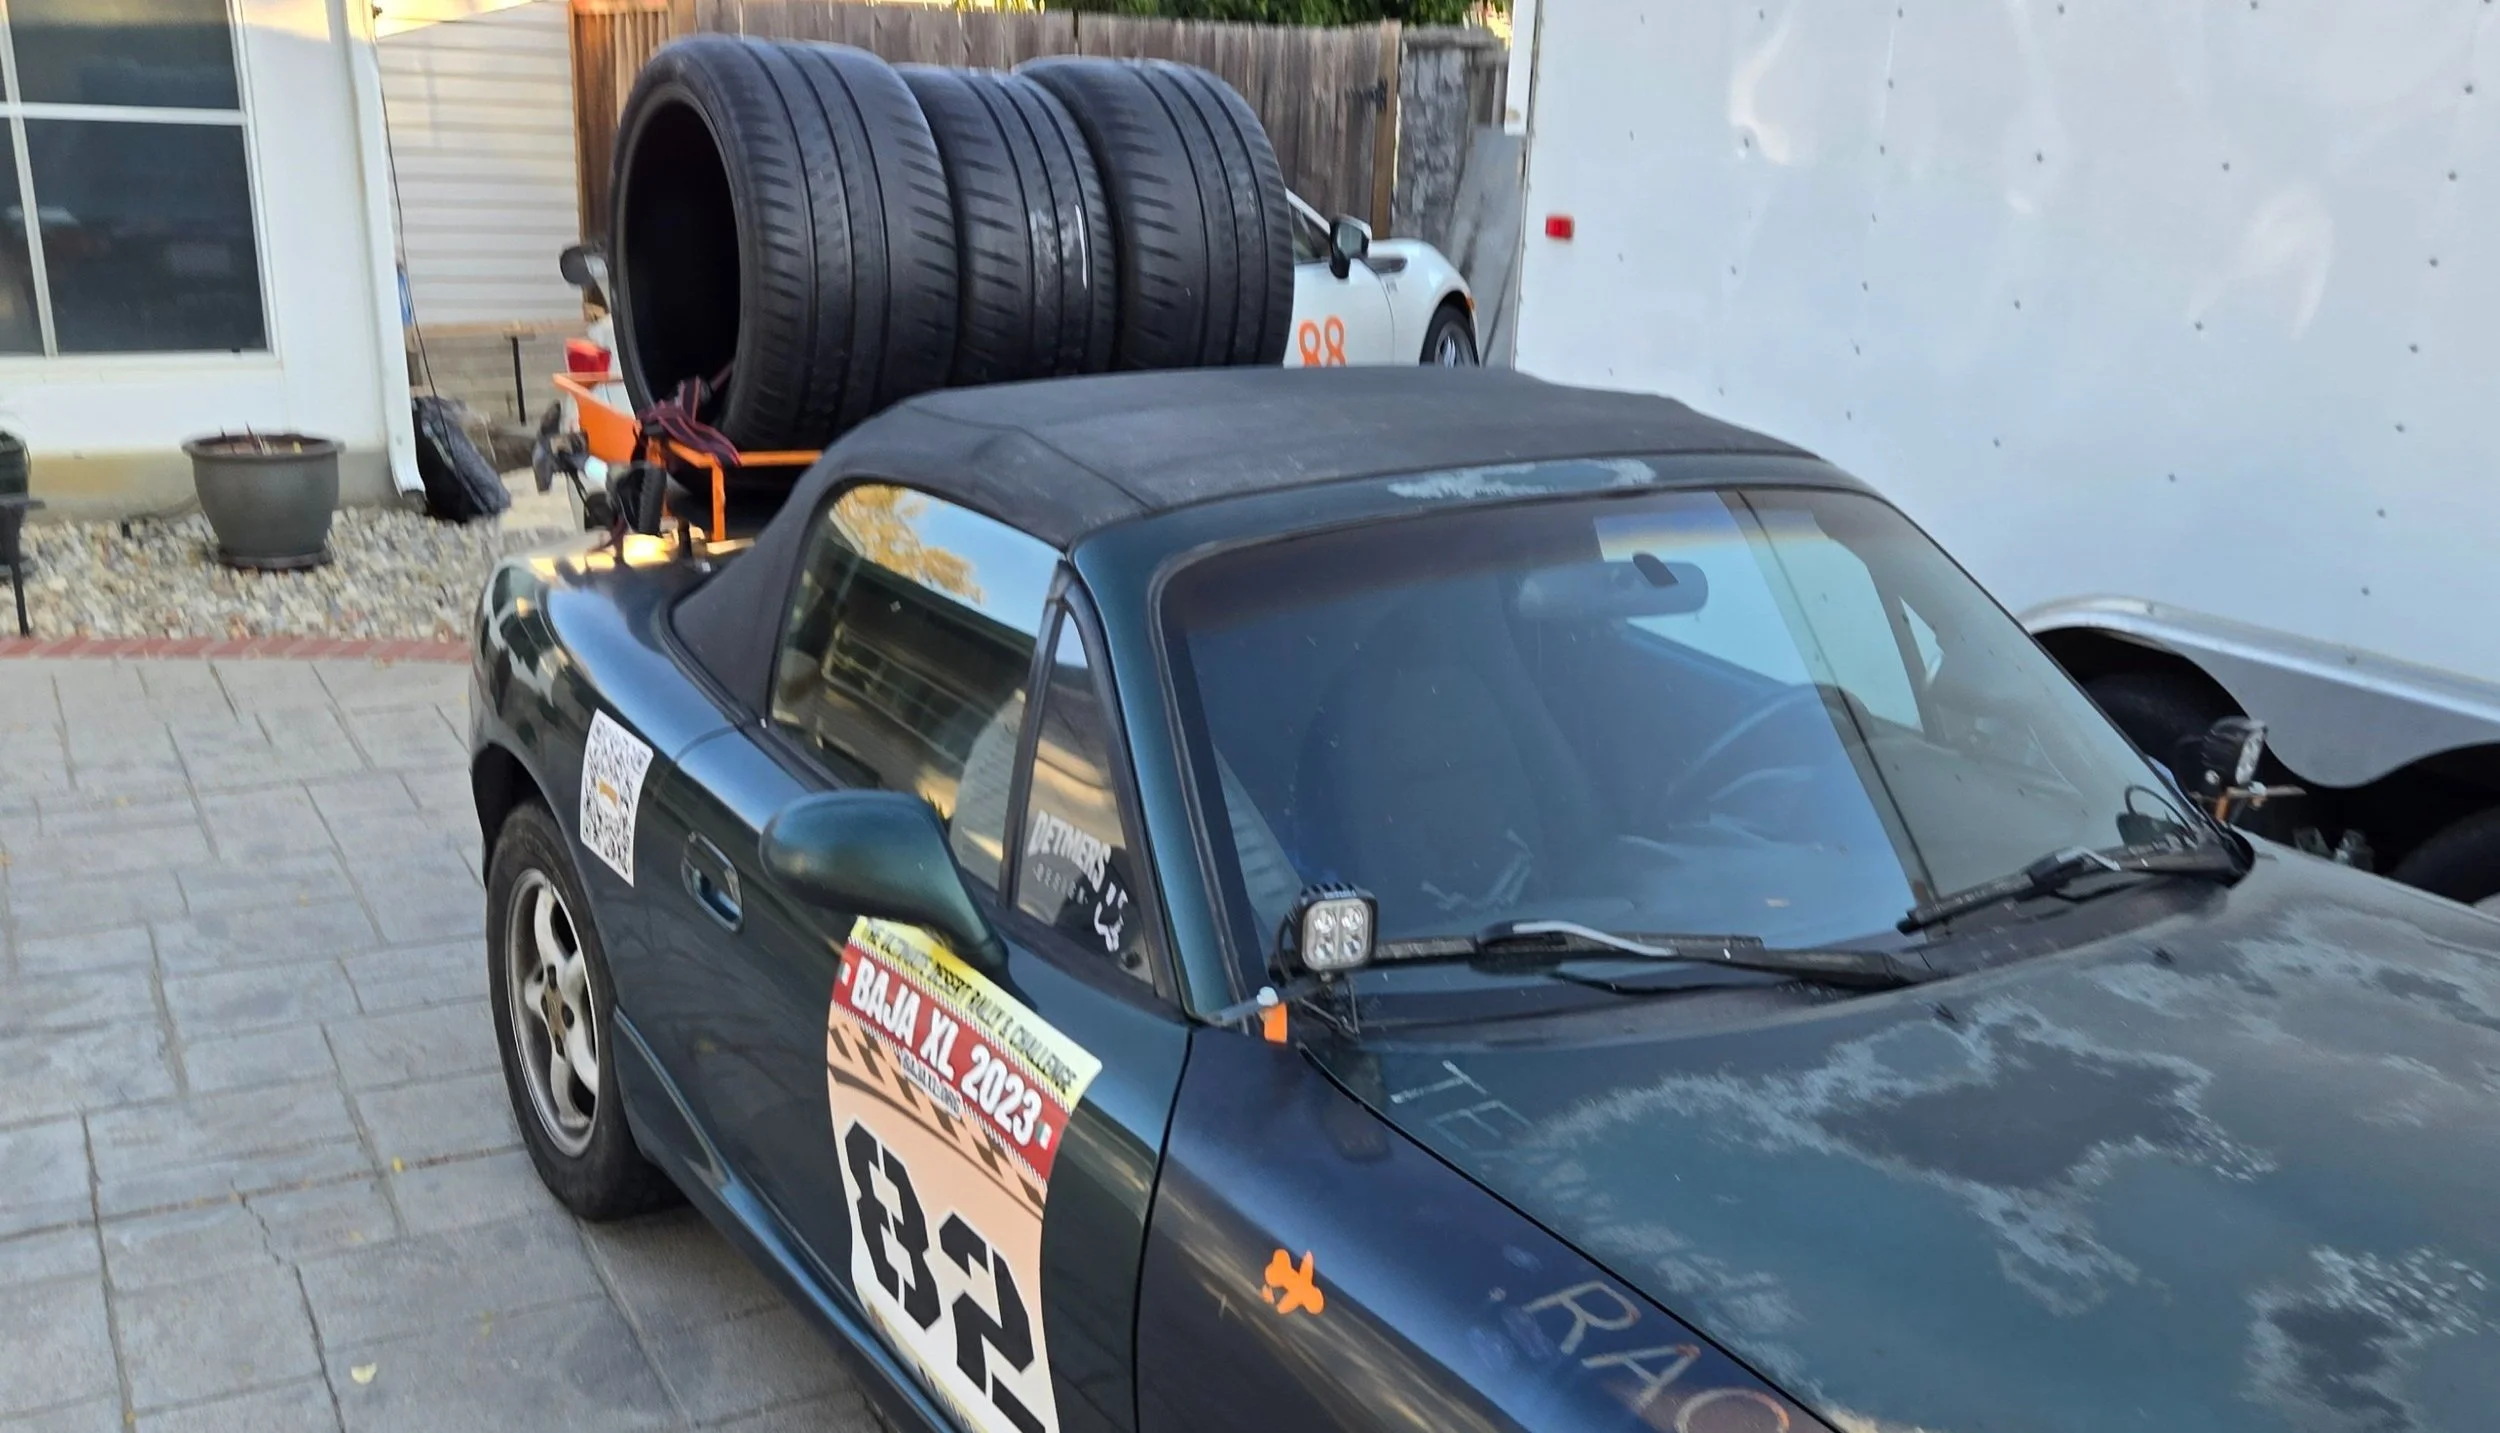
Because this is a real car it deserves real tires. I also am stuck at this point in basically accepting whatever tire shops can get within the next 2 weeks. That is the window before I need to bring the car out to Ripon. The recommended tire sizes leave only a few options and with limitations from tire shops I was narrowed in on Michelin Pilot Sport Cup 2 or there lower end Pilot Sport S4 (not picking those as they were pretty slow on the FR-S). Quick appointment with local America’s Tire and a few days later I was in business.
Yes I picked up $2000 worth of tires in Baja Miata. Coupled with the Braid wheels I’m pretty sure I doubled the value of the car by strapping these bad boys to the rear.
Remember Miata is always the answer.
Front - 265/30R19
Rear - 305/30R19
Attaching the Wheels
While I was waiting on tires to be arrive I worked on getting suspension installed. Overall uneventful as its basically like any other dual a-arm setup. Hang the lower arm, install the coilover, loosely mount the upper then work on hub/upright. Both front’s went on smoothly, as did the rears. I ended up using a rubber mallet to persude some of the mounting ears to be more aligned. This is slightly worrying because of their flexibility, but I’m assuming the sum of parts is stronger than any single item. Can definitely see how 1,000 hp cars may have issues with the rear suspension. Problem for future me when I decide to add boost to the LS7….
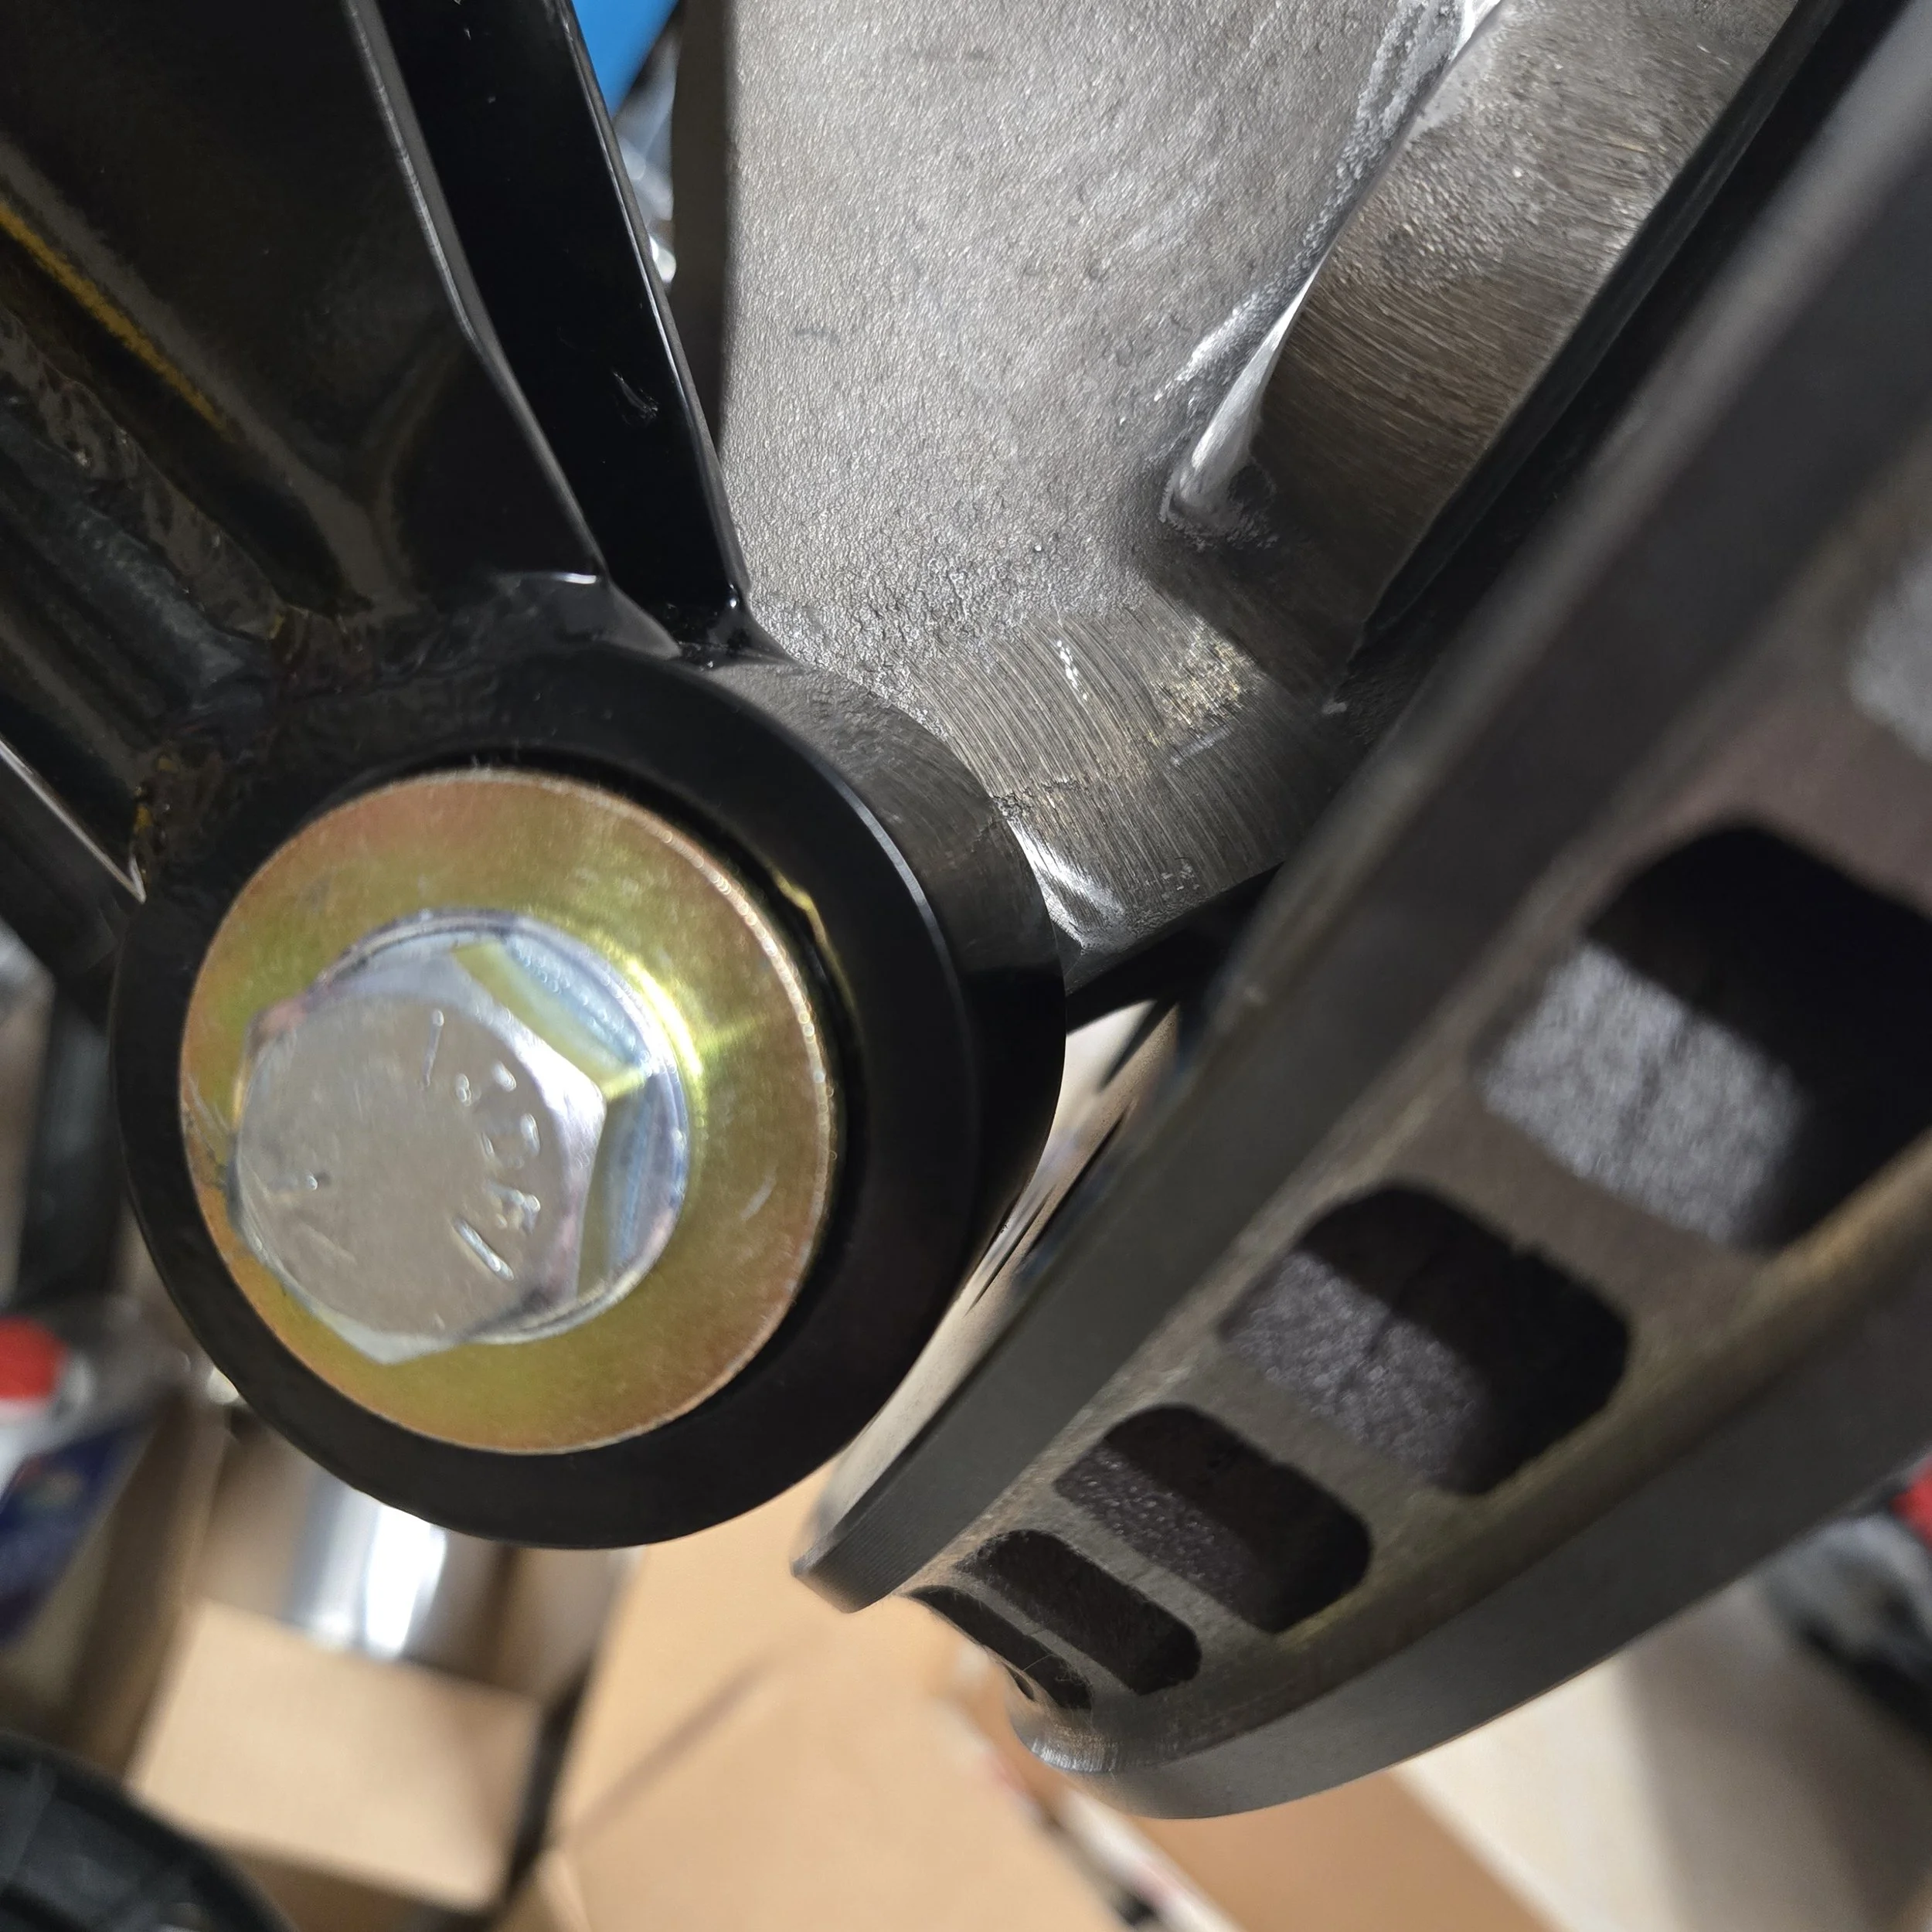
After the basic suspension was installed I needed to get rotors mounted so wheels could be secured. This presented some frustrating problems. The front right rotor hat would not fit over the hub and thus didn’t seat properly. Solution was a cylinder hone on the inside of the hat’s center bore. The difference had to be fractions of a mm, but still annoying.
Secondly the rear suspension clearance to rotors was terrible, left rear actually touched when wheel was torqued down. I don’t see how Ultima shipped this setup. Solution was to make a 1mm spacer for behind the rotor hat along with milling off 1mm from the caliper bracket to ensure correct alignment. Simple tweak, but wish factory had realized 0.017” (0.5 mm) isn’t enough clearance between a rotor and suspension arm. In case you don’t believe me ->> Link


Finally drilled hole for passenger foot rest. Nothing too exciting, but still nice to get done. Using 6mm rivet nuts along with double sided tape for cushion. At final installation time I will remove the second side of backing. If I remember….
Oh and this thing also is serving as a foot guard between driver and passenger. Important things!
Final piece for this post is just the lovely lowering of the car via engine hoist, jack and jack stands. Enjoy it finally resting on its own wheels!