RS Blog 26 - “Interior”
As the car is primarily inspired by race cars I wanted to keep the feeling of driver focused racing when getting behind the wheel. This doesn’t mean I want to be punished every time I drive it… So the plan is to keep the floor and side panels in aluminum with an Alcantara dash trim and minimal other items. The factory does offer some leather roll bar wraps and carpeting, but it just didn’t fit my goals.
I know my limits, well kinda, so I am having a good friend deal with my interior/dash.
Prepping things
Before handing over the car to Mark I needed to clean up the trim and paint areas that would be much more difficult to paint later. So begins the headache of masking off almost everything. Pretty sure I used a full two rolls of tape. Following the recommendation for trim paint from Mark I used SEM coating. Quite pricey at $20 per can, but the resulting coverage and finish was very nice.
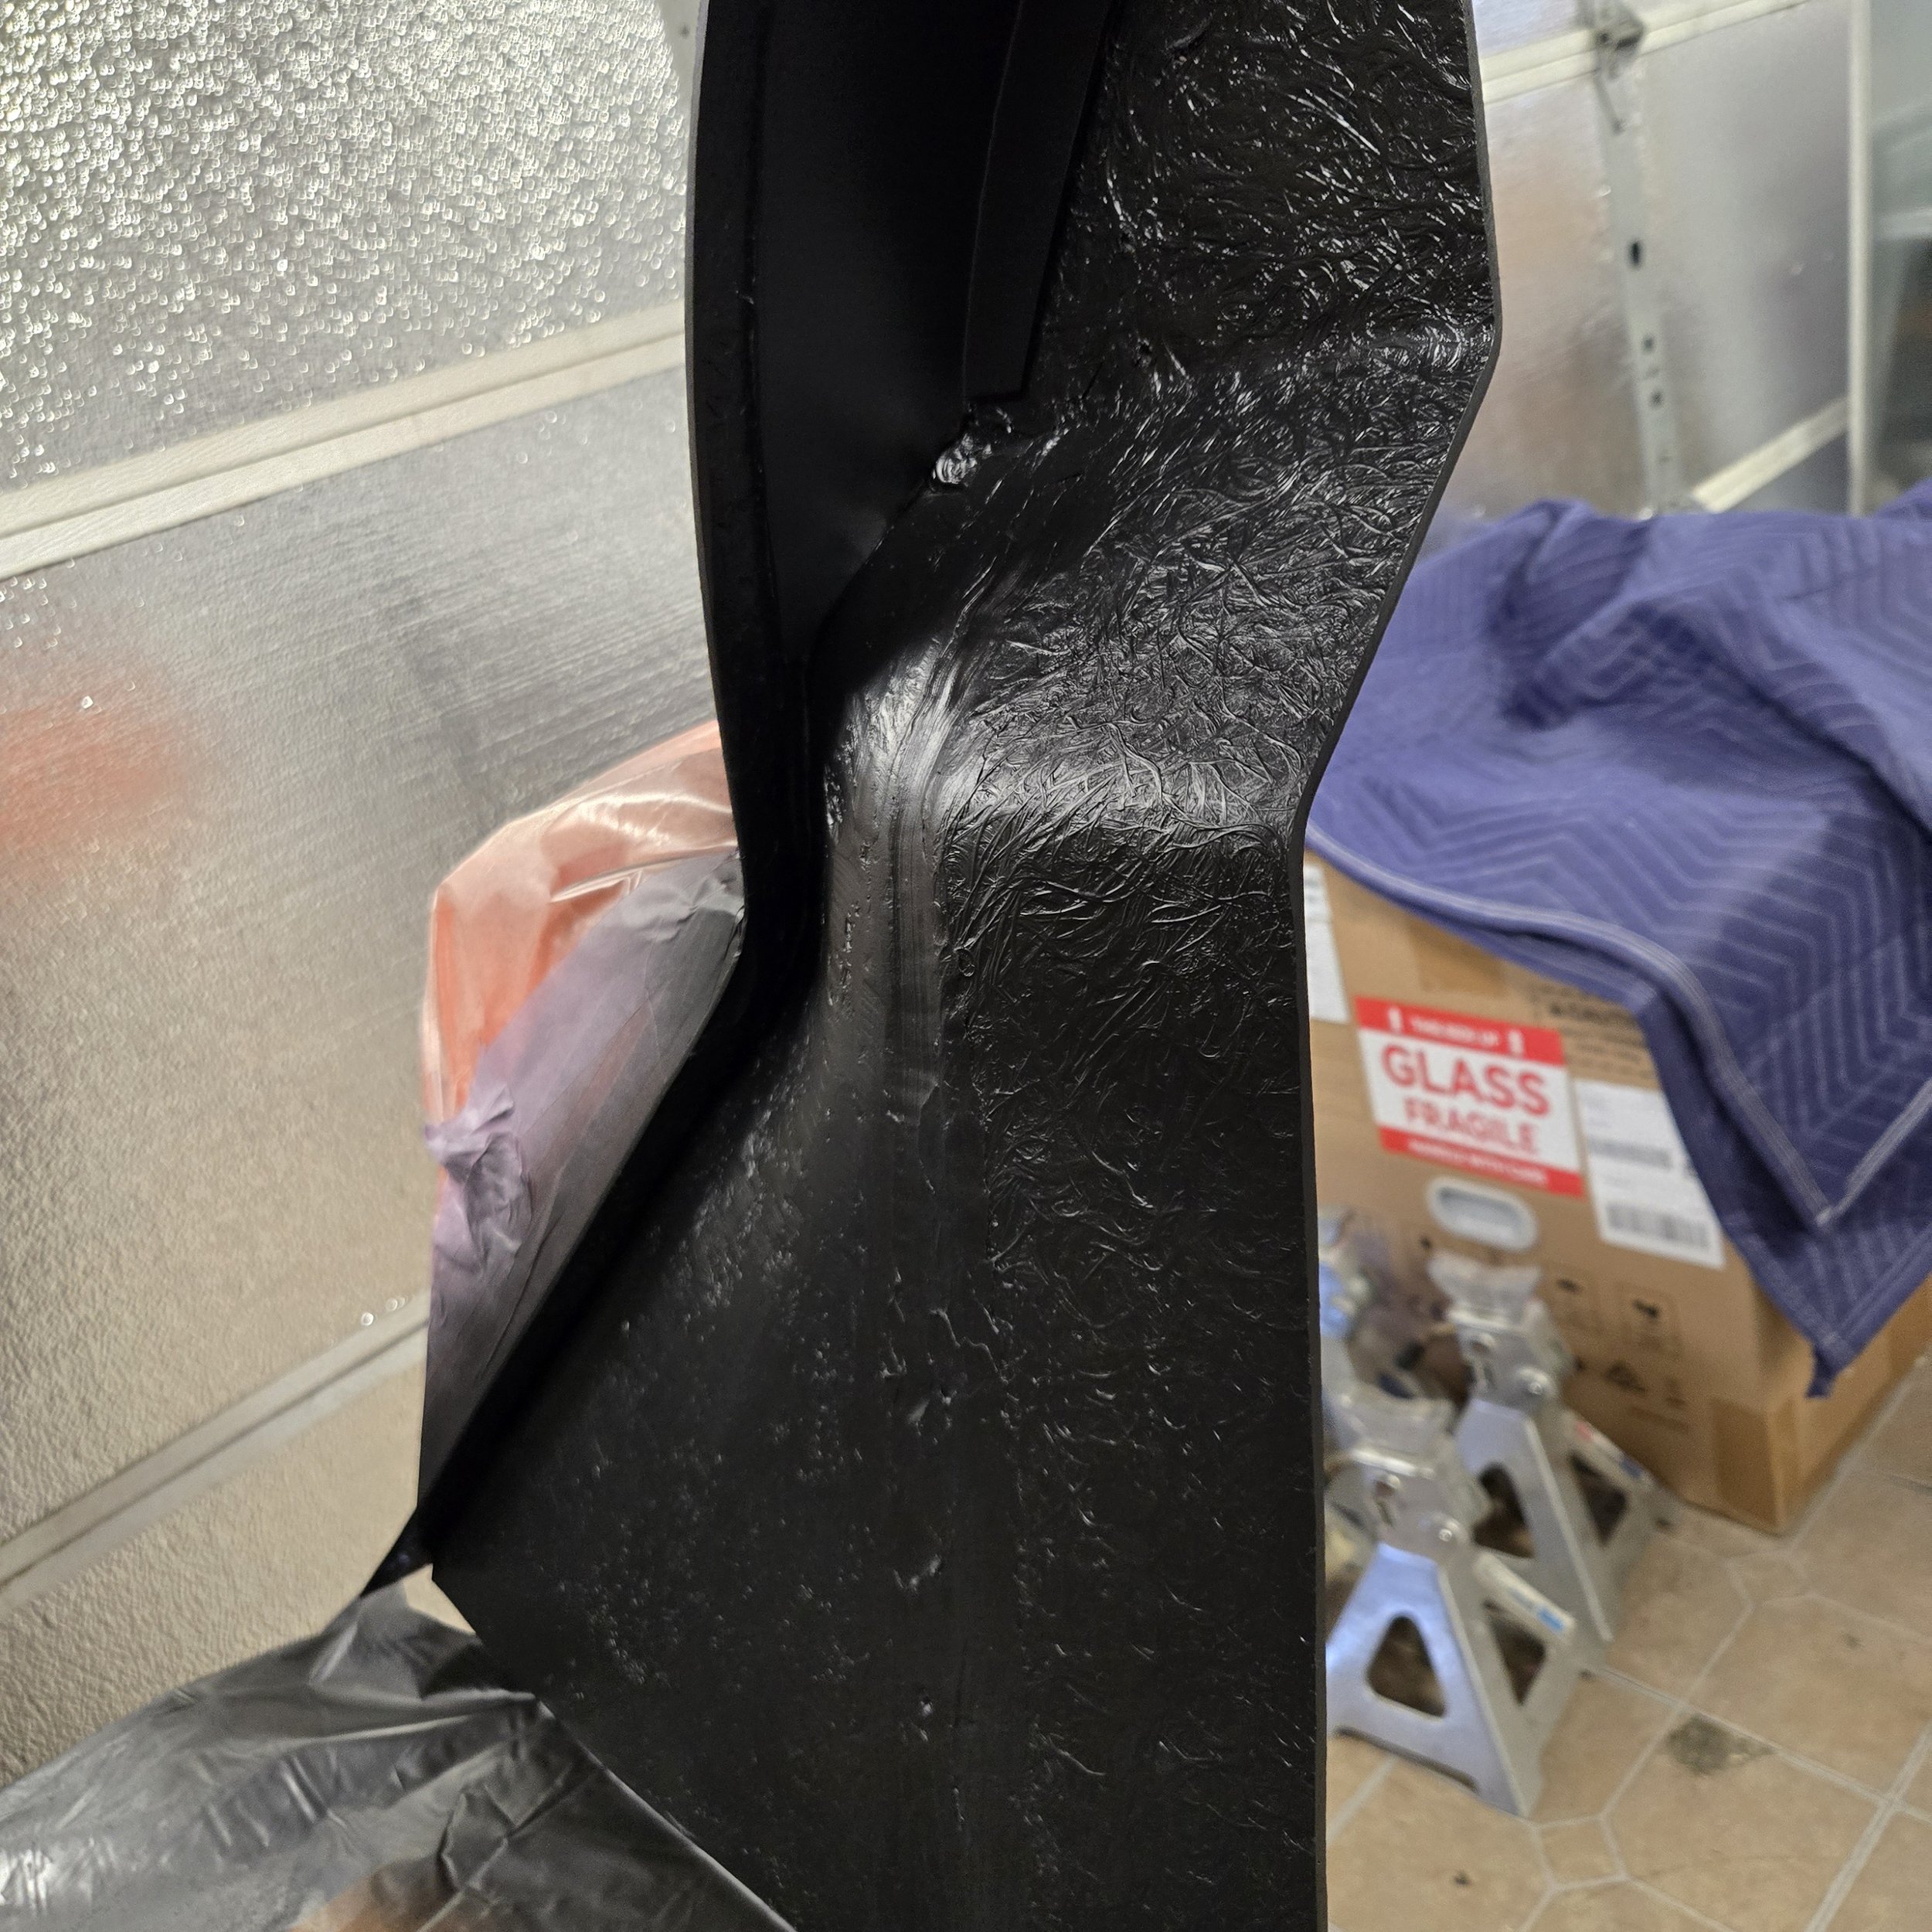
Painted all interior surfaces after filling in some of the fiberglass gaps and sanding down the rough bits. Turned out excellent as a starting point for interior. During this process I considered finishing the door edges with gel coat and actually went to my local supplier. Unfortunately I quickly realized that this type of thing is well beyond my skills and I have no desire to learn it. Used a small test piece of fiberglass for the check. For masking, using a clean fresh razor blade to trim the tape is super helpful.
Seeing the Sun and Meeting Siblings
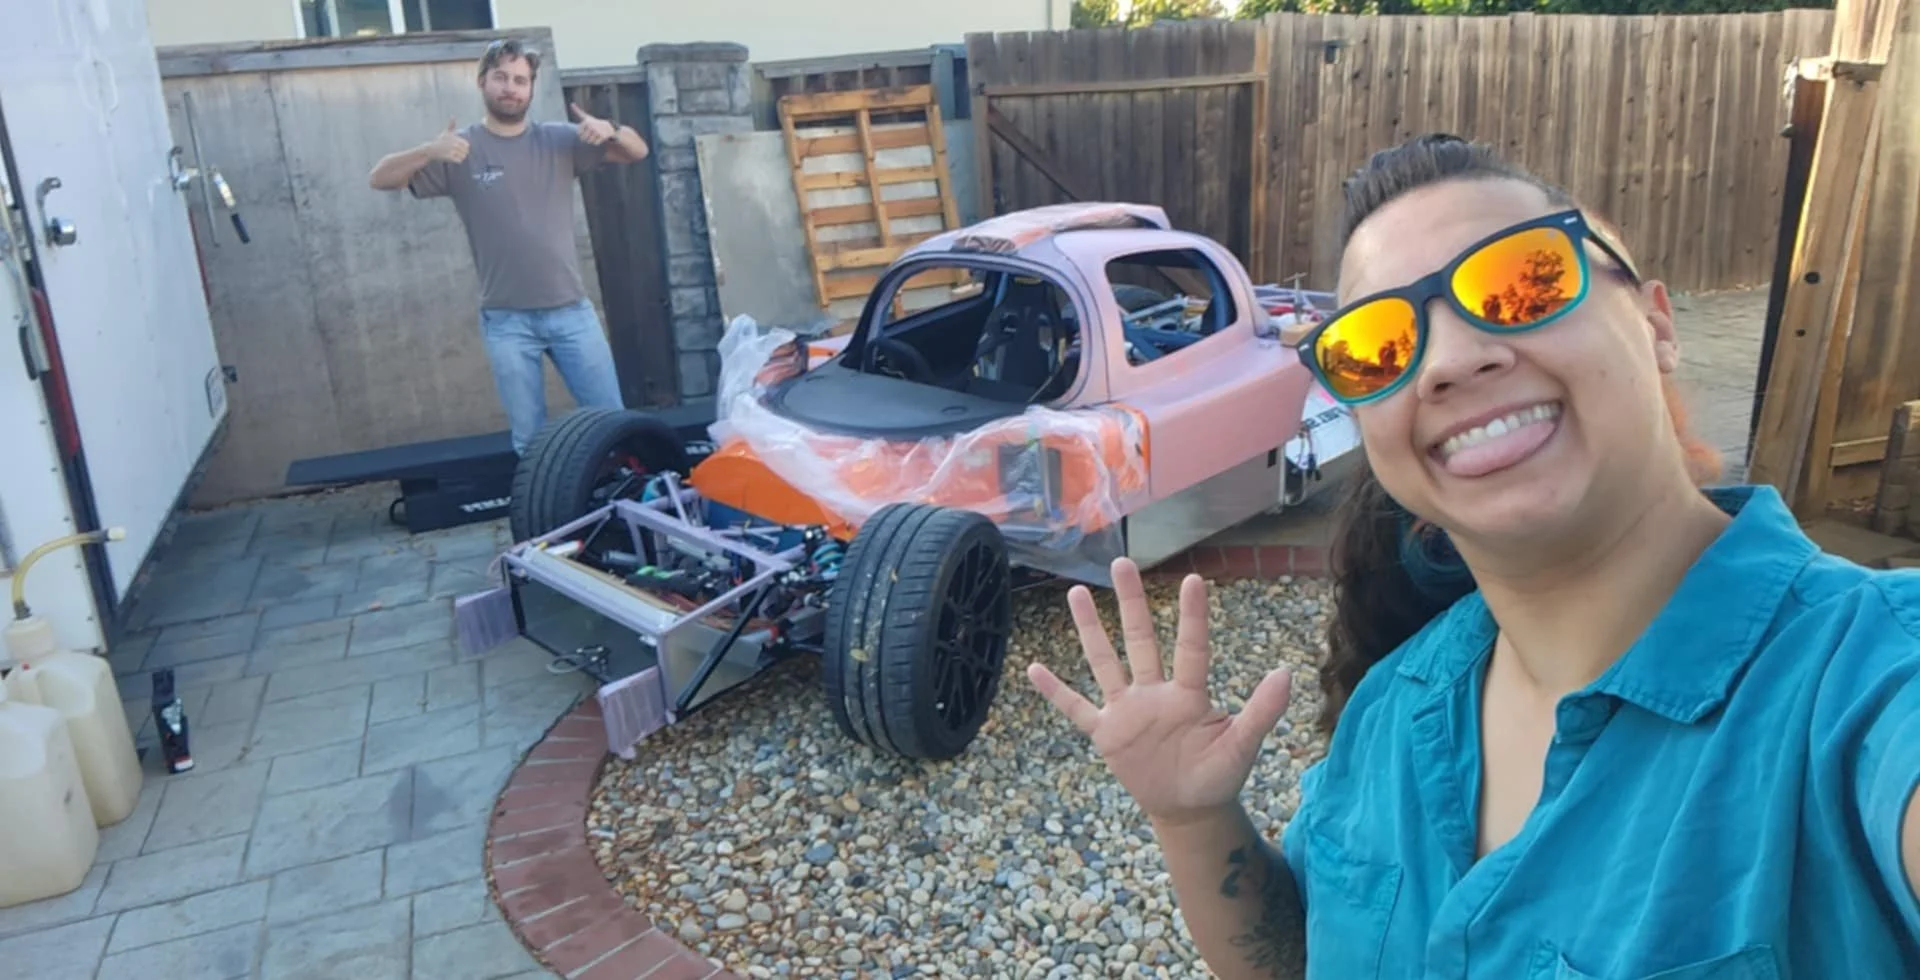
First time she’s wandered beyond the shop door. Snuck past Cremesicle and had to take a pic of my first build vs the current project. So cool to see them together!
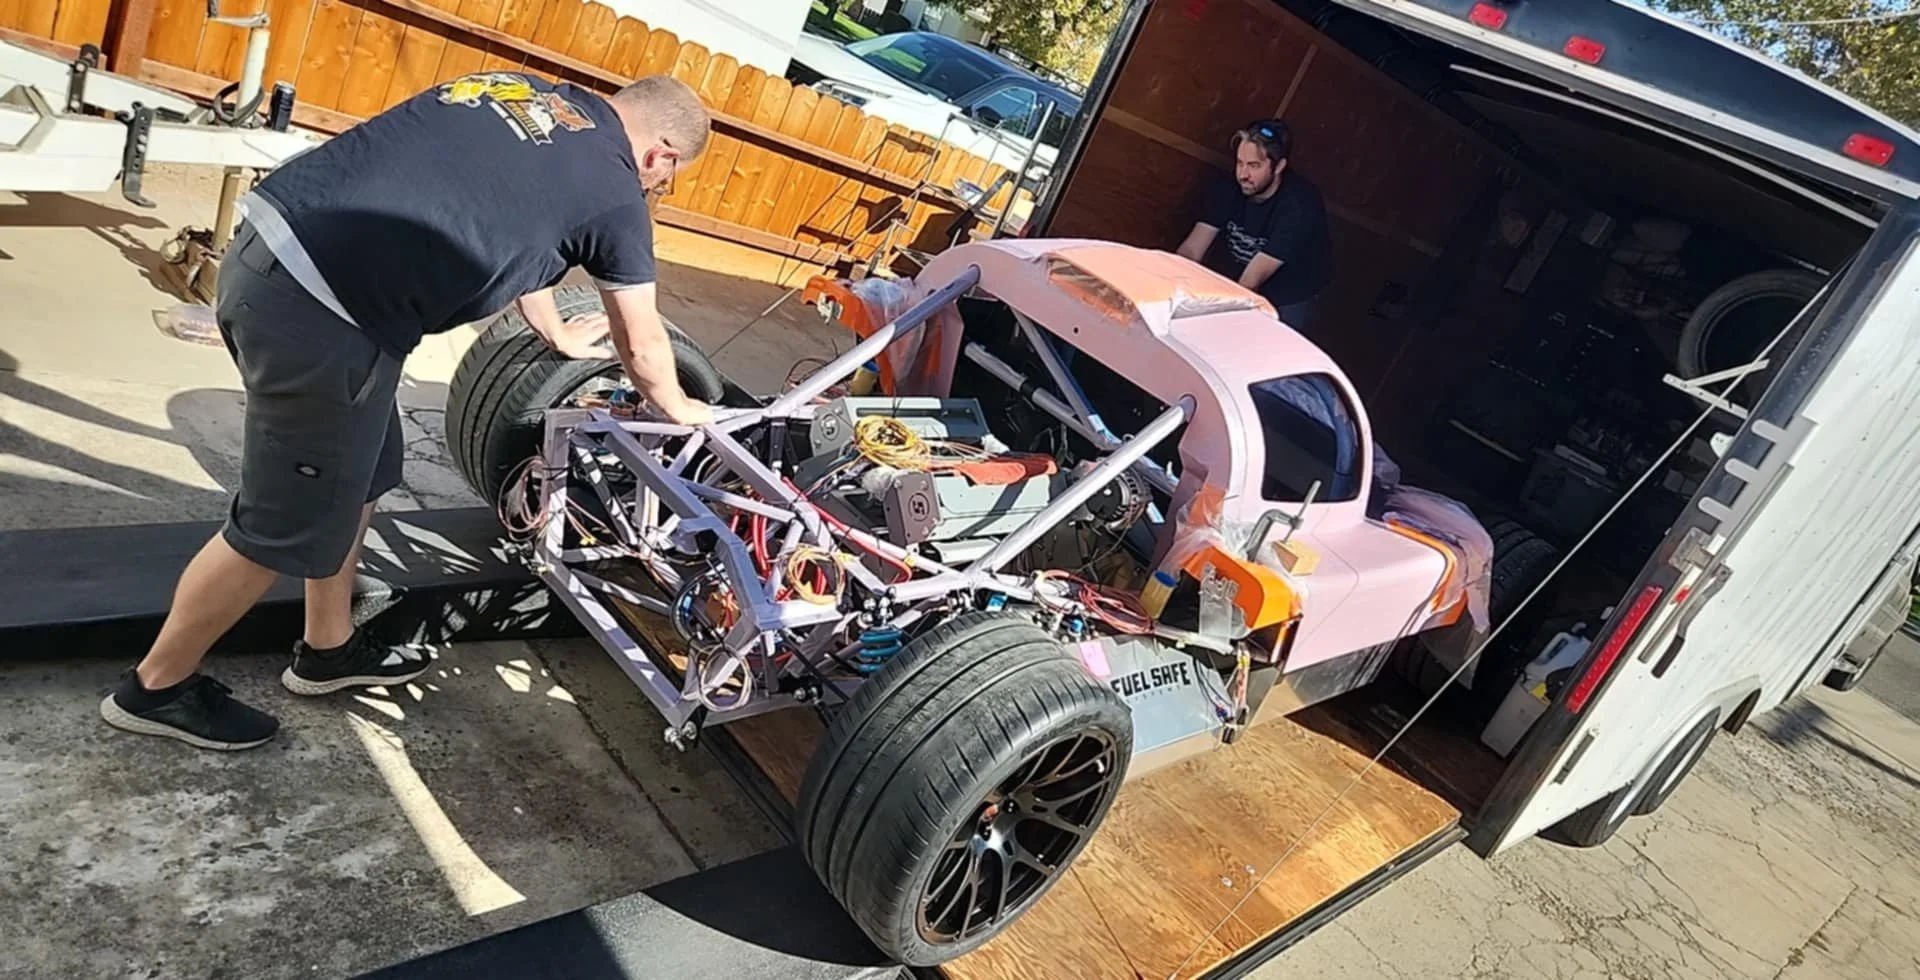
On the road to new places!
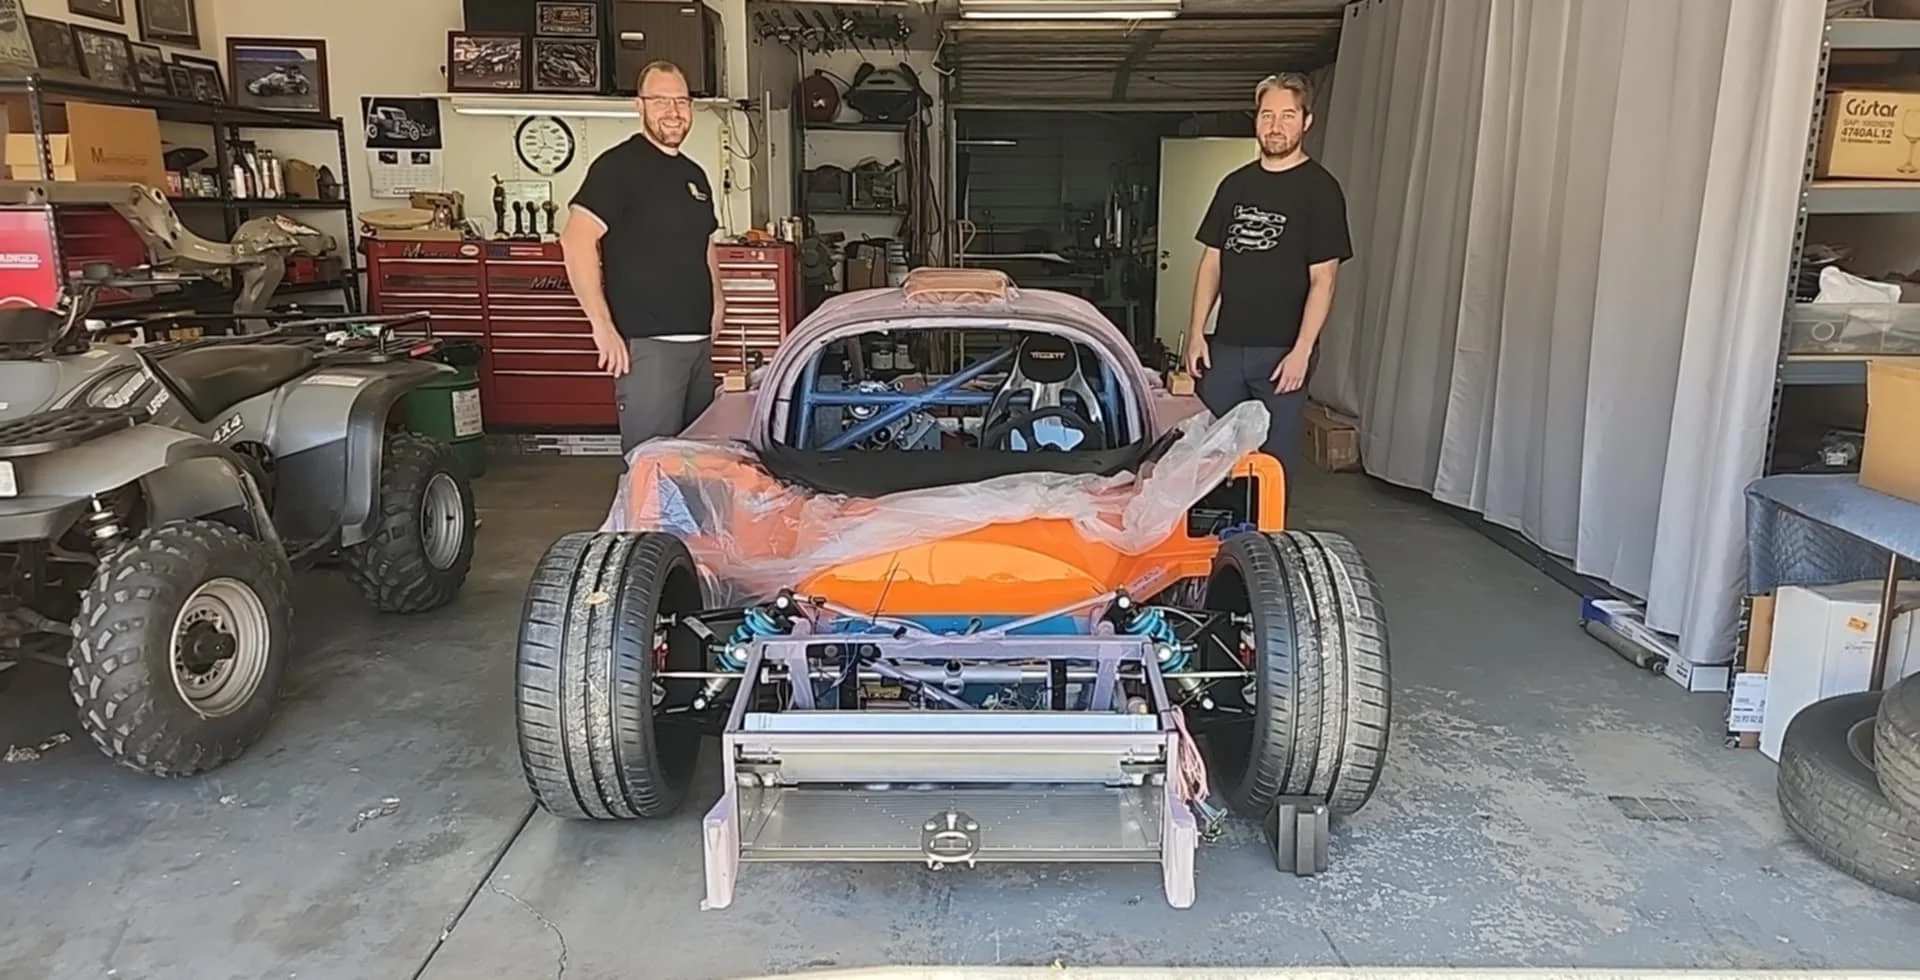
Dropping off with Mark Maliepaard.
Stoked on the final result
Mark ended up using a small amount of foam for the top part of dash to smooth out any uneven sections and hide imperfections. The front area for buttons just has a single layer of Alcantara with seams tracing the curves of the dash. With my printed binnacle covered in matching Alcantara it joins nicely with the dash. I preferred this over a carbon fiber version for reasons that probably can’t be explained.
One quirk of my button layout…. because the drivers seat is angled and biased for my seating preference it meant the buttons shouldn’t be symmetrical. So from other angles they might not measure up as even, but when sitting in my home they will be clean and visible.
Oh I also relocated the fan and AC controls to the dash face. When seated and harnesses tight I physically couldn’t reach them in factory location. Easy enough tweak and allows both passenger and driver to adjust without loosing belts. I may adjust the heater valve control later, but that should be simple to extend under the dash.
Not sure if this is a perfect layout or completely confusing to everyone else, but I prioritized access to some critical controls such as the fire pull, headlights, windshield wipers and volume controls. They are in the easiest to see/adjust spots. I plan to have the lift/lower nose controlled automatically via Haltech with buttons serving as an override.


Next adventure for this build is onto the rear portion of chassis, laying out the oil, fuel and coolant lines. Going to be a fun headache in which 26lbs of stuff finds a home in a 3.5lb box…


