RS Blog 24 - Leveraging 3D Printing
While buying pre-made parts are an excellent way to make progress and assemble an epic ride, you need to customize things yourself. In some places that requires welding, others shaping and more recently 3D printing. Over the years I’ve dabbled in prints…. designing a bezel mount for the LS Miata to house the digital dash within the stock shroud. Or creating the shift plate covering transmission tunnel to be wrapped in leather. There are a few places that can benefit from bespoke designs made from additive processes.
Shock Position Sensors
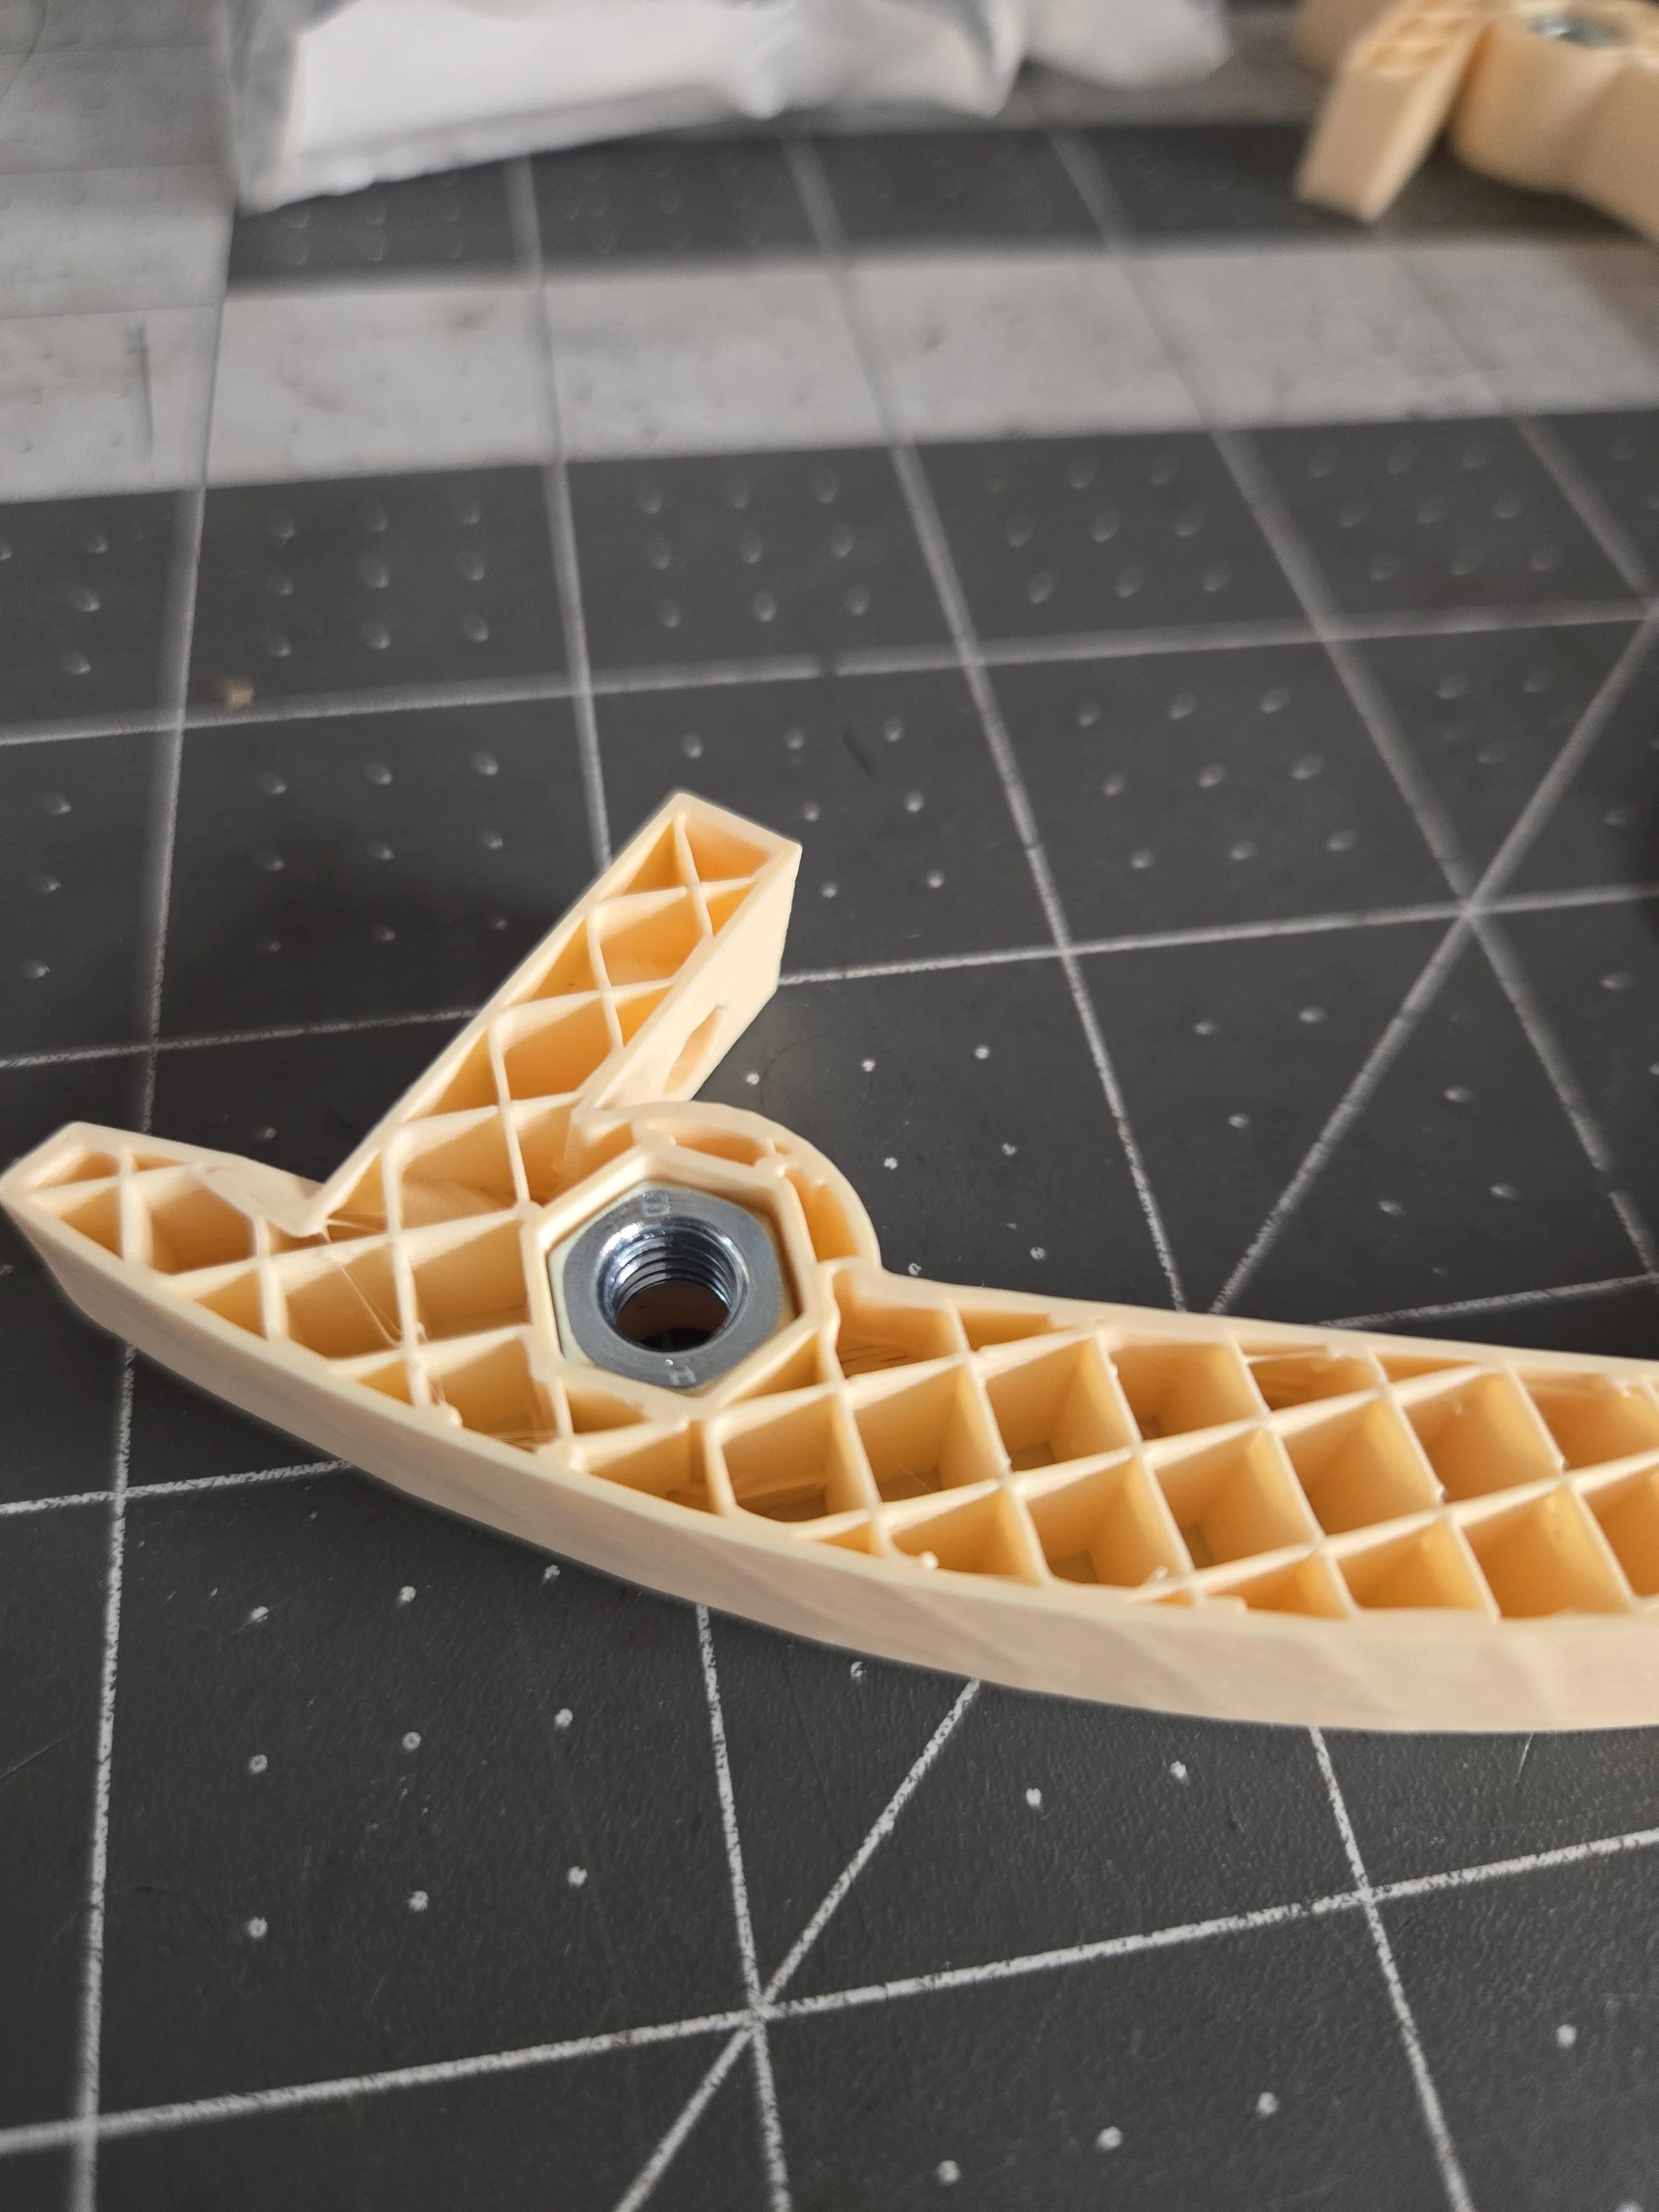
As noted in previous posts, I’ll be running shock position sensors on each corner. This means I need to connect a sensor to the lower suspension arm and upper mount point somehow. Haltech, nor any other manufacturer, sells off the shelf mounts to accomplish this task. I thought about a few options, but settled on 3D print. First it is very lightweight, second the plastic is less abrasive than the aluminum shock body they willl mount to, and finally I can adjust and perfectly align for linear travel monitoring.
First revision looks okay, but I’ll need to adjust offset to accomodate the 100 mm sensors. Would be terrible to rip them off or smash to bits on first drive because of suspension movement. Lol. Initially I wanted to make with nut/bolt connections for two parts, but later realized a simpler solution exists…. hose clamps. Eliminates the need for 1 part and multiple pieces of hardware that are prone to vibration loosing.
Raptor and Dash Translator
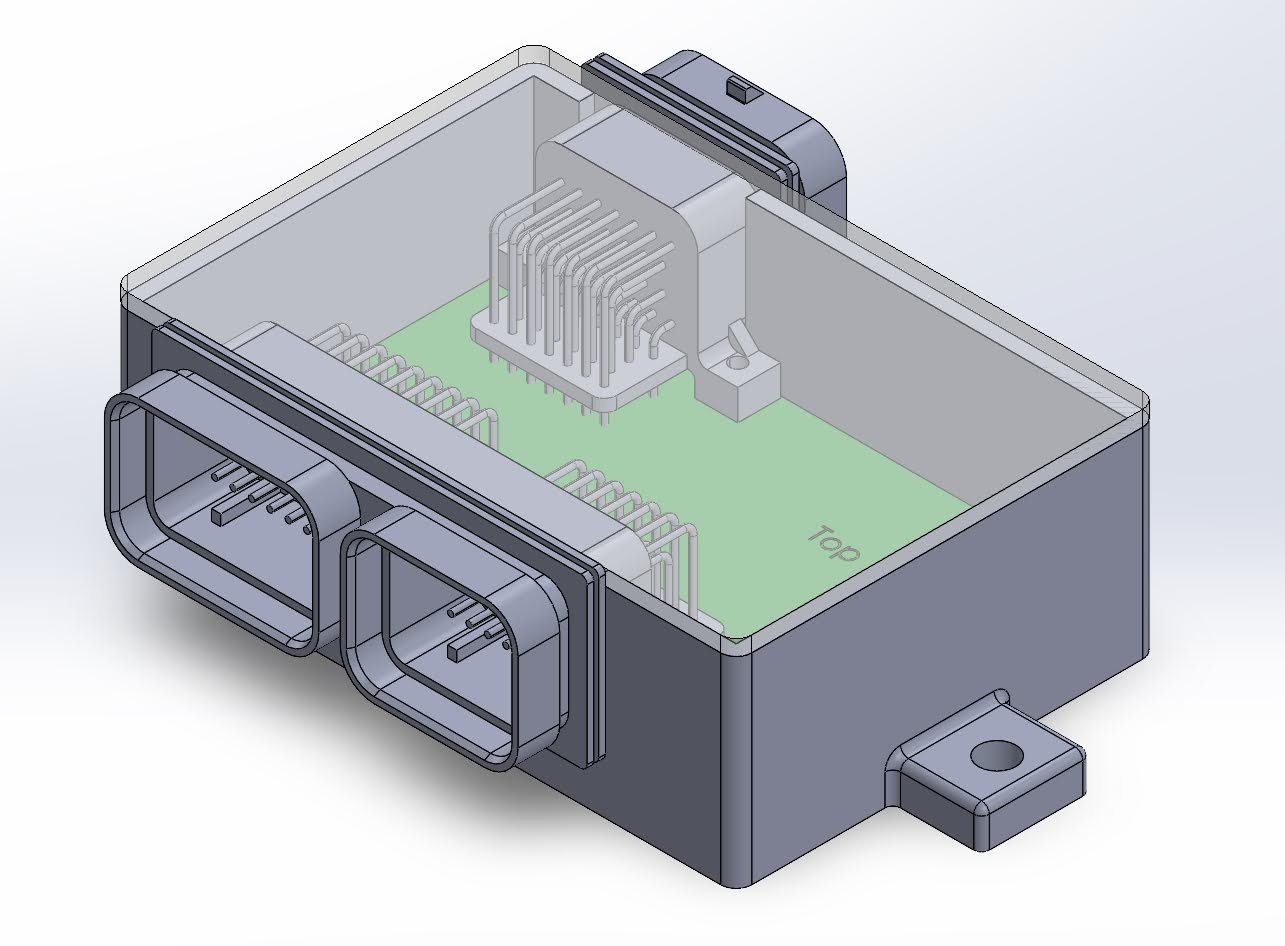
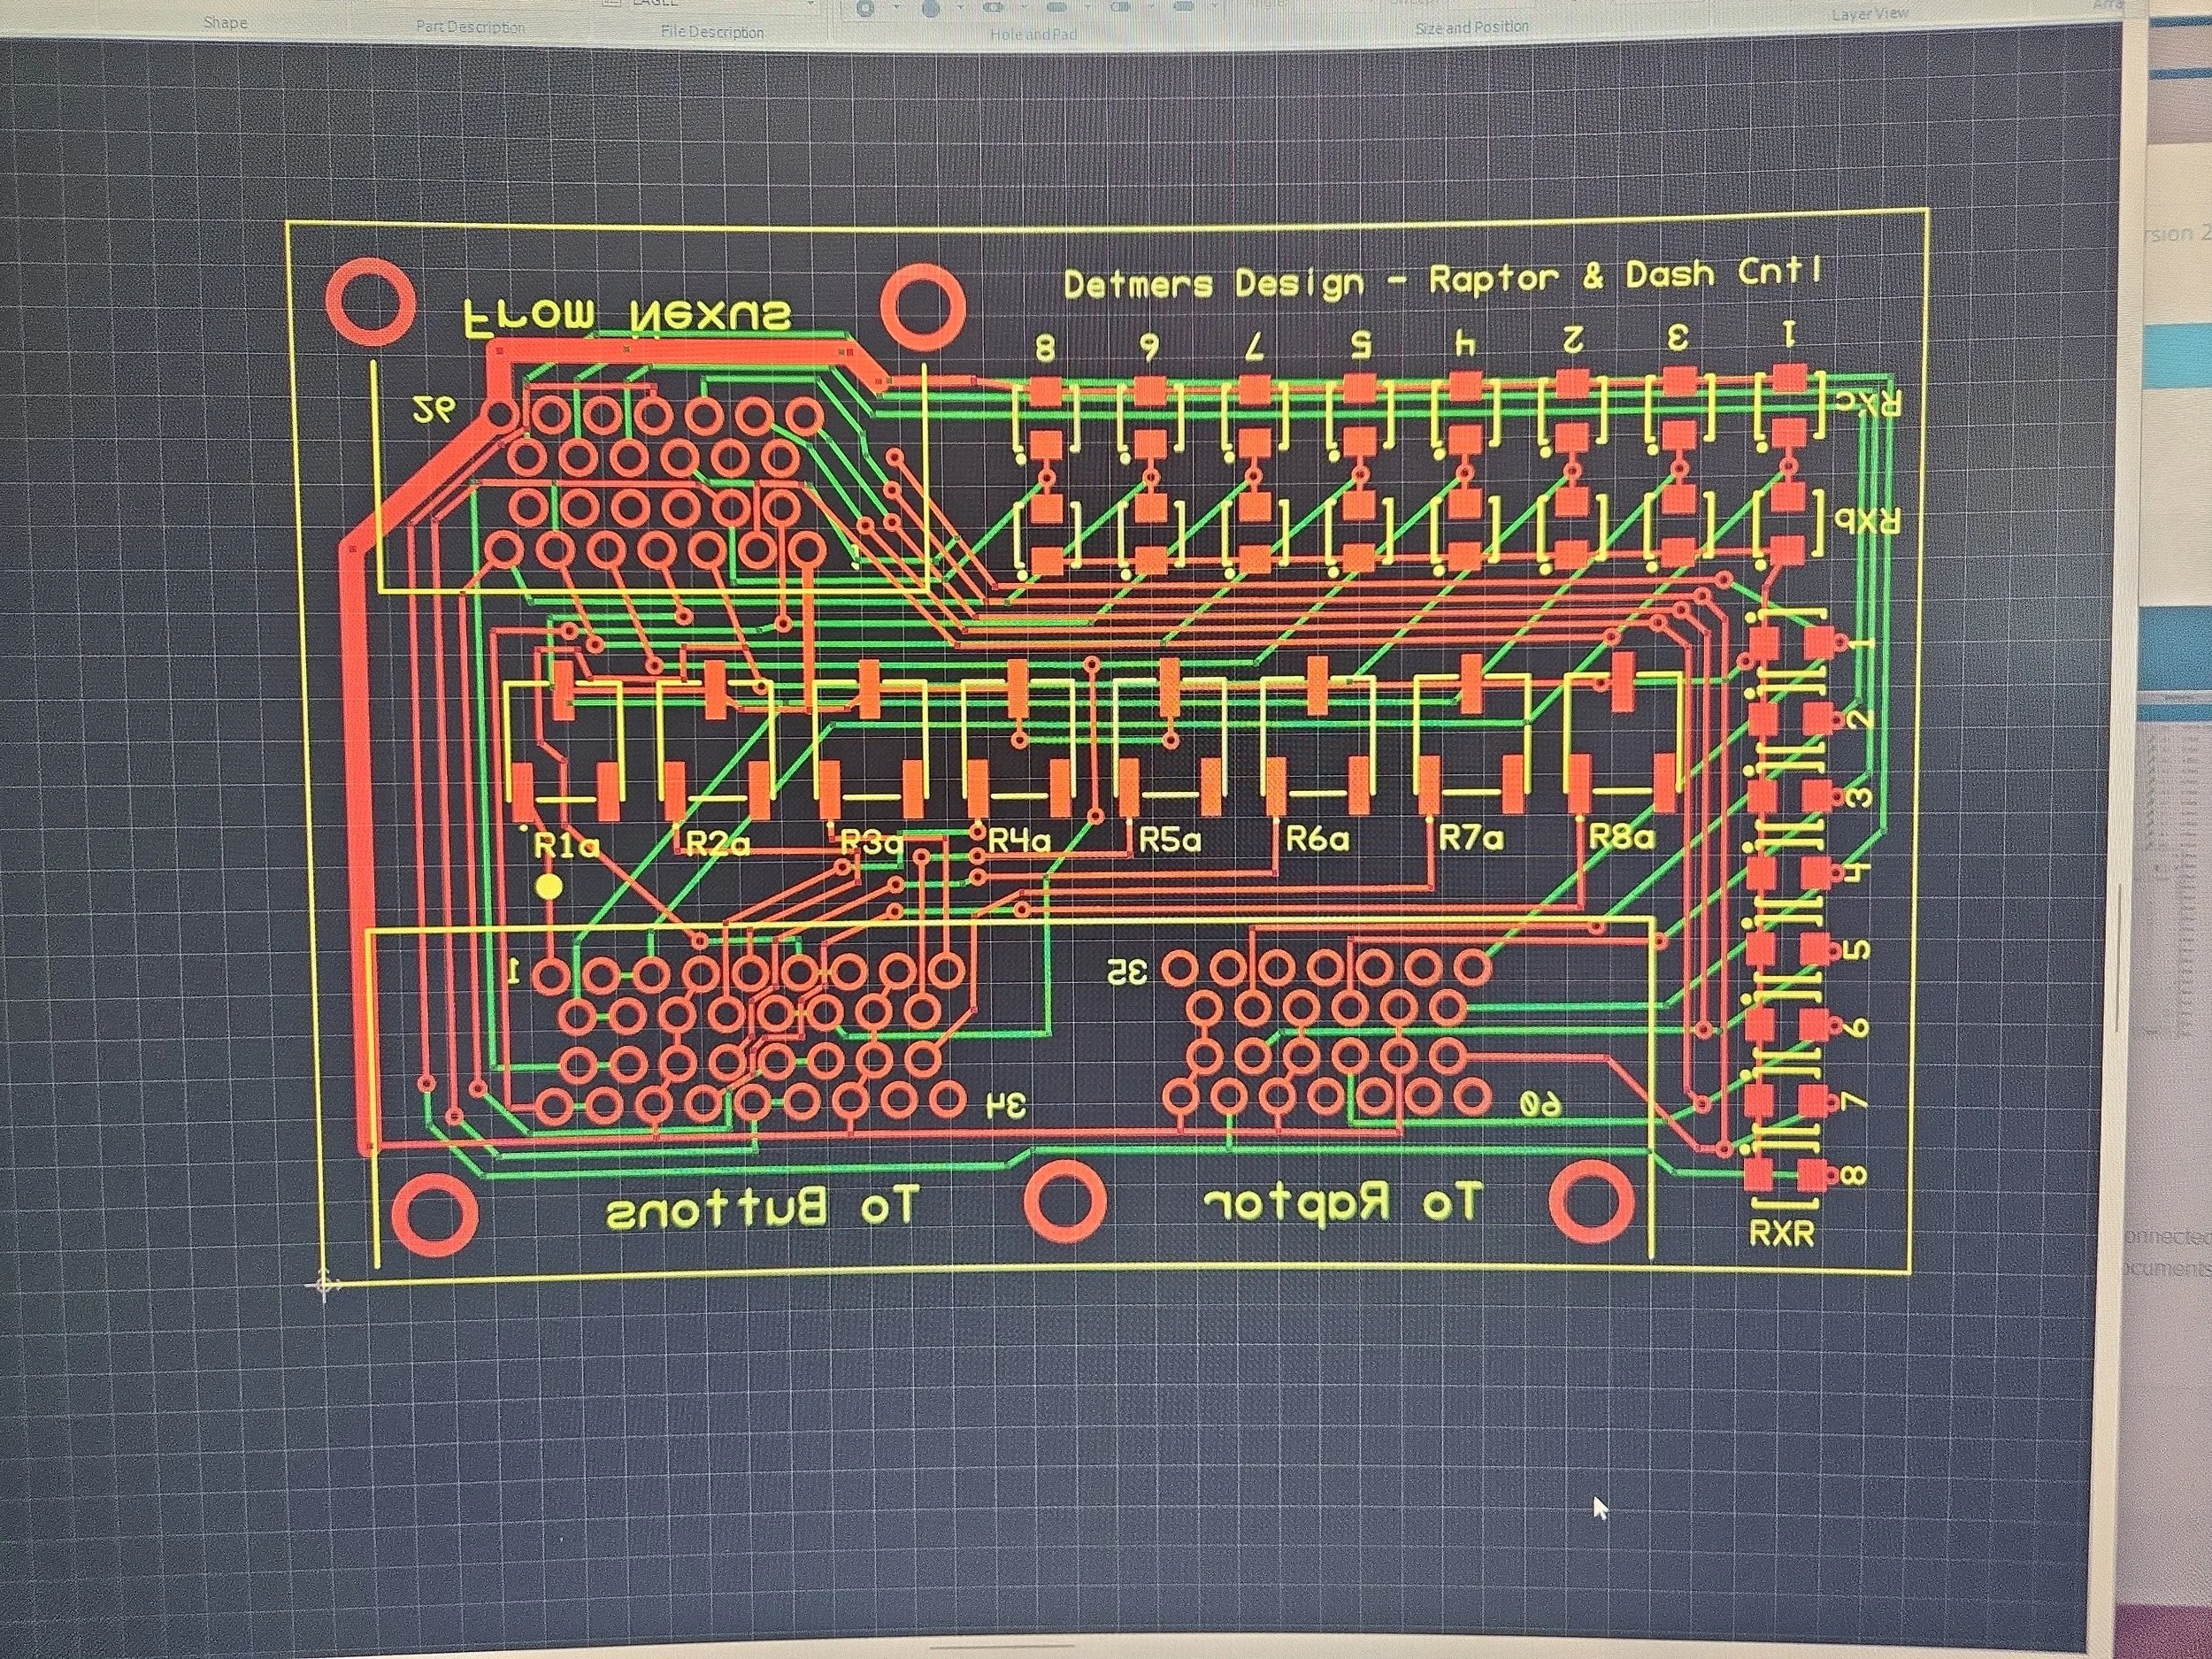
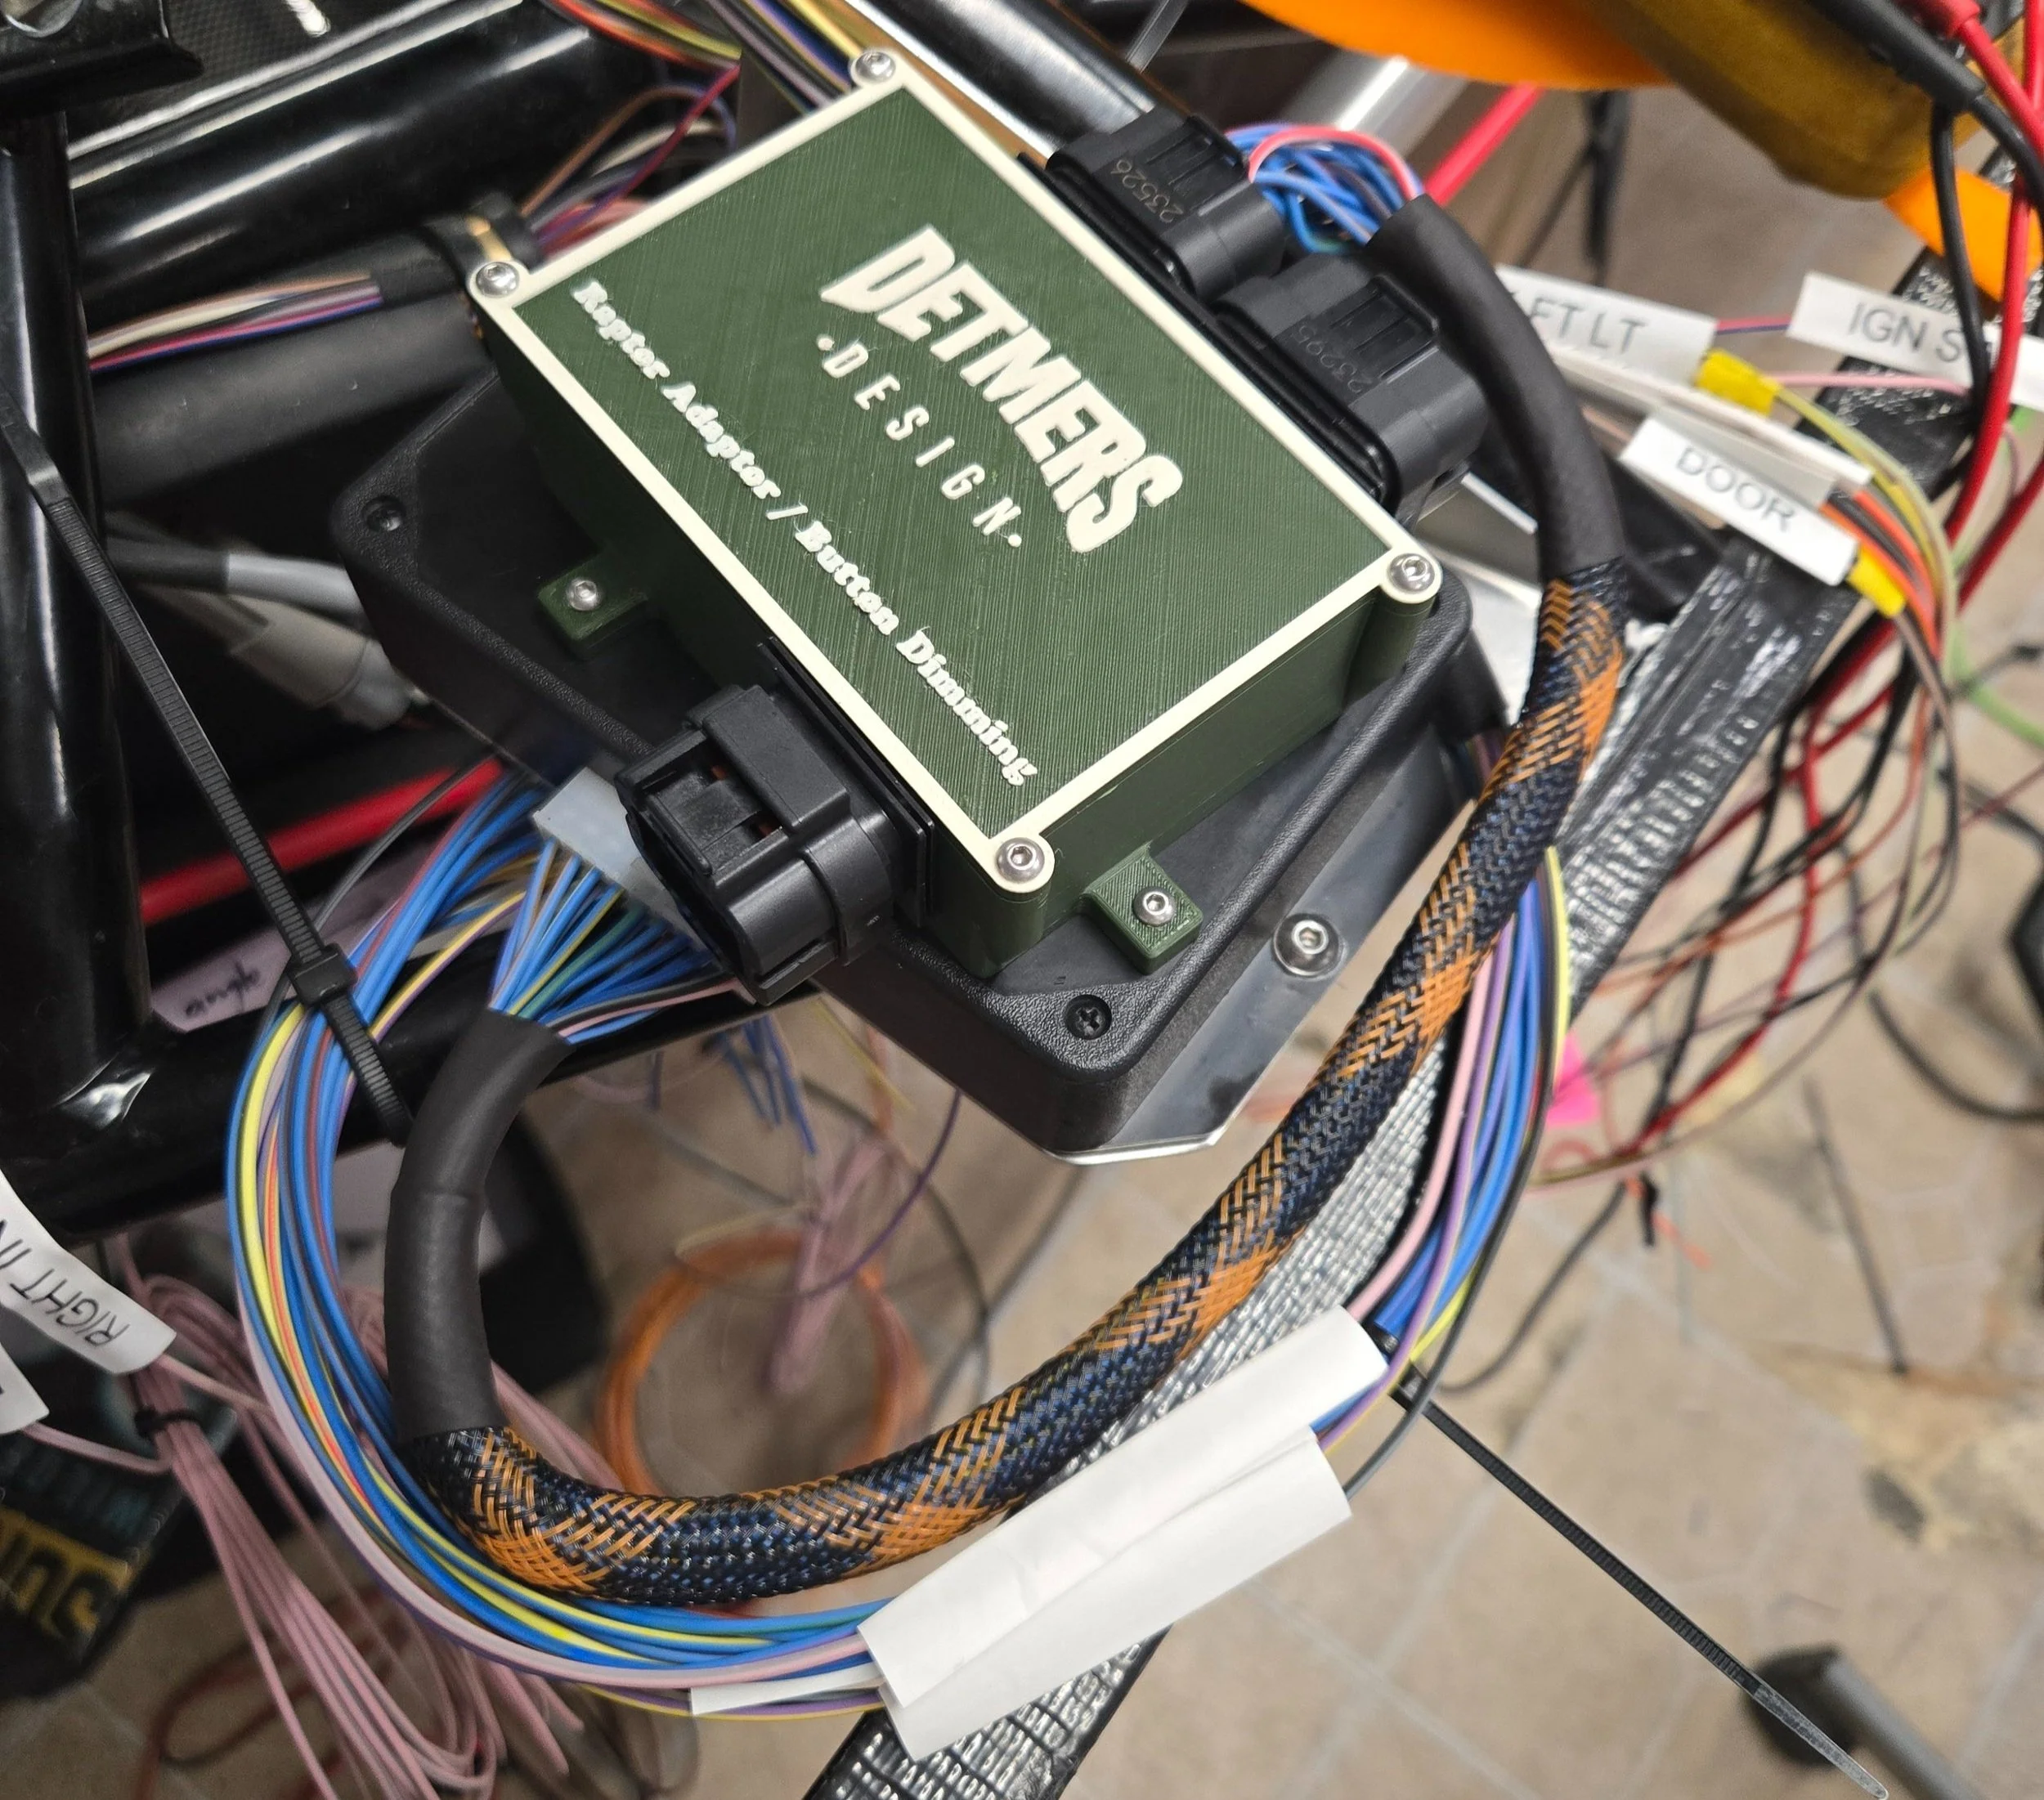
I’ve committed to using the Haltech functionality to control power outputs to each components. It gives me better awareness of each one in case they fail and adds some unique functionality such as flashing brake lights under emergency braking or enabling hazards automatically for x, y, z criteria. As such it makes the Raptor control box pretty much useless aside from passing signals back to Haltech. With 8 functions plus power and ground that would be a large number of wires going back and forth. Plus my dash buttons need lighting control to indicate active or not. Enter a custom PCB that holds some simple pull up resistors and biasing resistors to pass all communication from ECU to, all wires to Raptor and a seperate set of wires to the dash buttons. Meaning simpler wiring to dedicated connectors and worst case in future easier trouble shooting. With a custom PCB and connectors I needed a custom housing to protect everything…. Again 3D print.
An extremely helpful piece of knowledge that every maker, fabricator, builder should know. Mouser and Digikey both share 3D models of the components they sell. Use them! I’m not a modeling master… Nor do you need to be!
PCB design takes quite a bit of time by hand, but always feels rewarding once complete.
Box installed above the Raptor module with first loom connecting them.
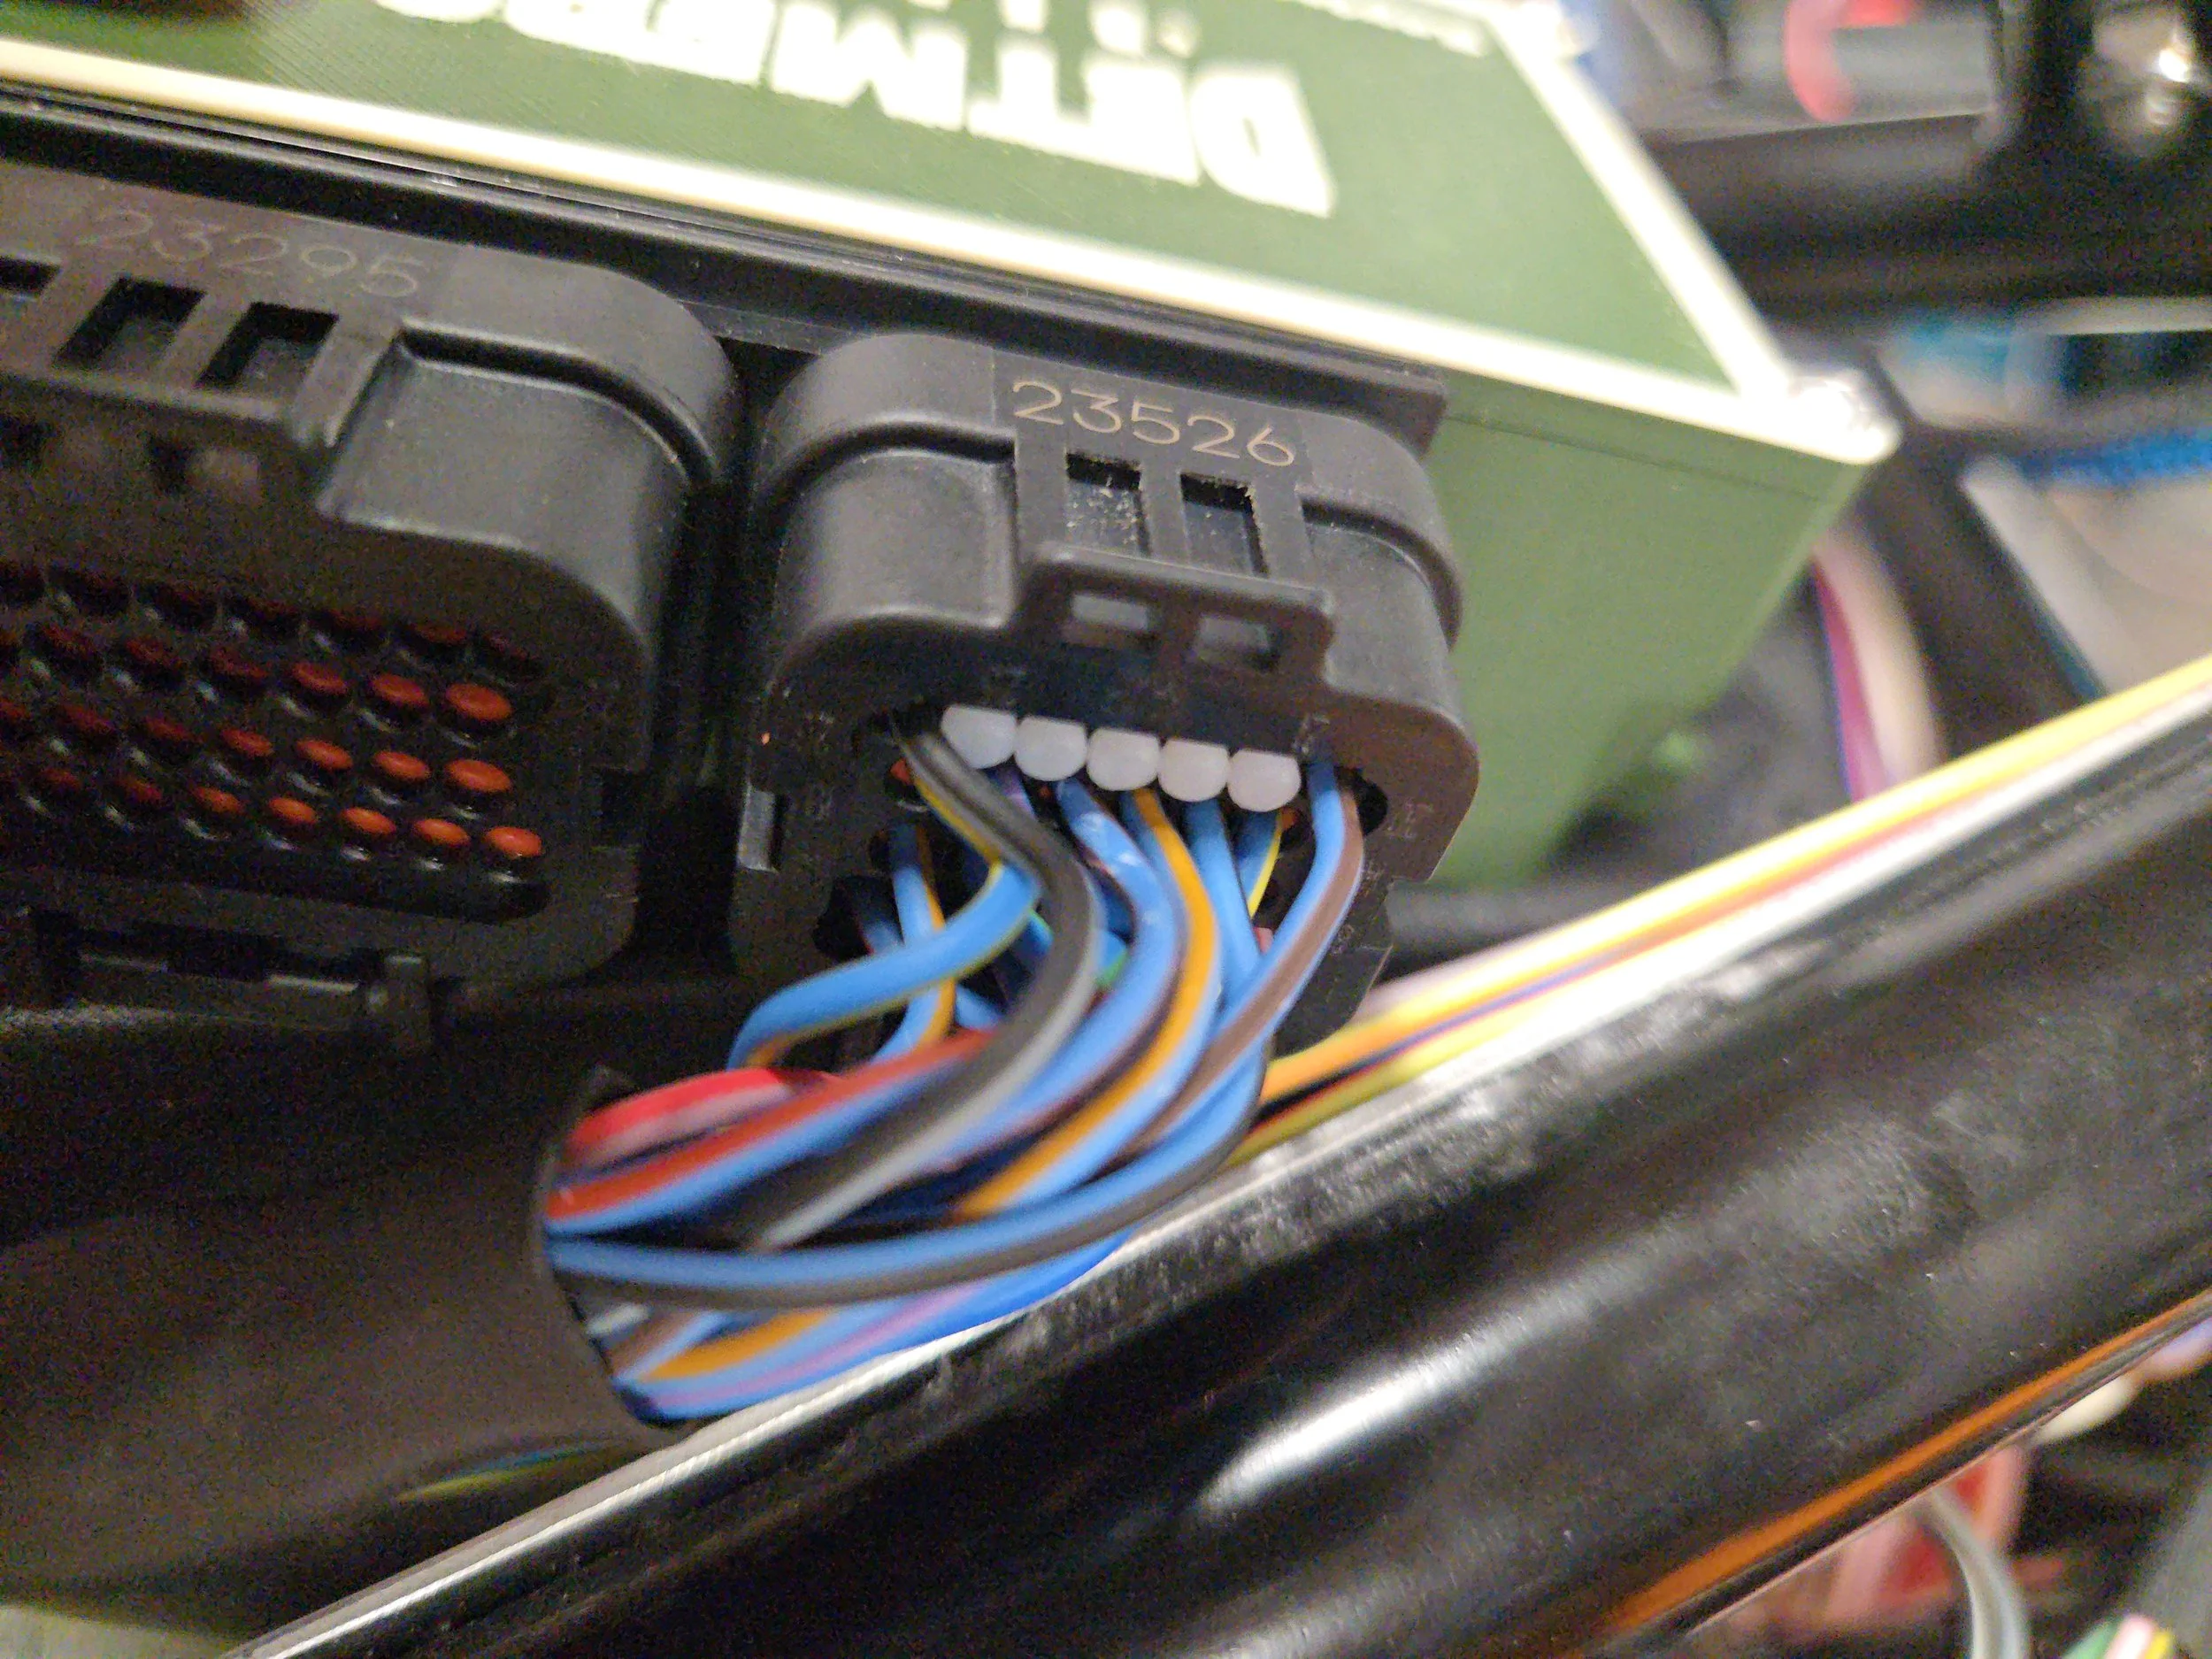
Future proof your designs. While I don't need all these pins I can redesign the internal board without worry from the plug or existing wiring.
Assembled board with AMP headers
Pre-assembly!
Use existing coloring/pins when possible. I couldn't match them all, but the majority of tracer colors match the manufacturers coloring. Missed 1...
Binnacle!?!?!
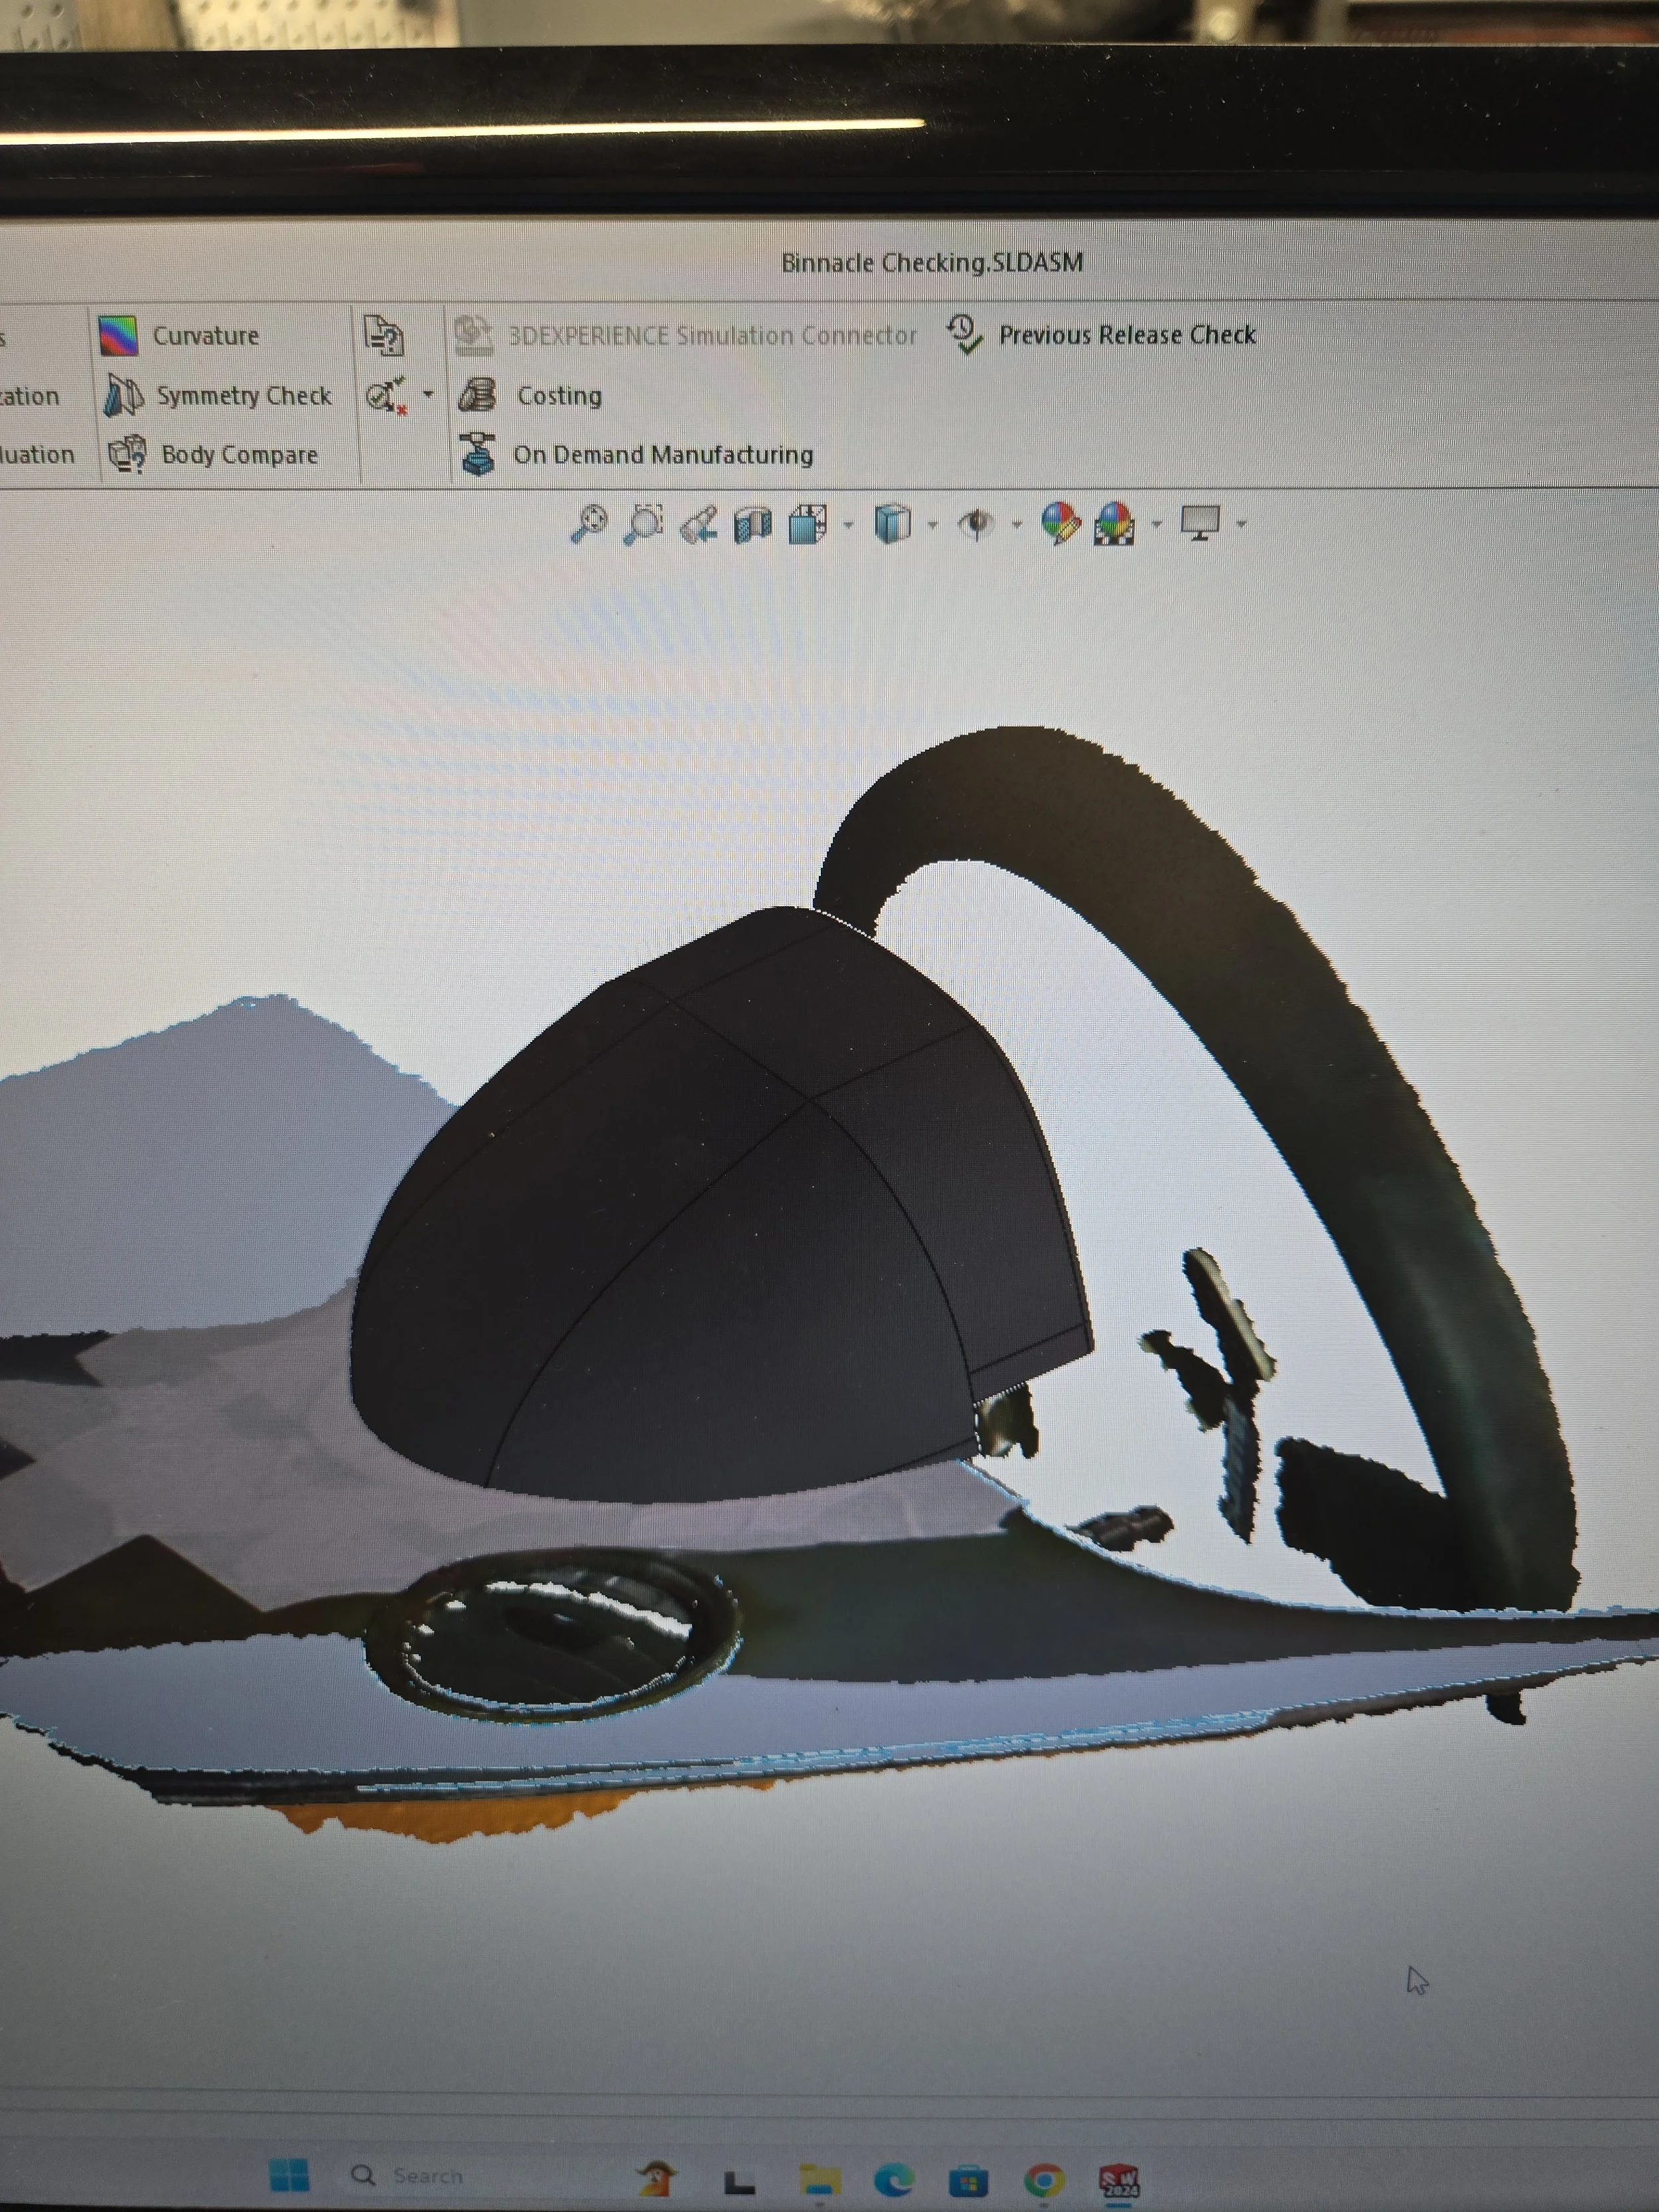
I think this is the official term for it. The thingy that cover your gauge cluster and looks fancy? I don’t actually know, but I do know I want something a bit more elegant than carbon fiber or just an exposed back of the Aim dash. Another instance of leveraging CAD and 3D printing. I’ve confirmed with my good buddy doing the upholstery that Alcantara will easily be applied to a print. Time to bust out the scanner and CAD “skills” to mock up a thing.
Priorities; doesn’t look like trash, smooth curves that sort of mirror the dash profile, mounting for the MXS inside, ability to wrap in fabric, and finally secure to the dash.
I’m using my Einstar scanner coupled with my new 3d printer to design and test the dash cover. Keep in mind, many iterations will happen for this to become something useful. The combination of a scanner, plus printer and eyeballs should let me quickly get to a viable final product.
In case you’re on the fence about a scanner…. do it if you have the cash. Opens up the door for <1.0mm accuracy measurements in three dimensional space. This is definitely a new tool in my suite of skills. With a fast printer I can quickly mock up and test exact designs.
Other Things
While this isn’t a 3d print, it did leverage the Einstar and turned out excellent. Starting with a scan, adjusted a bit with a few prints to validate profiles. Coupled with #sendcutsend and magically I have a quality pair of panels for each side pod. They will be riveted down after I figure out how to secure the pesky carbon ‘door’. At this time I am thinking to use a few magnets since side pod structure is power coated steel. Not sure if that will become a rattle box. Time will tell.


