Upgrading Miata Lighting Situation
While we did survive 10 days and many nights in the middle of nowhere Baja Mexico, it doesn’t mean we had remotely enough lights. We were running Harbor Freight specials and they truly survived tons of abuse while providing solid visibility.
The total setup was $210 + tax for a claimed 10,290 lumens.

Flood Lights (pair)
3 in. LED Flood Light - $19.99
They have a very wide pattern and don’t provice any focused lighting. Very minimal usefulness beyond 20 feet from the car, but helpful while stopped.
Kept us from tripping over rocks and logs while bs’ing around the car.

Spot (pair) and Ditch (pair) Lights
3 In. LED Spot with Side Light - Pair - $84.99
These little guys are an excellent bargain, exceptionally bright with some side lumens. They make great spots or ditch lights aside from being weighty.
Our new setup is courtesy of Denali, a brand focused on motorcycles. Majority of their options are quite small which is excellent for the Miata since weight is my main enemy along with placement challenges. After chatting with their technical experts at Overland Expo and doing a bit of research on their website, I settled on a variety of bulbs. Namely a D4, D3, and S4 to meet various goals.

Setup cost $887.96 for a total of 20,492 rated lumens

Spot Lights (pair)
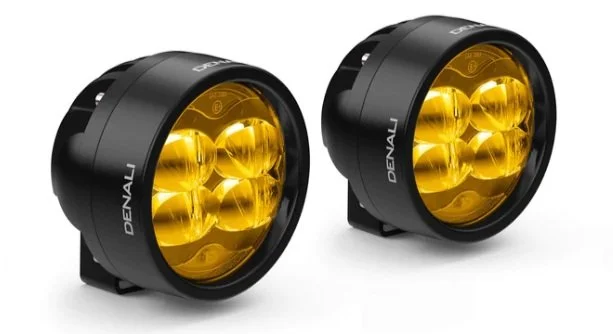
Fog Lights (pair)
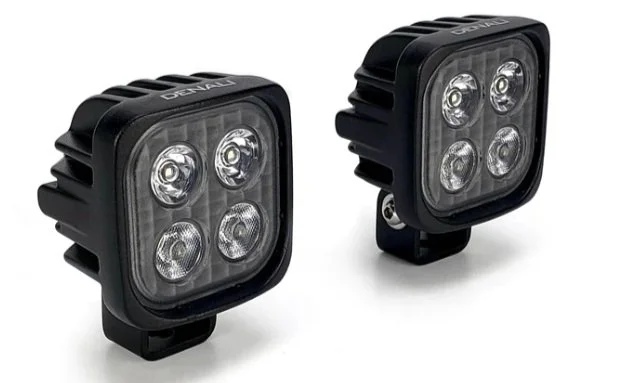
Ditch Lights (pair w/independent control)
Overall impressions
The Denali lights are clearly better manufacturing and appear to have tougher coatings. On paper they are almost double the lumens and have much better beam patterns. However that said, I’m still on the fence due to the price difference. Very slightly over 4 times the price for double the raw lumens feels like I made a mistake at first glance. Looking deeper and I feel good about the purchase for a few reasons.
The Denali setup is 22% lighter weight at a total of 3,262g instead of 4186g. While not anything massive, the S4 pods are half the weight of the Roadshock pods. This means less mass to stabilize and thus less vibration over various uneven terrain. Expecting this to be way better when coupled with a smoother spot beam.
Options to replace lenses (except S4). This will be extremely helpful as white light tires your eyes over time. The blend of amber, selective yellow and white will reduce eye strain and when they are inevitably damaged I’ll just replace lenses.
Twice the lumens using the same mount points and overall power draw.


Some post upgrade pictures for reference. You can see my initial post from the Roadshock lights here.


