RS Blog 11 - Working Through Interior Panels
When will the rivets ever end…. I can see the light but not sure if it’s real. Guess I’ll keep heading that way.
Floor Panel Double Skin Option
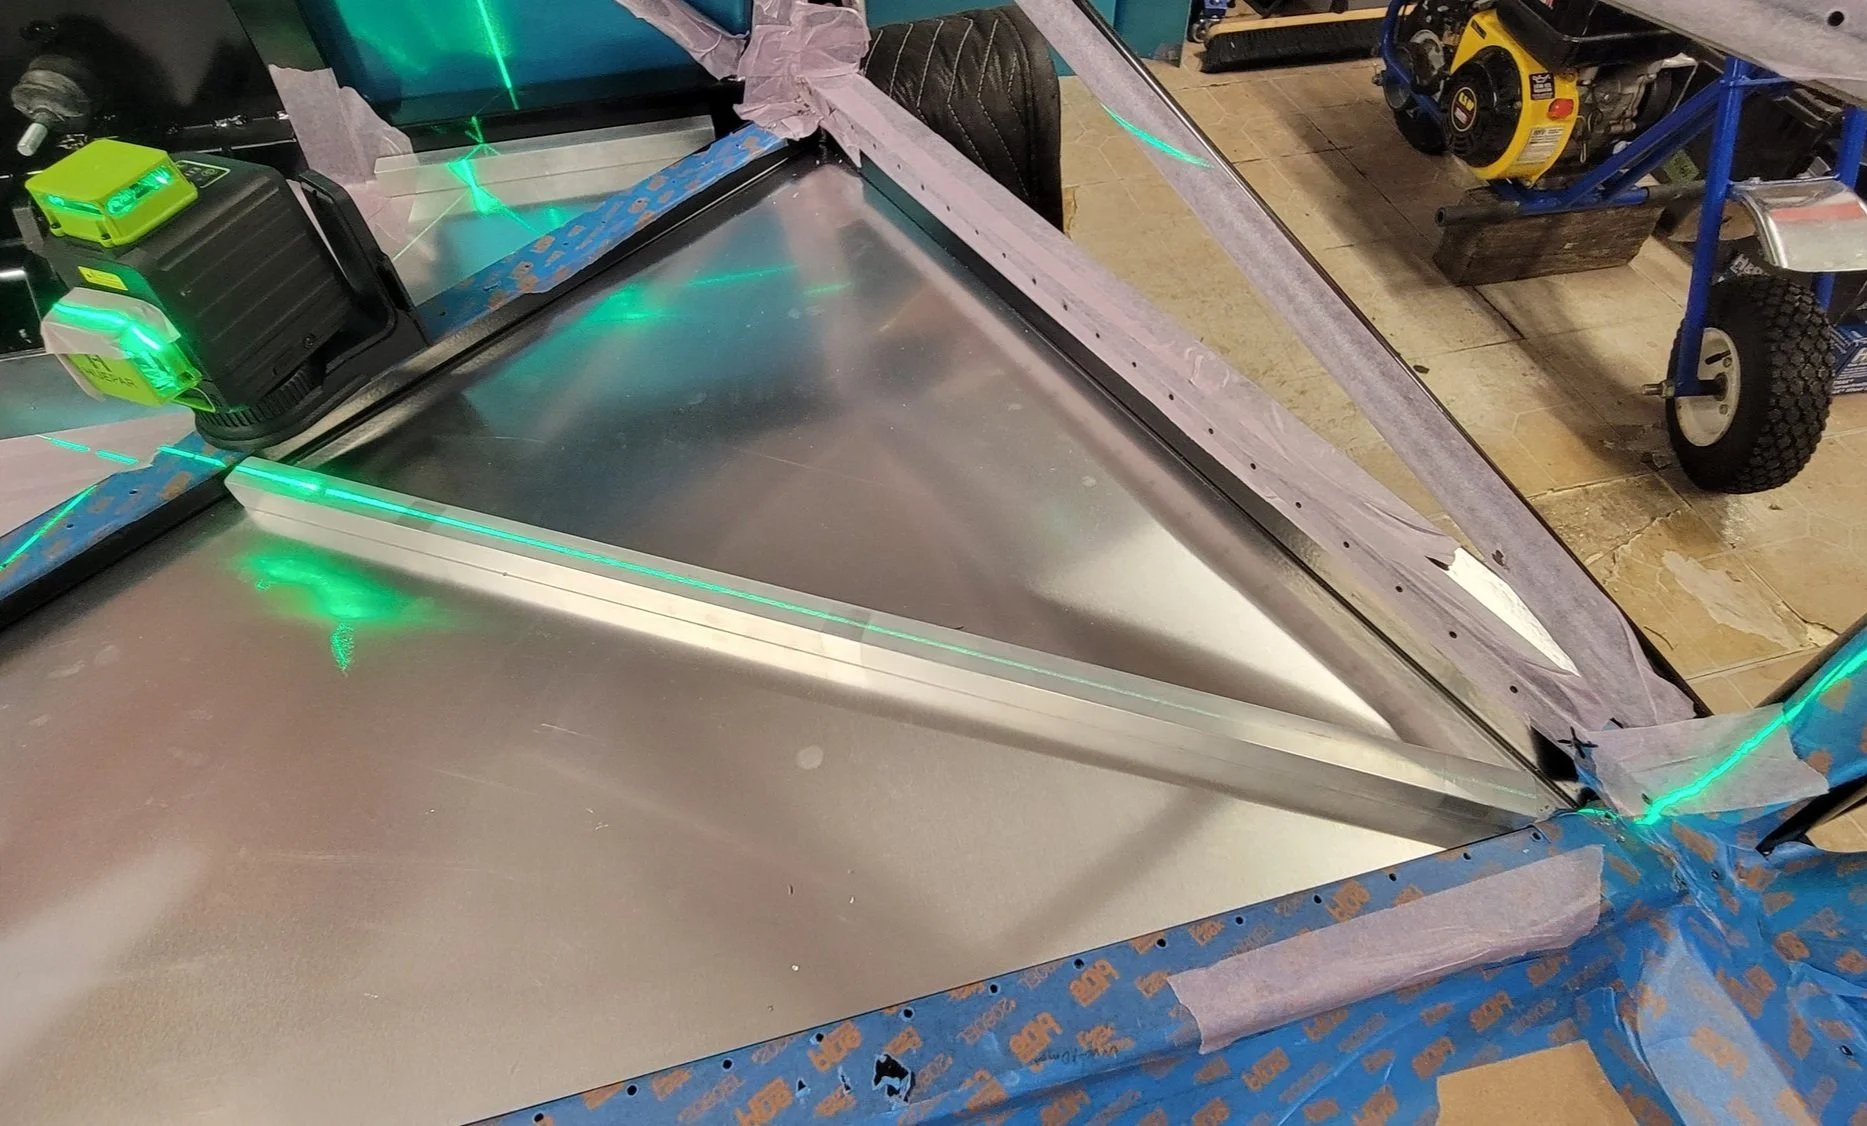
While I am technically building a race car for the street I do prefer to have a little comfort when driving to and from the tracks. I’ve opted for all double skin options and will be utilizing insulation in critical locations, see further down for details. At this point I need to finish a few bends for final fitment of the floor pan. Nothing too exciting; a workbench, hammer and some clamps give the necessary support and results. Note, I did drill relief holes at the corner to prevent any possible tearing during the bends. I don’t remember the drill size, it was small.
After bending I needed to finish up the edges to ensure floor sits level at all points, I purposely left the bend tail long, easier to file down than fill a gap.
Floor bracing
After general panel fitment and hole drilling, I proceeded to get the under braces aligned and fitted. Nothing too difficult aside from matching start/finish rivet holes for a clean look. Attempting to look like a professional.
Rolling Panel Edges
I spent some time thinking about how best to complete this task, the official build manual recommends to rivet rear and side panels on then roll them with block and hammer. This would not yield a tight fitment due to spring back of the aluminum. My solution should be simple to replicate, I took an 1/8” piece of aluminum bar, drilled holes to match rivet spacing and used it to offset the panel. Then slowly worked to roll it while holding in place with cleco’s. Happy with results.

Dead Pedal Fitment
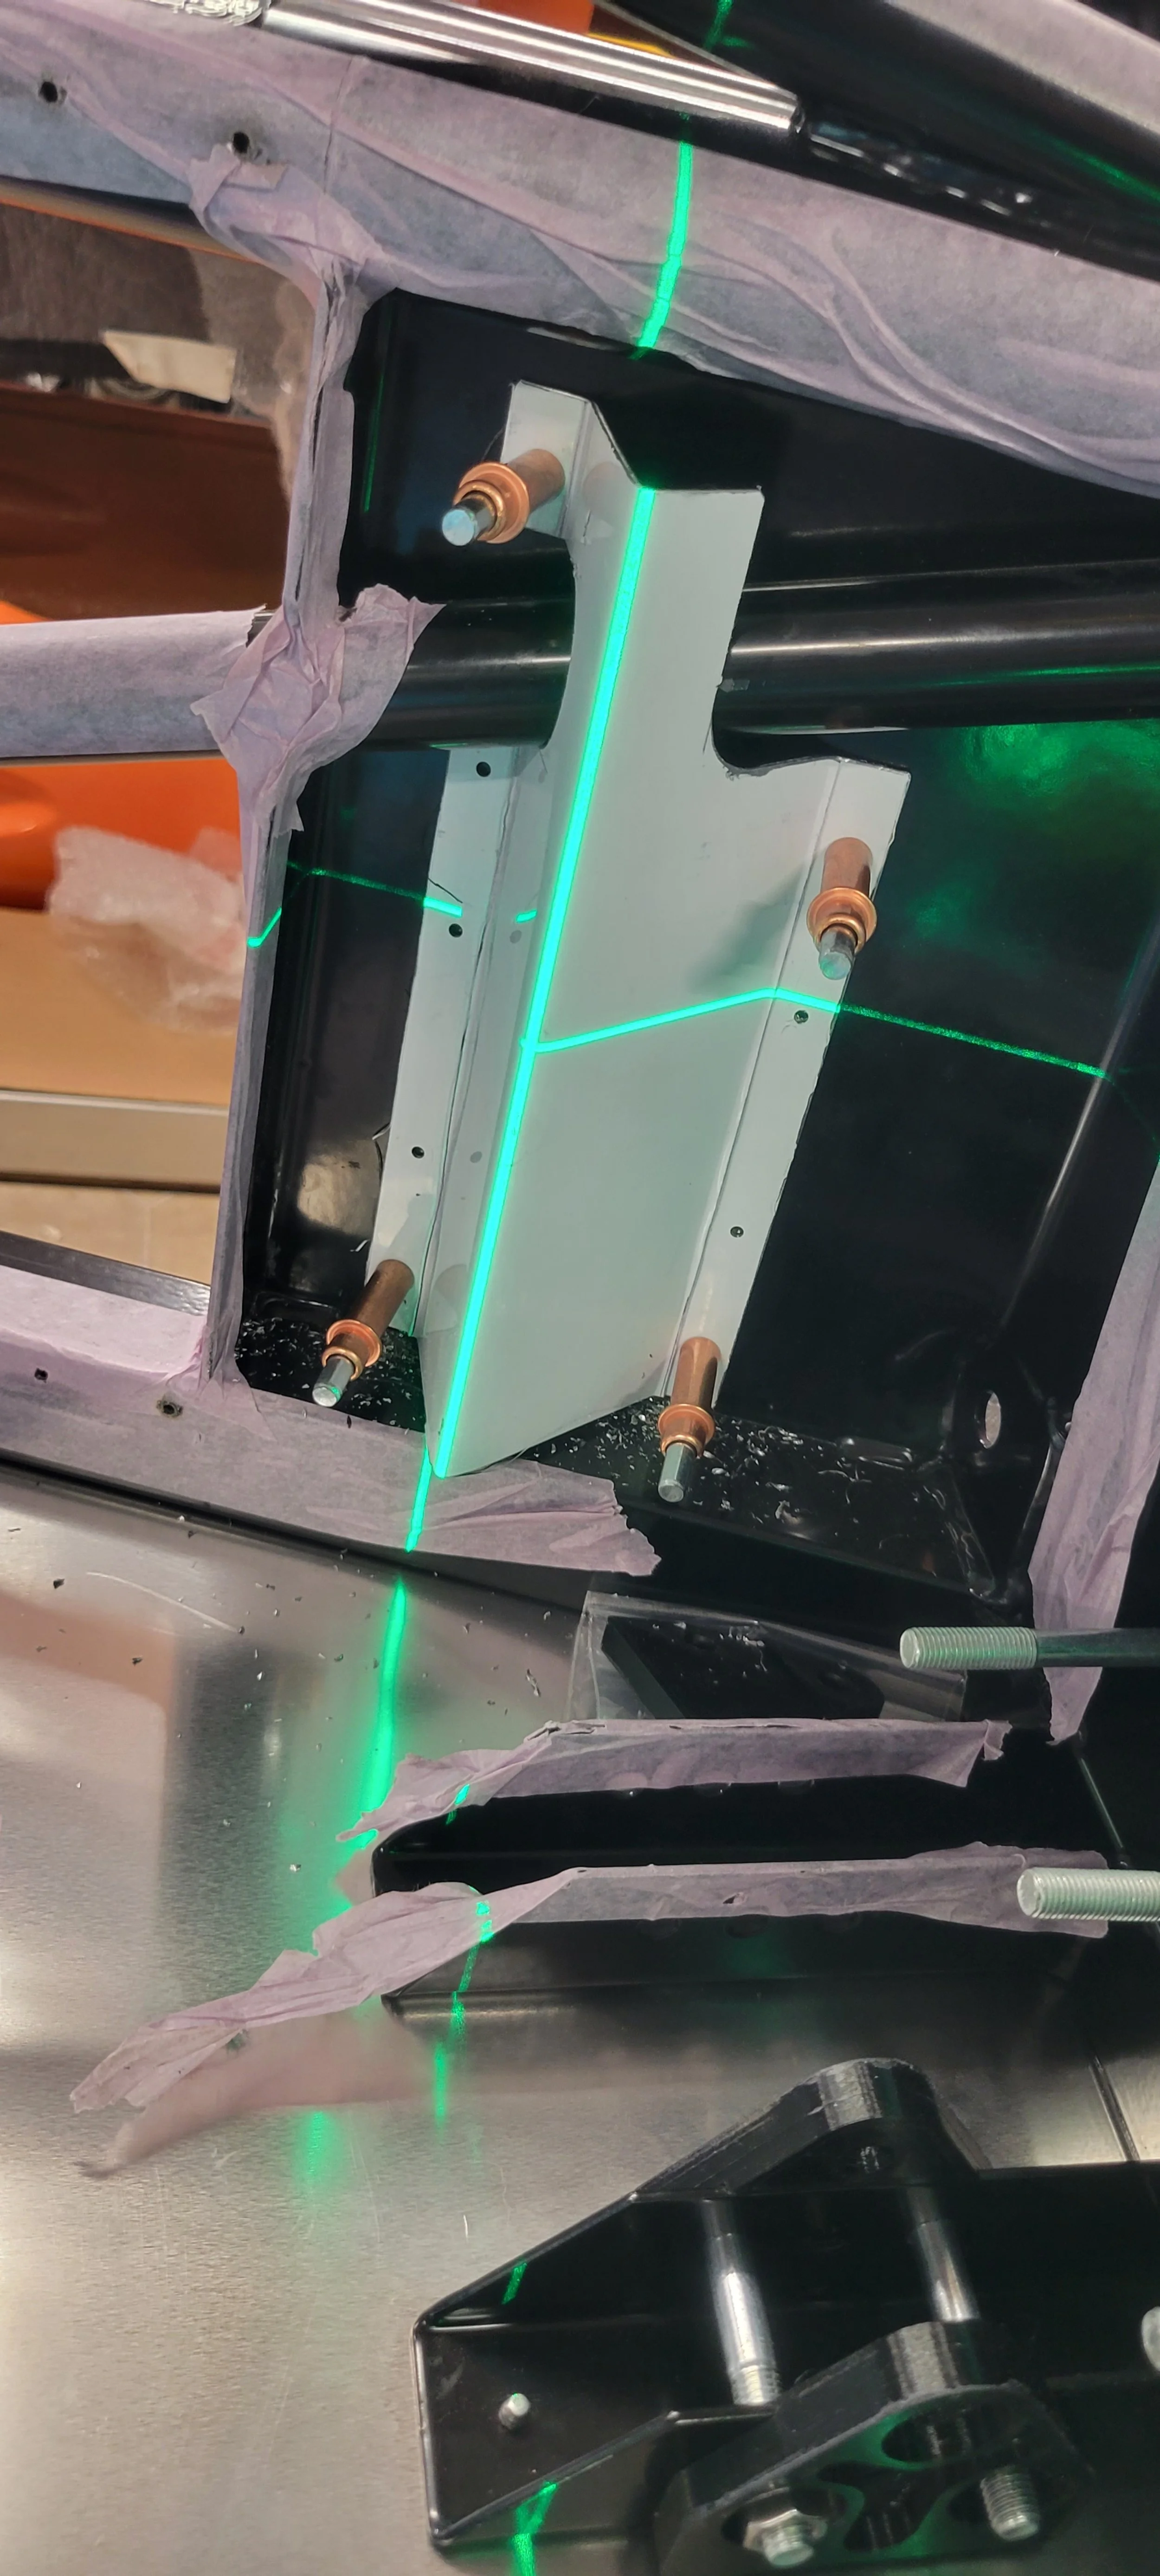
Not entirely sure how important the placement is on this pedal because well its tiny and it wasn’t setup for any angle. Opted to get out laser level again to match a perfect 90° relative to floor.
Prior to mounting I’ll be adding skate board grip tape.
For now on to other things!
Rear Panel Attachment
Another exciting round of panels. No need to bore anyone with the process. I will share that this panel has 87 rivets…
Last Update for this Post
Update on the prototype brake pedal modification. Received the first version in aluminum. More details to follow with a full detailed post on testing and design specifications.


