LS Miata Dry Sump Install - Day 1
The time has finally come. I’m pulling the engine and starting the fun of getting race car goodies stuffed into this little innocent 1994 Miata. It has been quite some time since this car left my hands and it has seen some fun drifting and track adventures. Along with a bit of spilt oil along the way….

Go fast parts

First Things First
Before I disassemble the entire car I would be smart to check the new oil tank will fit in the trunk.
Yup all good. Don’t mind my concentration face. Thinking about where lines and other items will ultimately live.
Mock up and build of the brackets will be another day. Game plan is to end up with the oil tank, a breather (repurpose existing) and oil filter will all live in the trunk.
Let’s Get Started!
First task for any engine pull or most automotive work is to get it up on jack stands. Normal routine task for a miata, using a block of wood to distribute load and lift in the middle behind the side pinch weld let’s us lift one side at a time.
NOTE: Side mirrors are a great reference for the relative center of weight front to rear.
Next up. Disconnect the battery or in this case flip the kill switch. While I am an electrical engineer and have wrangled many electrons, it still isn’t that fun and also risks burning up things (including my 10mm wrench).
Soon after I started draining oil to let as much get out while I worked on pulling apart pieces of the front clip.
Pull front wheels for better access
Adjust headlights halfway up (manually) to get at bumper bolts
Remove front cover between bumper and radiator (each has 3 M6x1.0 bolts use a 10mm)
careful they have washers underneath as spacers
Unbolt the splitter / lower bumper (set of M6x1.0 … don’t loose your 10mm)
I chose to take the row attaching the bumper and left the splitter mostly attached
Also connected on the corners via the small metal struts
Remove the tow hook (tip… remove the passenger marker light for easy access to the pair of 19mm bolts)
Take off the pesky pair of 10mm bolts hiding in the fender wells behind the liner on each side of the bumper
Slide off the nose and hope you didn’t forget anything! If so, find it and unbolt


Time to Drain More Fluids
At this point the engine should be mostly void of oil. I took the opportunity to drain the transmission and move onto removing the undertray itself. Great product from LRB Speed, using all factory mount points along with consistent use of 10mm in locations attaching the sides to floor.

That miata smile in the still taunting you.
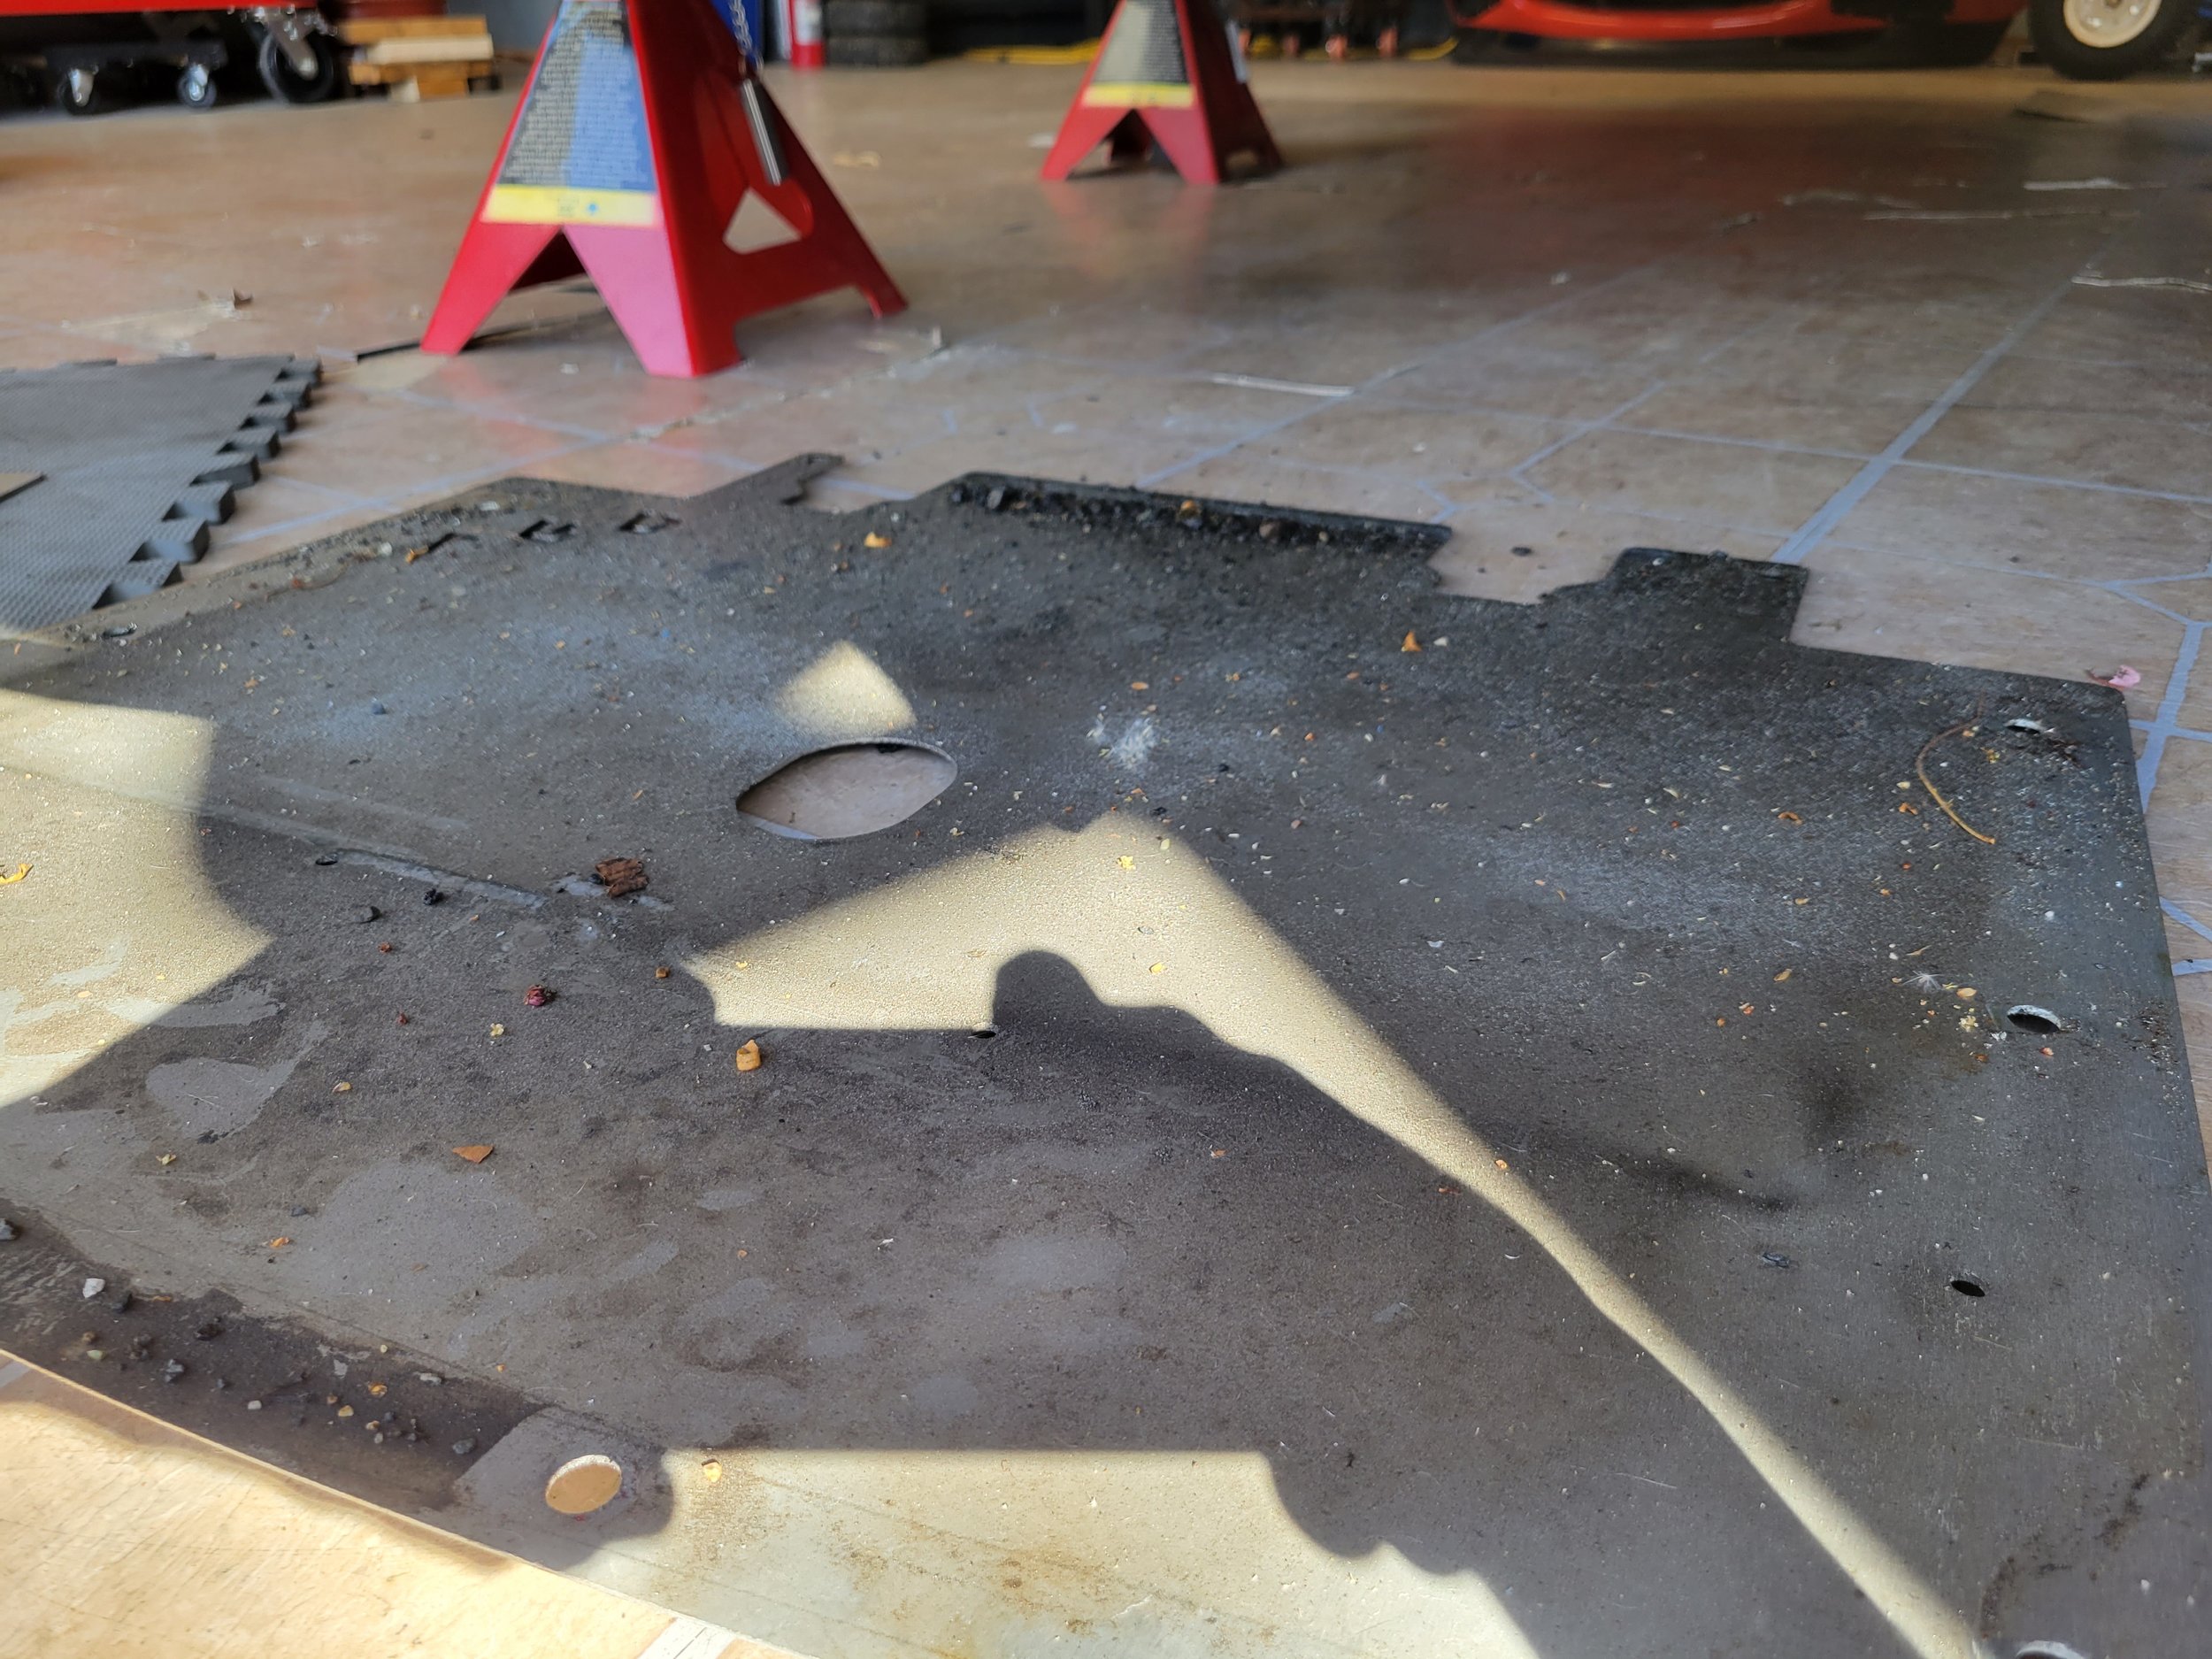
Clearly the miata has been cleaning up the streets. Collecting rocks!
Once the floor is off, next up is the radiator water.
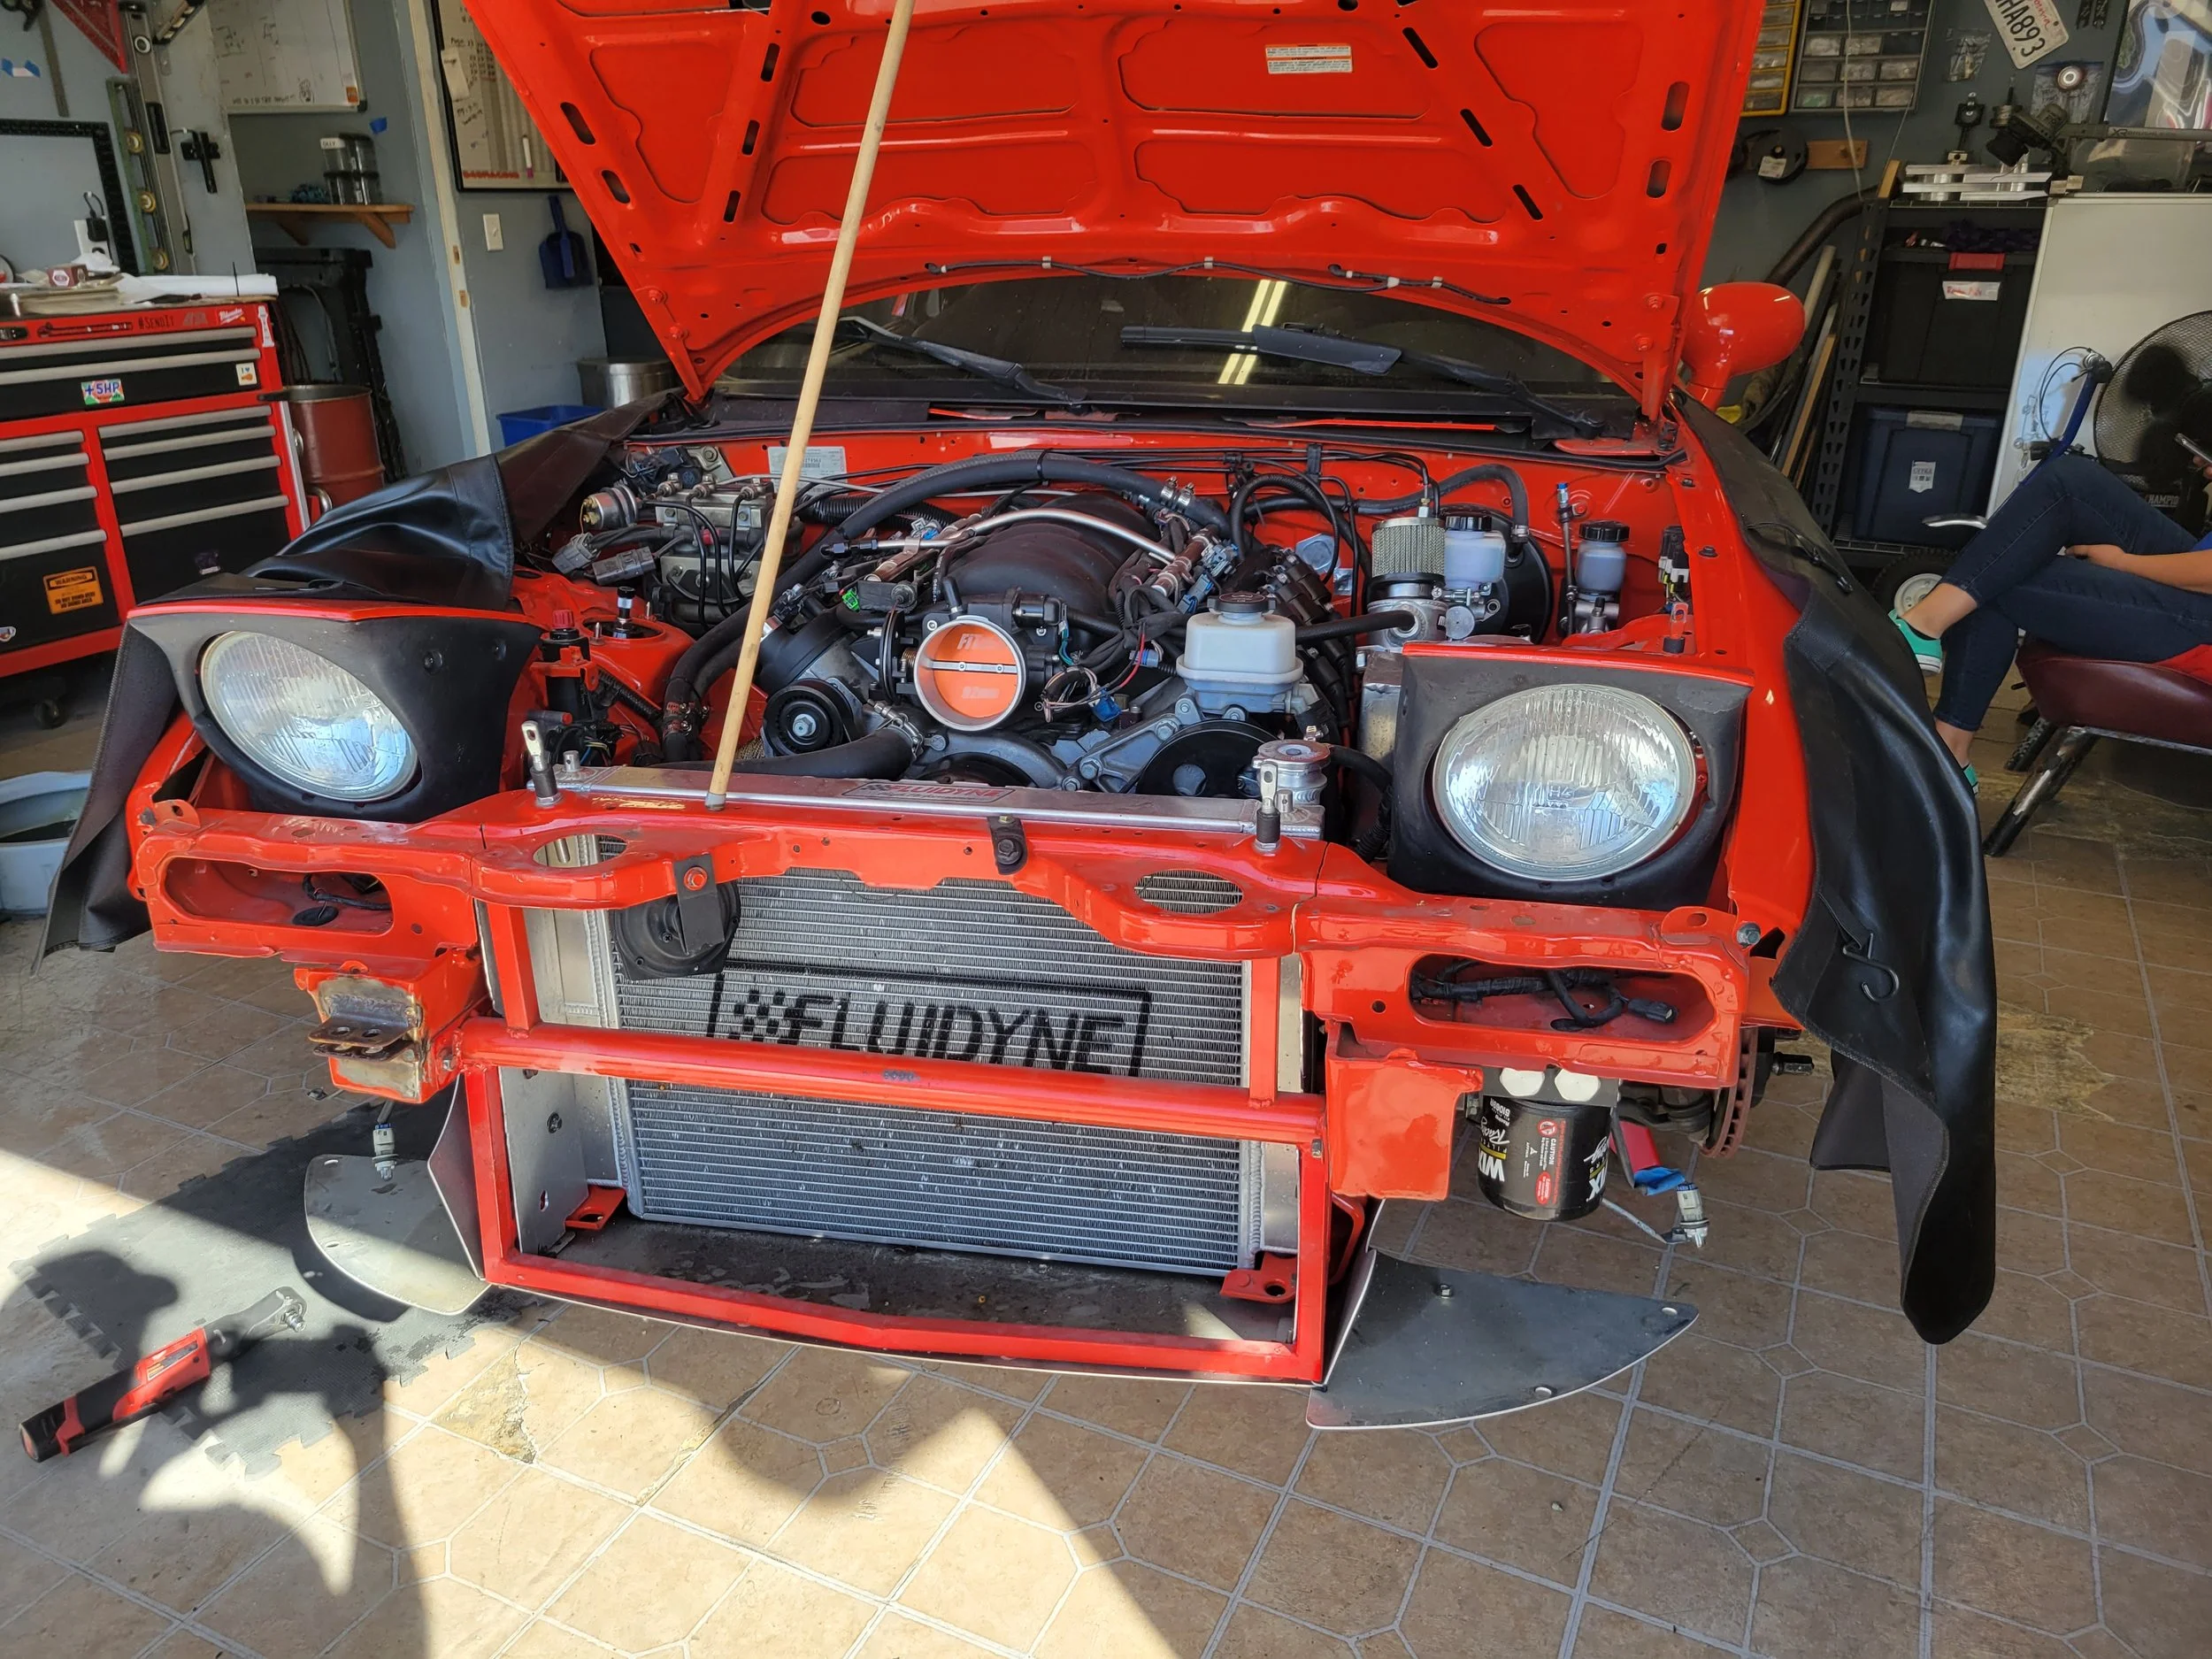
For this particular build we decided to make the front completely removable to assist with the future engine pull (now). There are a pair of 12mm bolts into the frame rails on each side, along with a 10mm hiding up under the top cross brace.
When I got a friend nearby I pulled off the hood since I’ll need it off for the hoist. Easy set of four 14mm nuts.


Notes along the way
The front sway bay was connected on the softest setting.
The end links are attached with 17mm.
If you caught the zip ties in the back ground you may wonder what they hold. They retain the ABS sensor wire which from factory mounted to the shock body. I might look for a hose clamp to attach it a bit more firmly upon reinstallation.

More Notes
I always try and make as many notes to my self as possible. It just helps during the reassembly. You may assume it will just be next weekend, but in my experience it almost never is that quick so NOTES!
This is the pair of radiator hoses to the heater core. Simple label with blue tape will save me time in the future.
Future me says thank you!
Look at the access when you create a removable cross brace! Do it if you are going to swap in an LS.
At this point I was getting close to ready for the hoist, but it was getting dark and I was approaching 4 solid hours of work on the car. I decided to tidy up things and just cover the last few major items. One major item which isn’t too difficult is the exhaust system and driveline.
First take off the subframe brace, six 17mm bolts. Then it falls on you so plan ahead and use something powered to get the bolts out quicker.
Exhaust can be removed by taking off the clamps to the header (14mm) along with the V-band clamps connecting it to the muffler. Take each one down as a whole piece, which may take a few curse words to remove.
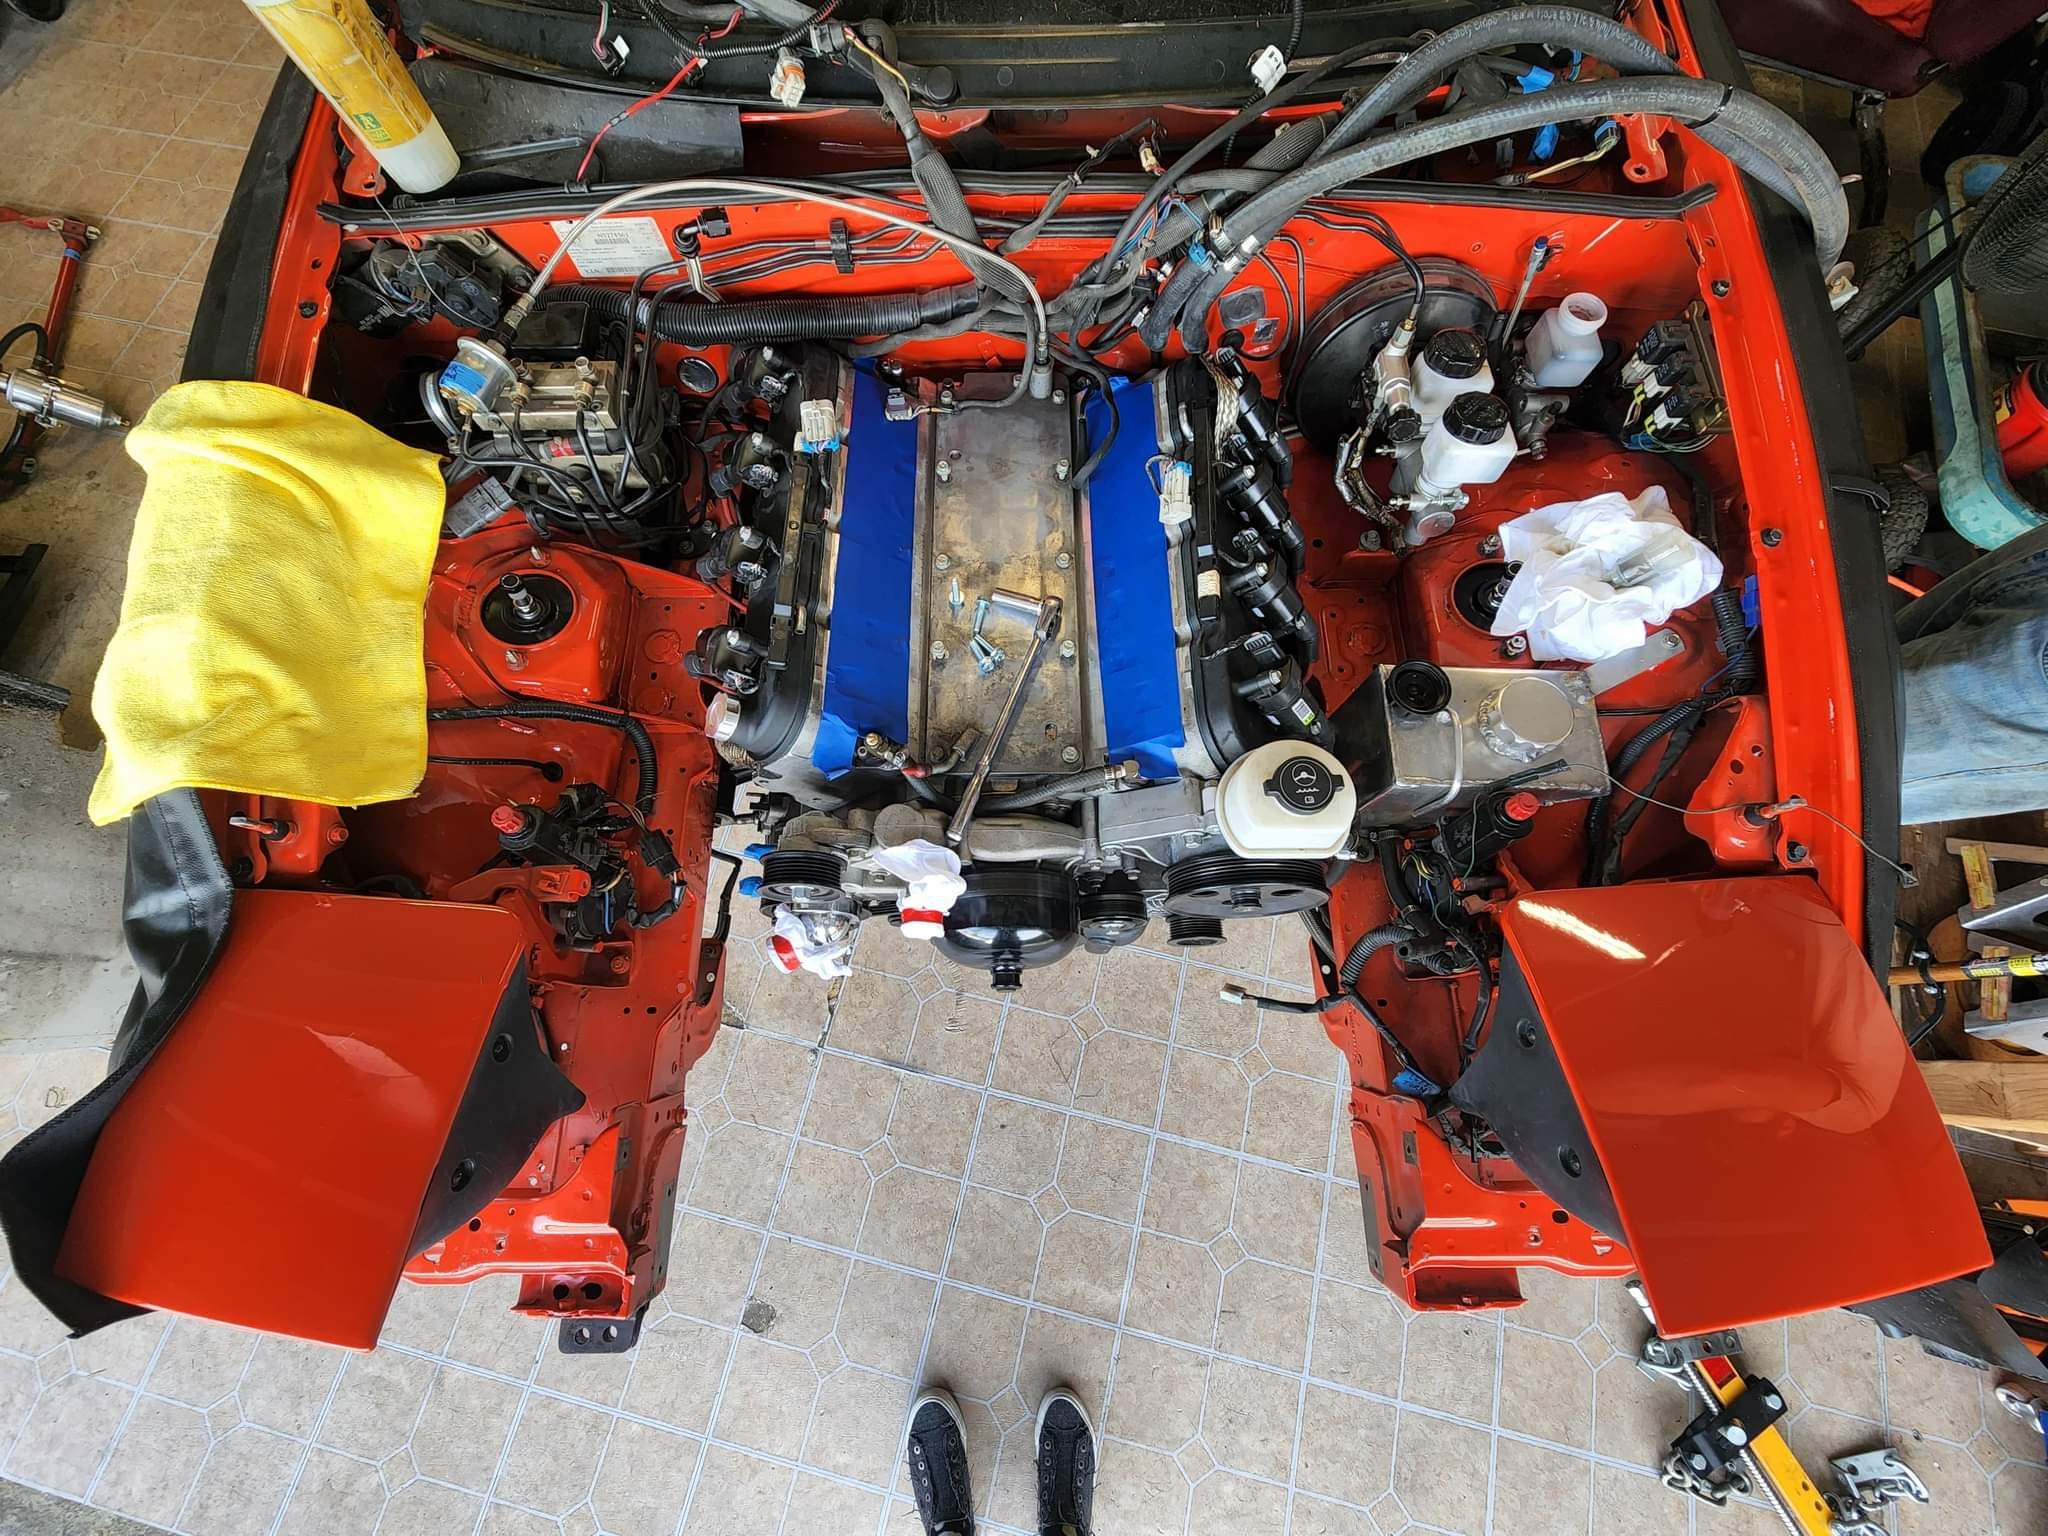
From there I was looking at ways to pick the engine/trans/subframe. In the past I’ve always used the points at the front and back of each head and this worked okay. The rear bolts were always a pain in the ass so I figured I would look at using the points below the intake. Intake was removed with ten 8mm bolts, easy enough. Then just pulling the vacuum hose from the brake booster and snaking out the entire assembly.
I had previously disconnected most of the engine harness and spent a bit of time relabeling all the injector plugs that had become tattered.


Calling it a Night
I’ll be back at it tomorrow to get this beast out and ready for pulling the pan. About 4.5 hours today spent in disassembly. Whenever I build something I try and think about how it will come apart. I am very glad we included the removable cross front member, it opens up access to engine components trivial.