RS Blog 14 - Plumbing for Electrons and Liquids
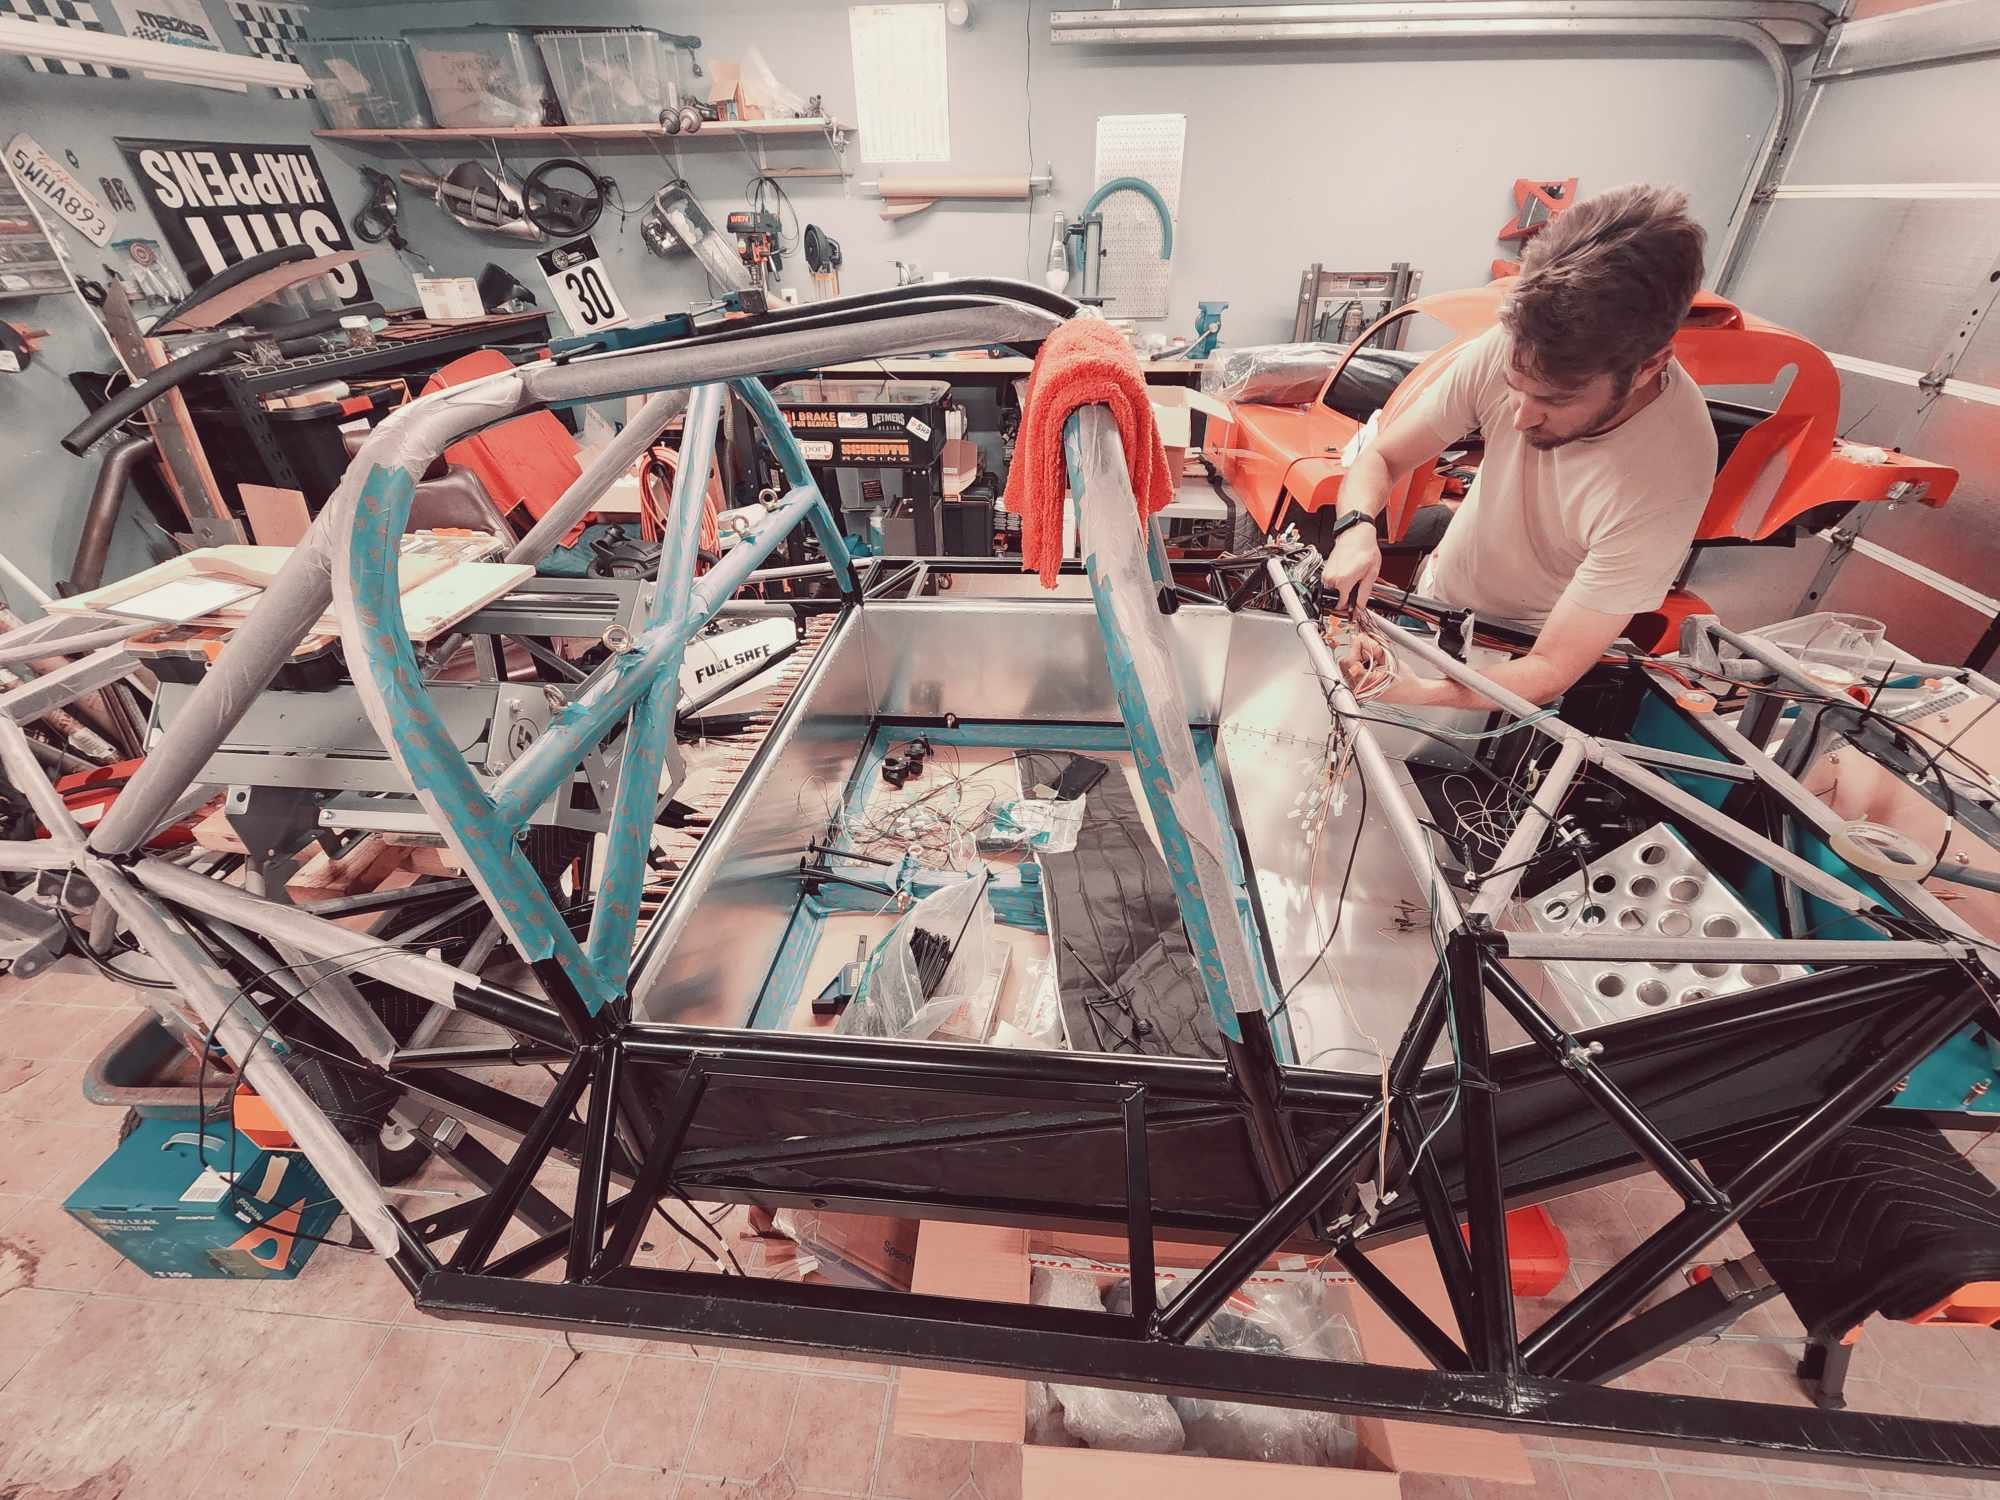
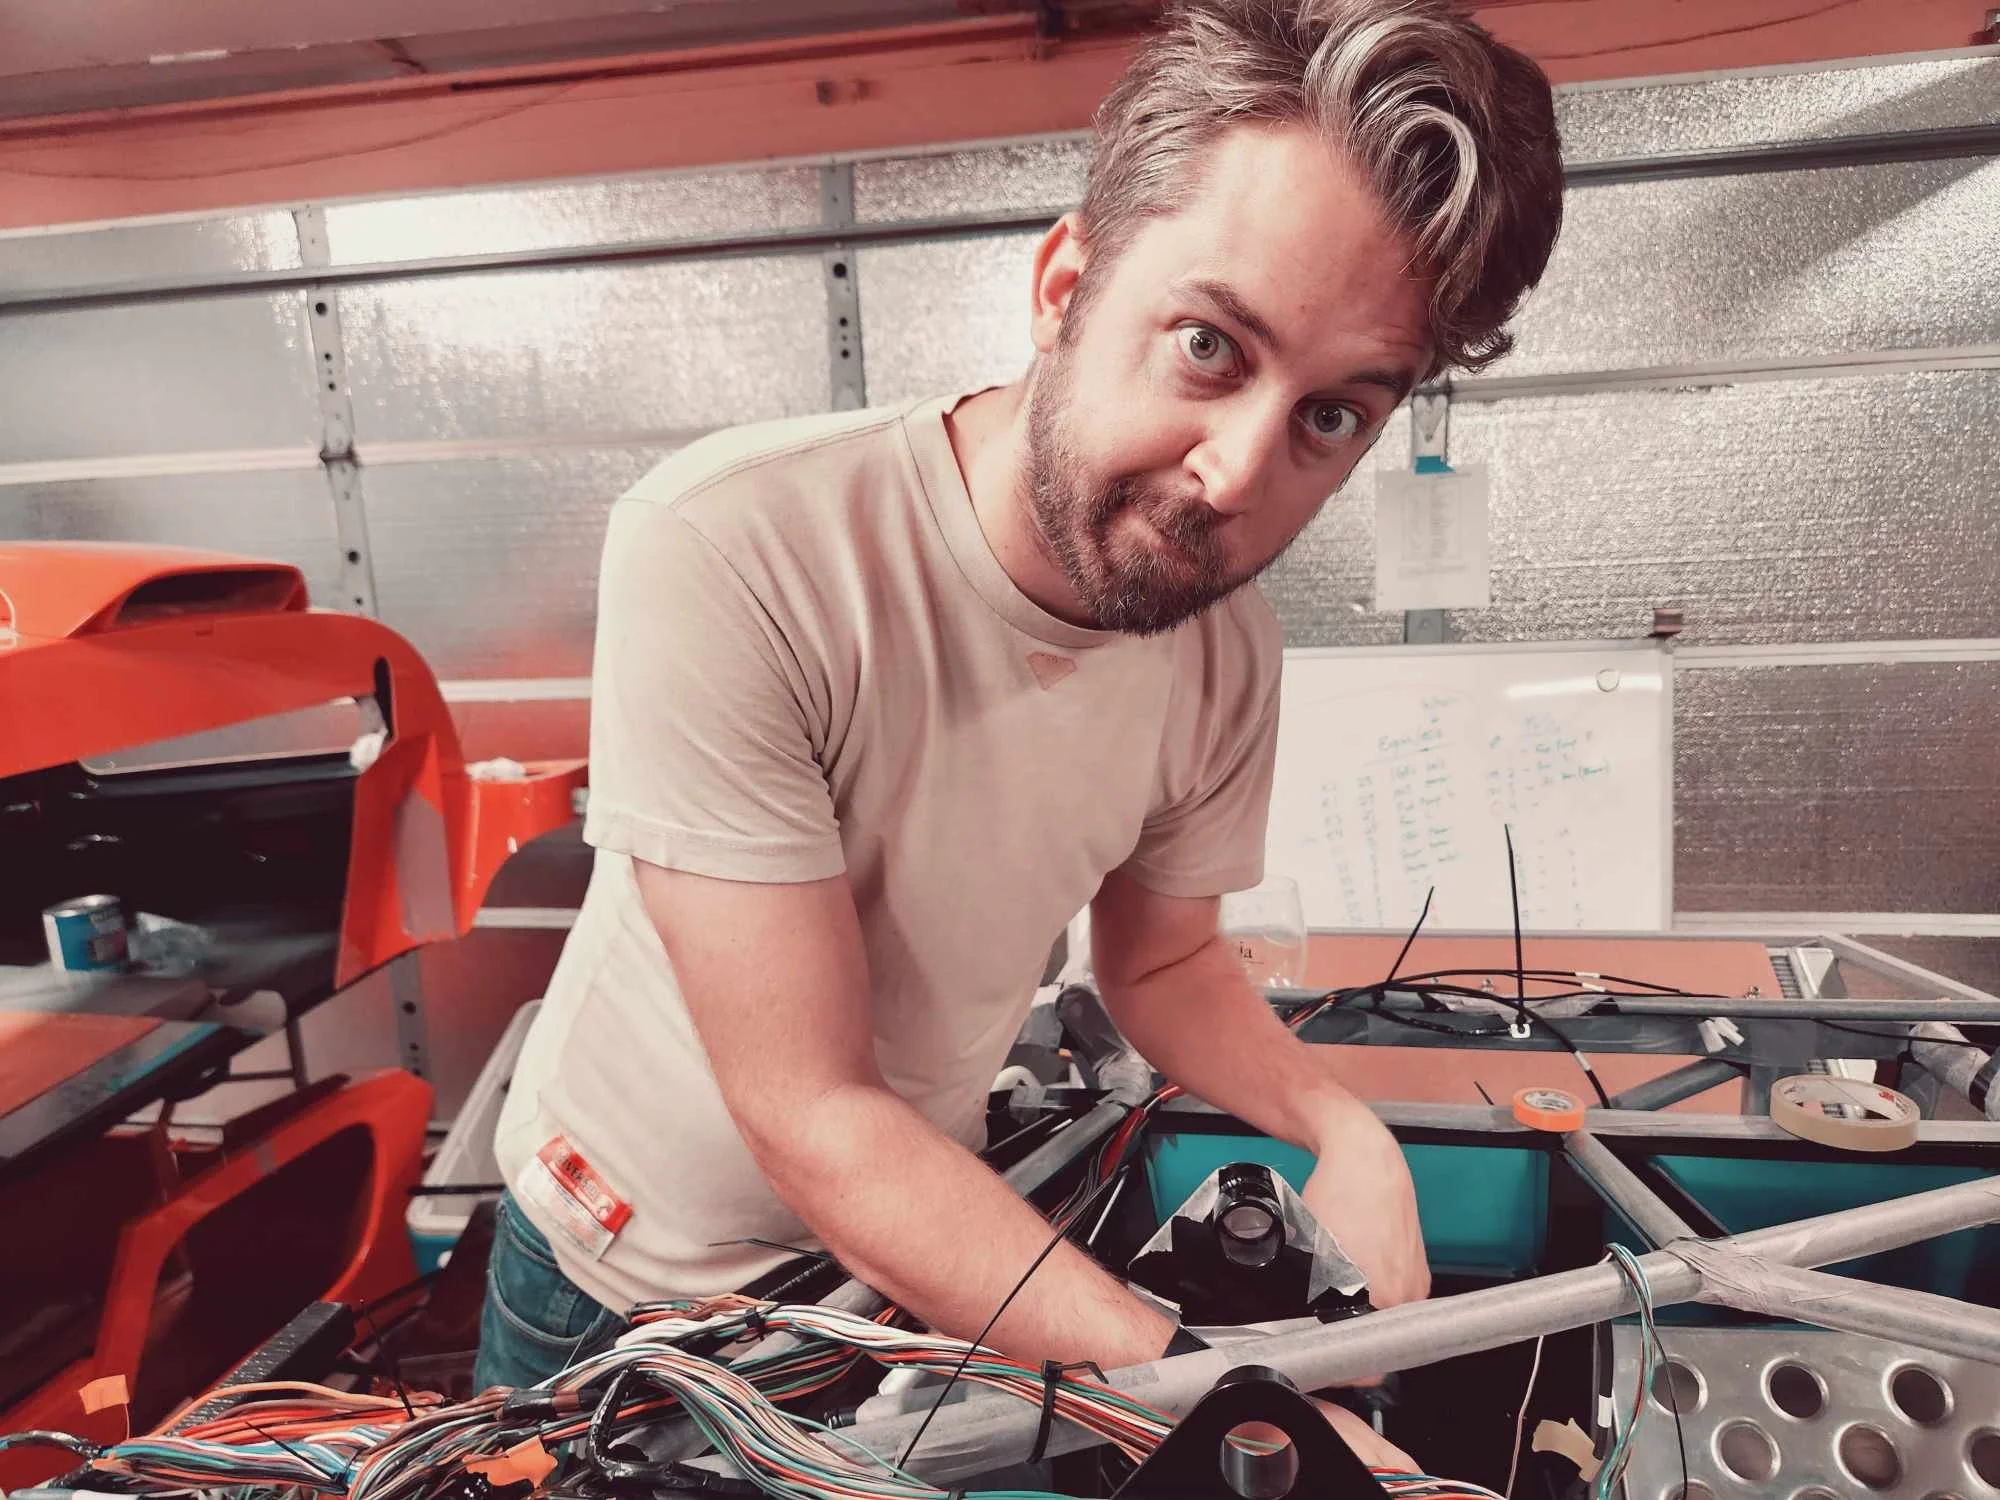
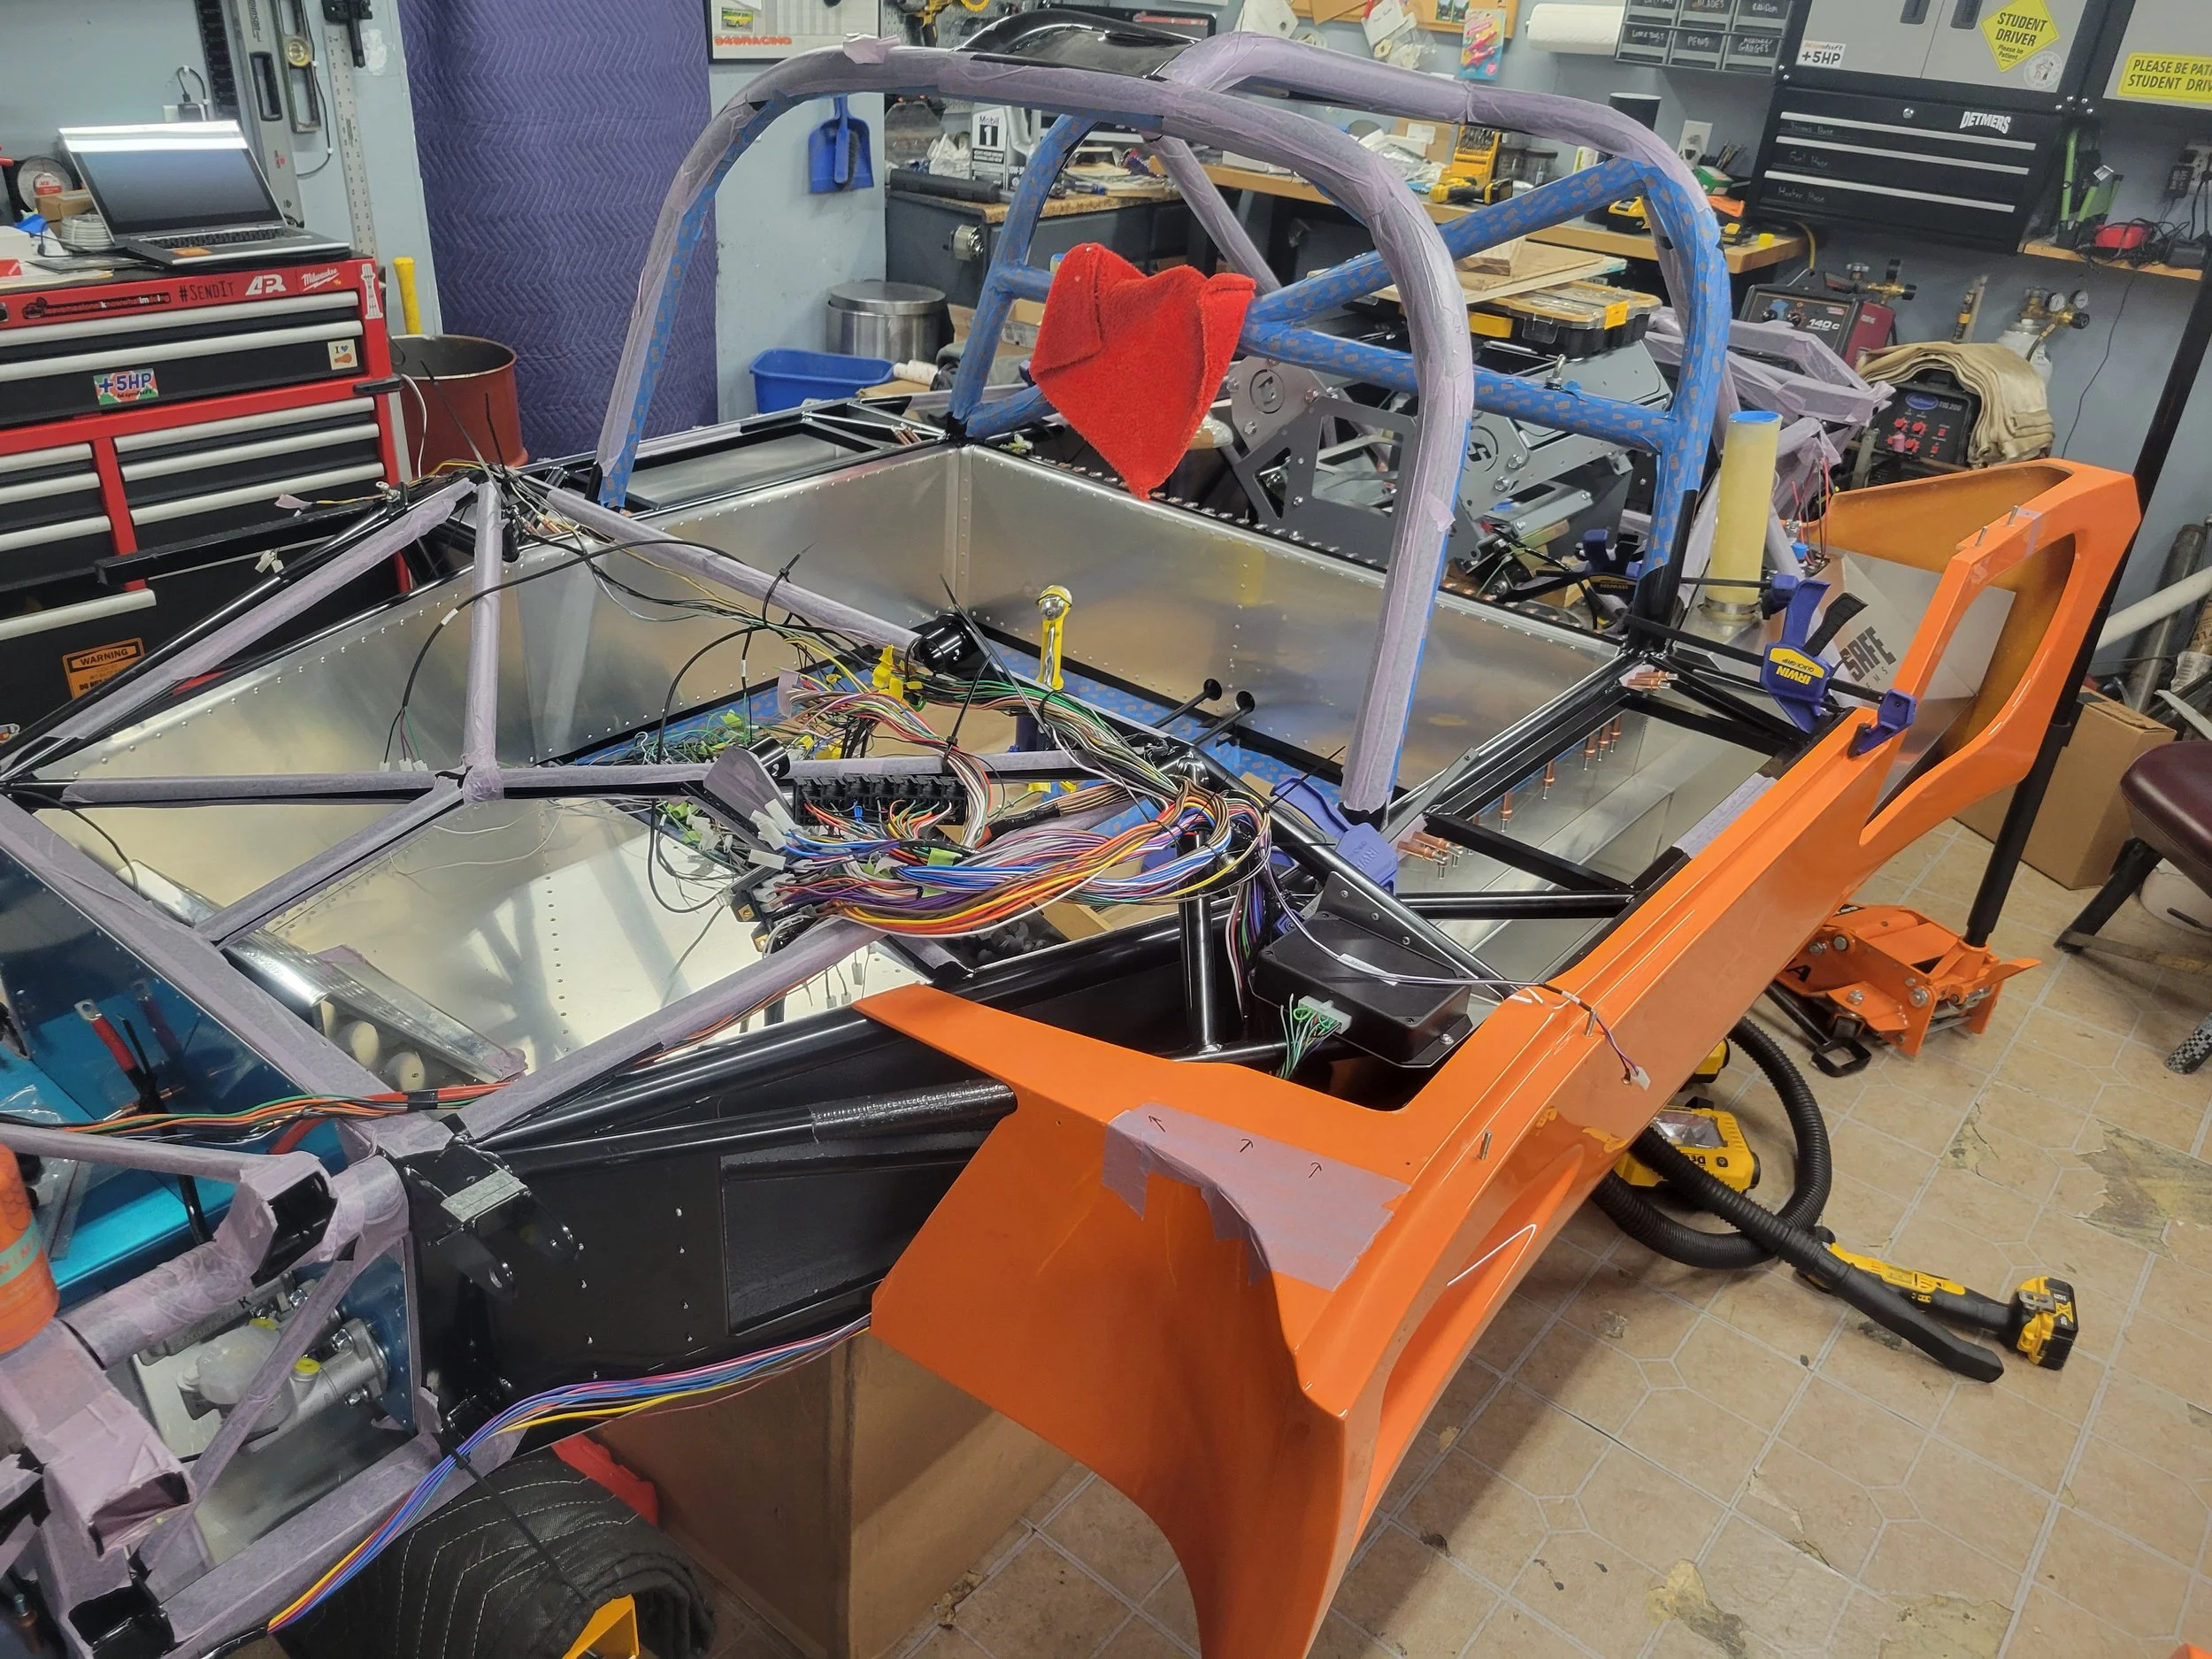
Finally getting into the more exciting things. Putting on coolant lines, routing wiring, sorting out engine computer and attaching luggage containers. This part has me opening boxes almost every day to mock up and test fit pieces. Working through routing and fitment of all the parts before final attachment. Ultima does provide overall wiring and plumbing guides, but I’m deviating here and there as well as trying to keep it clean and organized instead of just adding on parts to the system one by one. Plan instead of chaos.
1st Up - Chassis wiring
Laying out the factory provided harness I was very disappointed. All routing was pretty well sorted out, yet all connectors were terrible single pin, un-labeled beyond the group of pins and nothing provided a positive lock. Essentially all the connections are push together butt splices, including those into the fuse and relay panels. So many opportunities for corrosion and poor connections, I’ll be replacing them all with connectors much more modern.
Other small item I’m upgrading is the cable tabs, they were all plastic so they will be replaced with stainless steel ones wrapped in rubber. They are a bit pricey, but I just don’t trust cheap plastic ones to not degrade or break under heat and vibration.


So what will I be fixing the frustrating connections and fuse panels….. spend a pile of money to make it amazing.
Before that I’ll need to peel open the harness wrapping. Using a clever trick I learned on YouTube, taking a sewing seam cutter and it slices through tape and wraps while not hurting the wires. Much easier than a knife or scissors. PSA your welcome.
Enter a Haltech Nexus R5 and PD16
Key benefits it will bring; power distribution and control via solid state instead of any fuses or relays, incredible flexibility for all systems and logging all issues.
Solid State power - never replace a blown fuse again, custom fault clearing values, etc.
Flexibility
Flashing brake lights during hard braking, no problem
A/C control and engine load management, yes sir
Cruise control and deactivation via brake switch, it will do it
Variable cooling fan control, yup
Push button auto starting, easy peezy
CAN connection to dash with all chassis functions, got it
TPMS sensors integrated, yaya
Logging - so I can know why it broke
Coupled with Aim MXS 1.3 with Street Icons
More cleverness and dash clutter minimization. This dash unit provides complete flexibility for controls and warnings on top of the amazing lap timing functionality.


Eagerly awaiting arrival of the Haltech goodies, in the meantime I have been digging into their NSP software which is incredibly intuitive. Very quick to learn the input/output setting along with various other setup parameters. I’ve worked with TunerStudio (MS), ProEFI, Haltech and Holley a little. By far I am impressed the most with Haltech and look forward to continued learning their products.
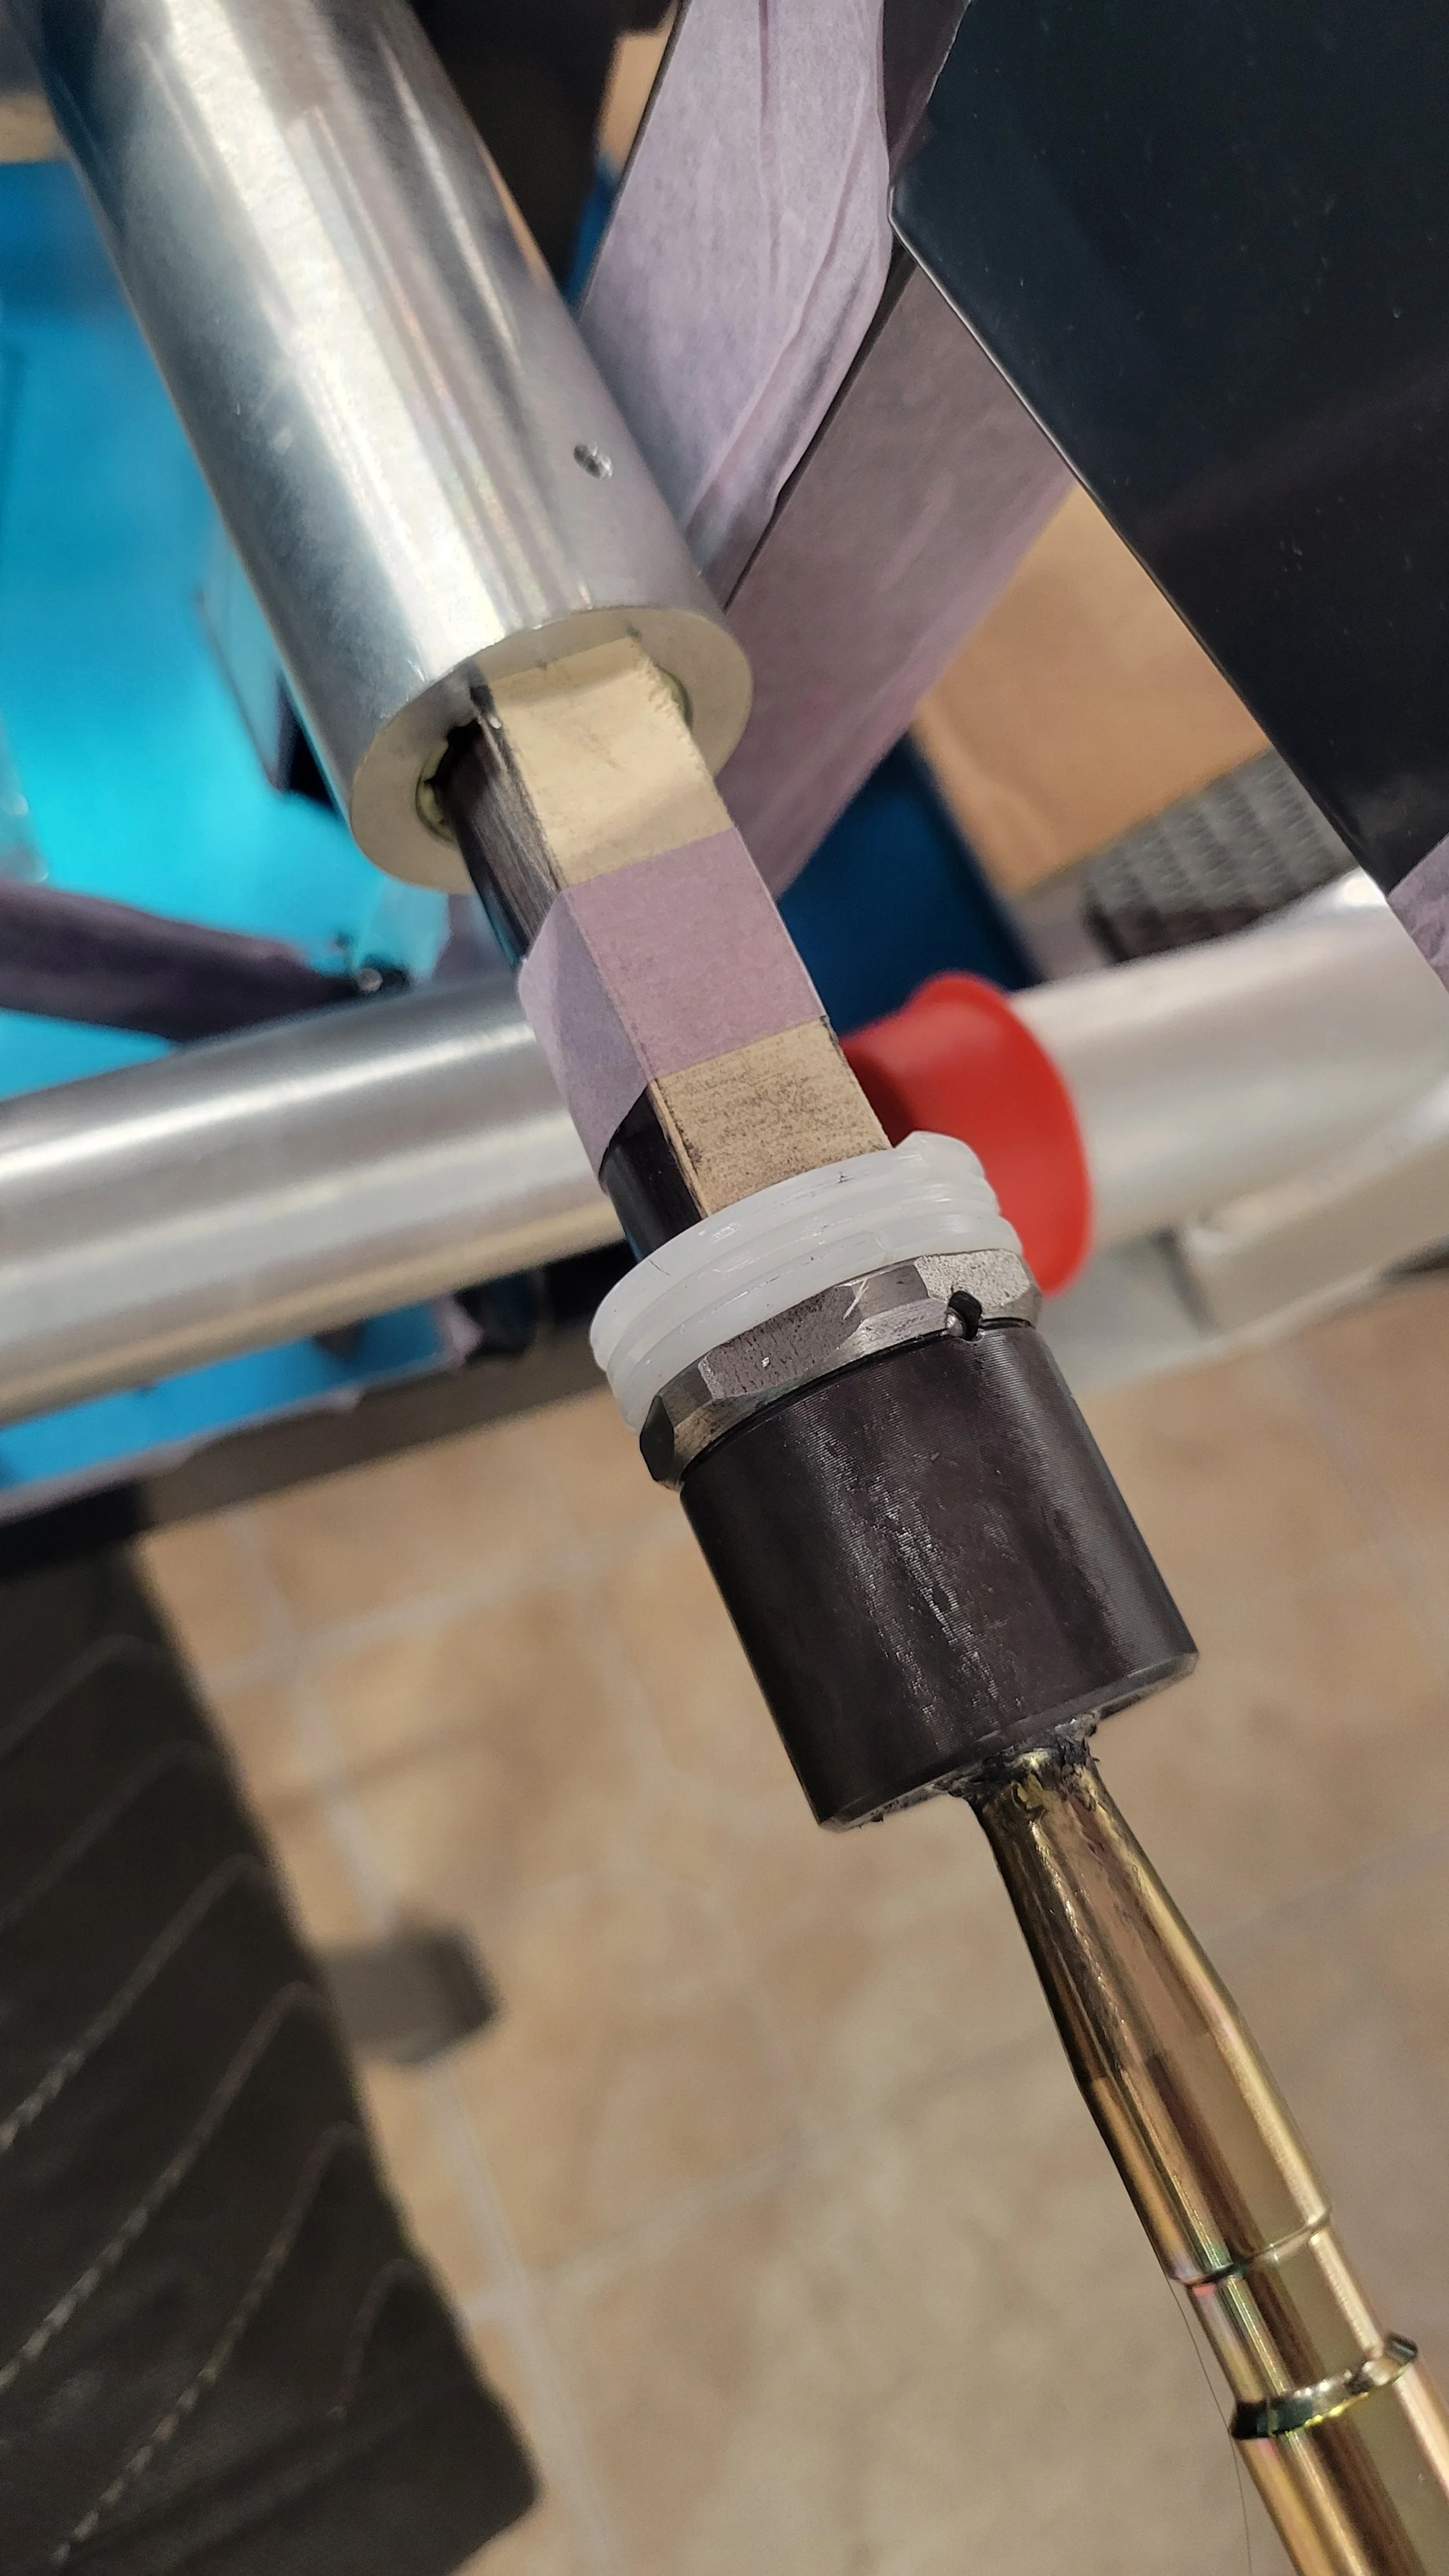
While playing with wires, I’ve been also trying to lay out other items including coolant lines, steering rack, side pods, accelerator pedal, and applying some PPF to interior panels. A few take away’s from these items, when centering the steering rack the factory recommends to cut down angle steel to make a pair of spacers. Instead I cut down small pieces of wood to prevent scratching the rack and risking damage to seals. Secondly PPF covers aluminum paneling very nicely, spray with window cleaner or other mild liquid then to cut around each rivet use a hole punch by hand. Gently rolling around the rivet head to cut out that part of PPF. Even if I decide to finish the interior differently I’ll have a clean starting point without scratches.


More progress very soon! VCU (Haltech) mounting, lift pump fitment and HVAC system.
Current progress is Lando approved!
Until next time…
