Reverting from Hover to Wheels
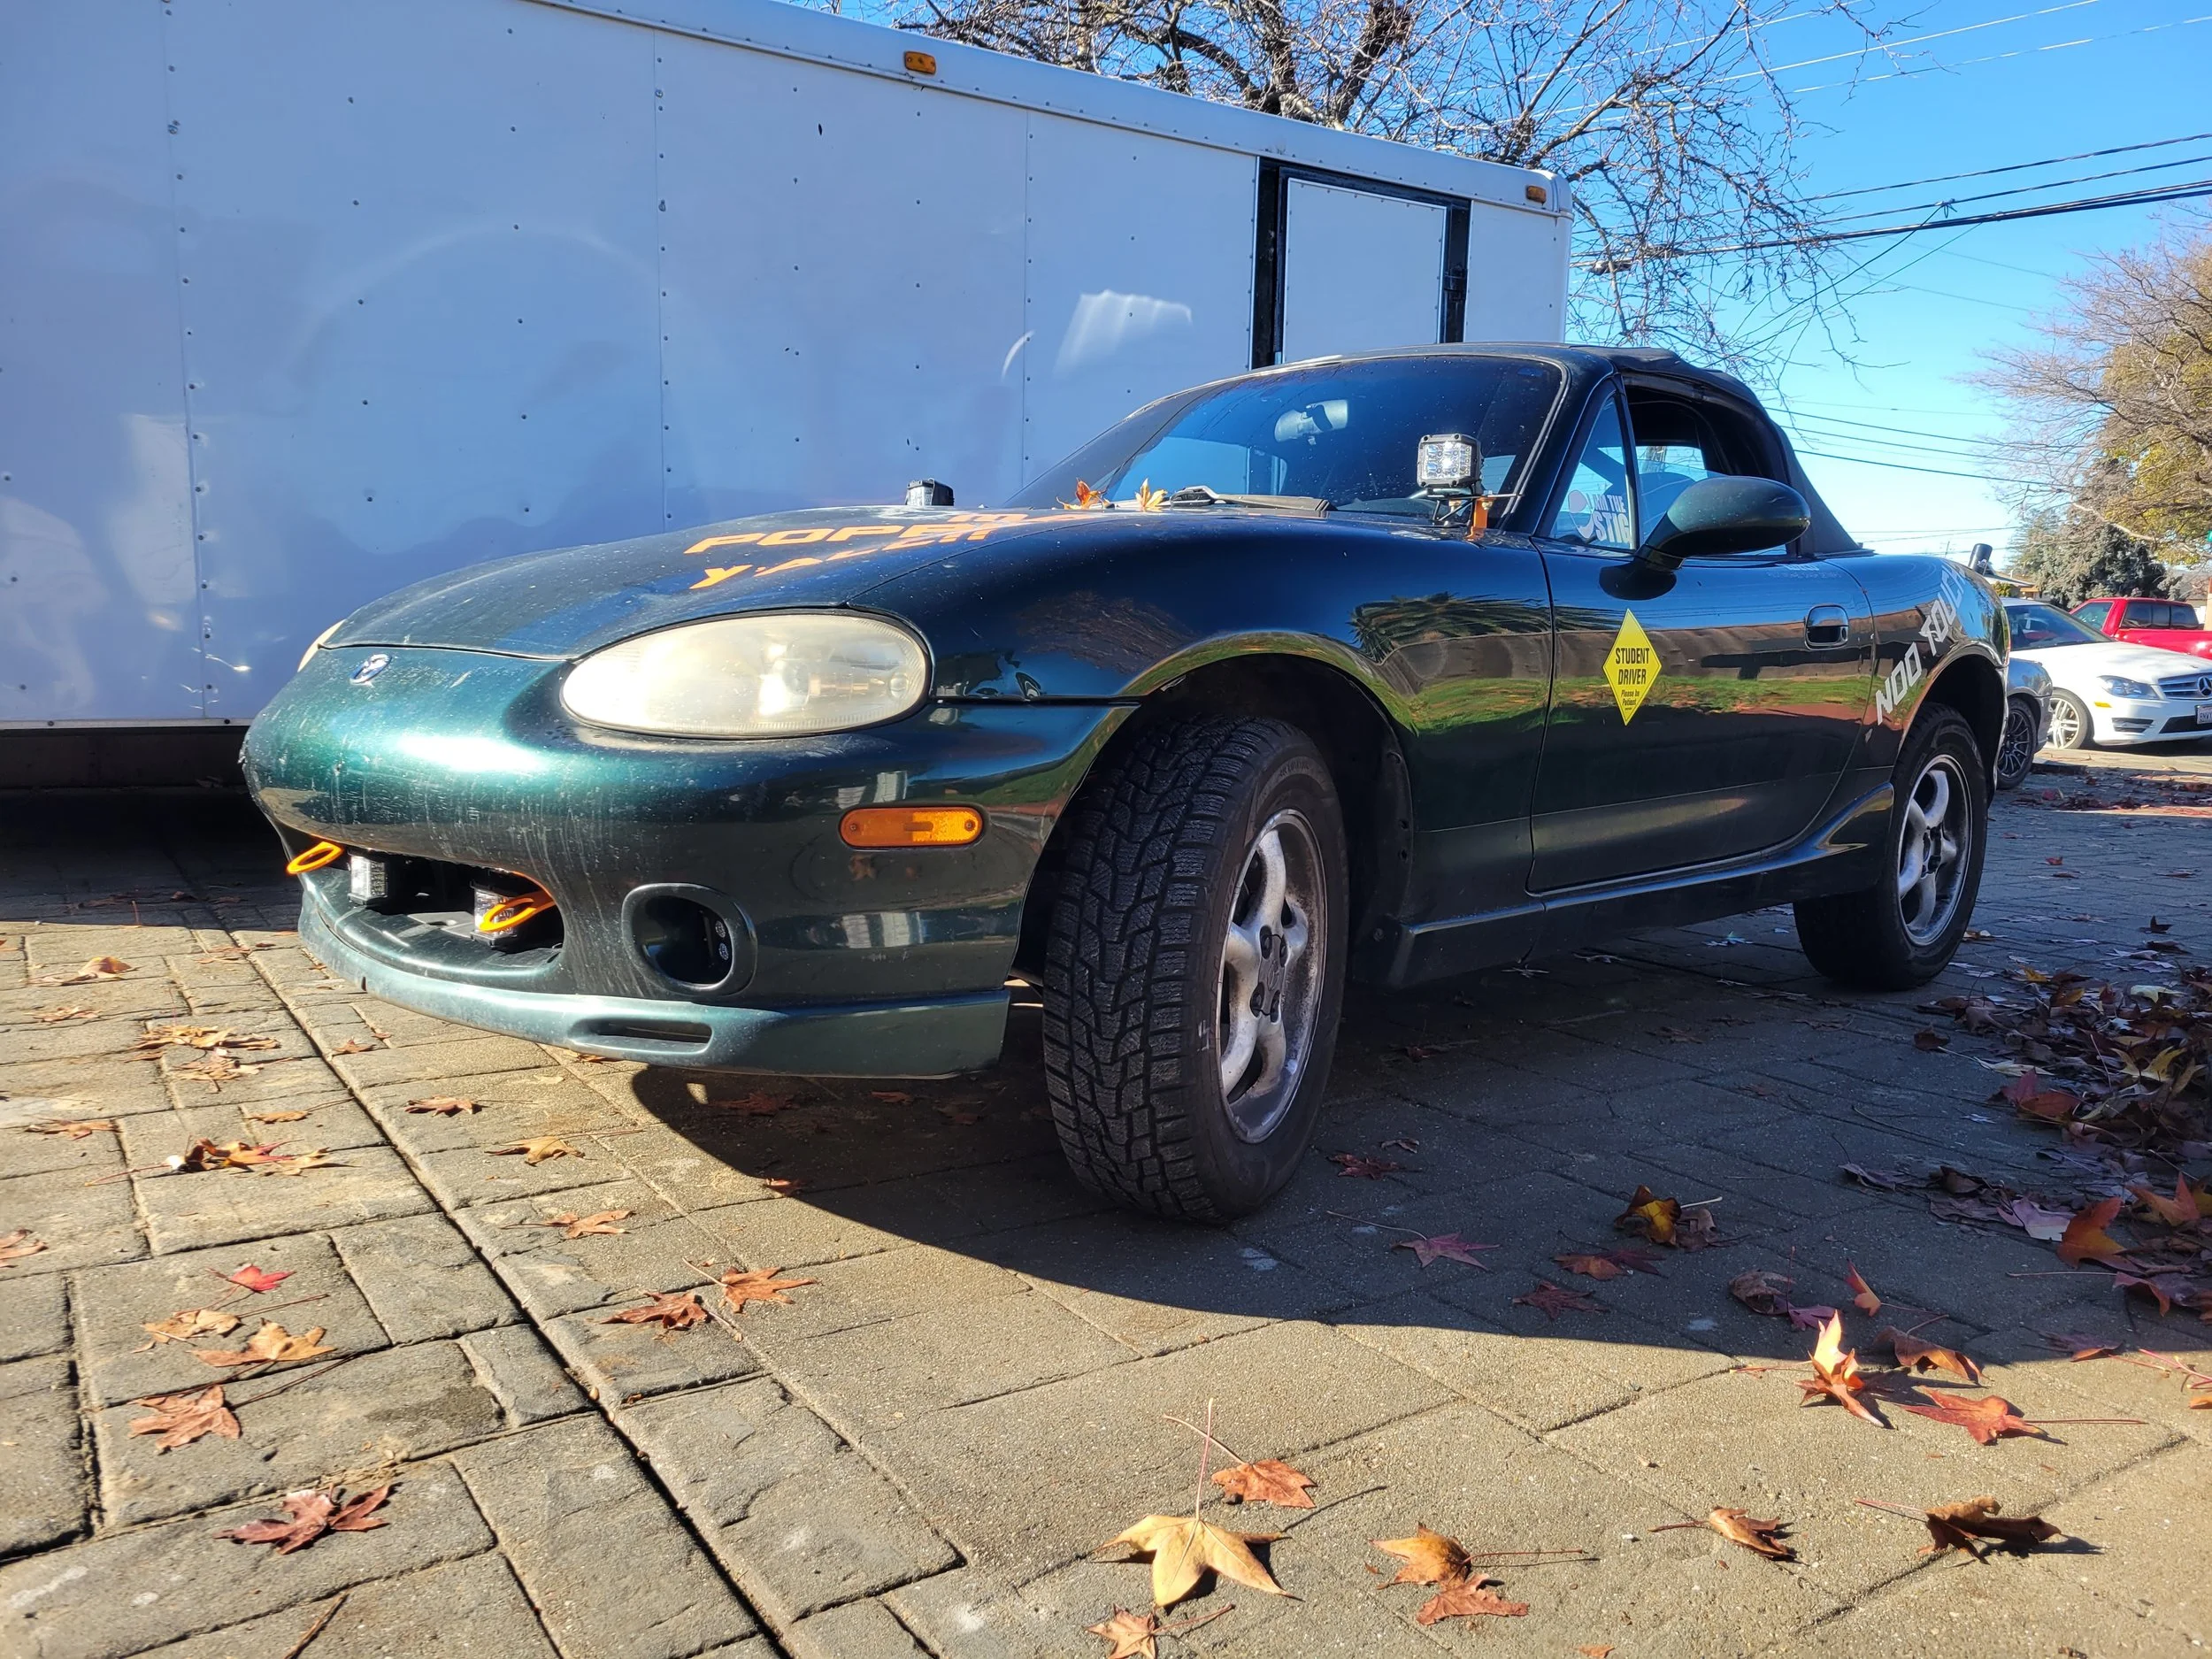
Finally had a bit of time between all the holidays to finish up the suspension reinstallation on my little green miata. Very much looking forward to driving it with a significant increase in wheel travel.
Press out old crusty bushings
This wasn’t too hard, but took an hour or two just because of setup time with my press. That and my press is manual, no clever air over hydraulic to speed things up. The biggest trick for this process was finding a collection of things to push them out. That turned out to be a few 3/8” extensions and a 14mm socket. This worked a treat!
Once they were apart I was able to see their current condition, actually better shape than expected for all the squeaking. Definitely starting to eat themselves, but probably would have survived Baja.
Oh well, this is well deserved maintenance.


Make things all shiny again
While I have the suspension off it really needs a new coat of paint for protection in the desert abuse. Ideally I would have re-powder coated them, but I just don’t have time and its not that big of an issue. This is in fact a little turd Miata. They will at least get primer coats and a semi gloss black engine enamel. Hopefully it holds up to a bit of abuse before flaking off.


Pressing in new bushings
Same as the removal, but in the opposite direction, these new SuperPro bushings are quite easy to get in even thought they do require a press unlike others. Their blue colors actually match the Hyperco springs that are part of the suspension kit.
No one likes a dry bush <- Greasing guidelines for installation
With help from Colleen we were able to get them all installed without losing any fingers, toes or eyes. At this point in the day I was a bit tired and knew the car required a bit of cutting to fit the suspension. I came back to the project the following day.


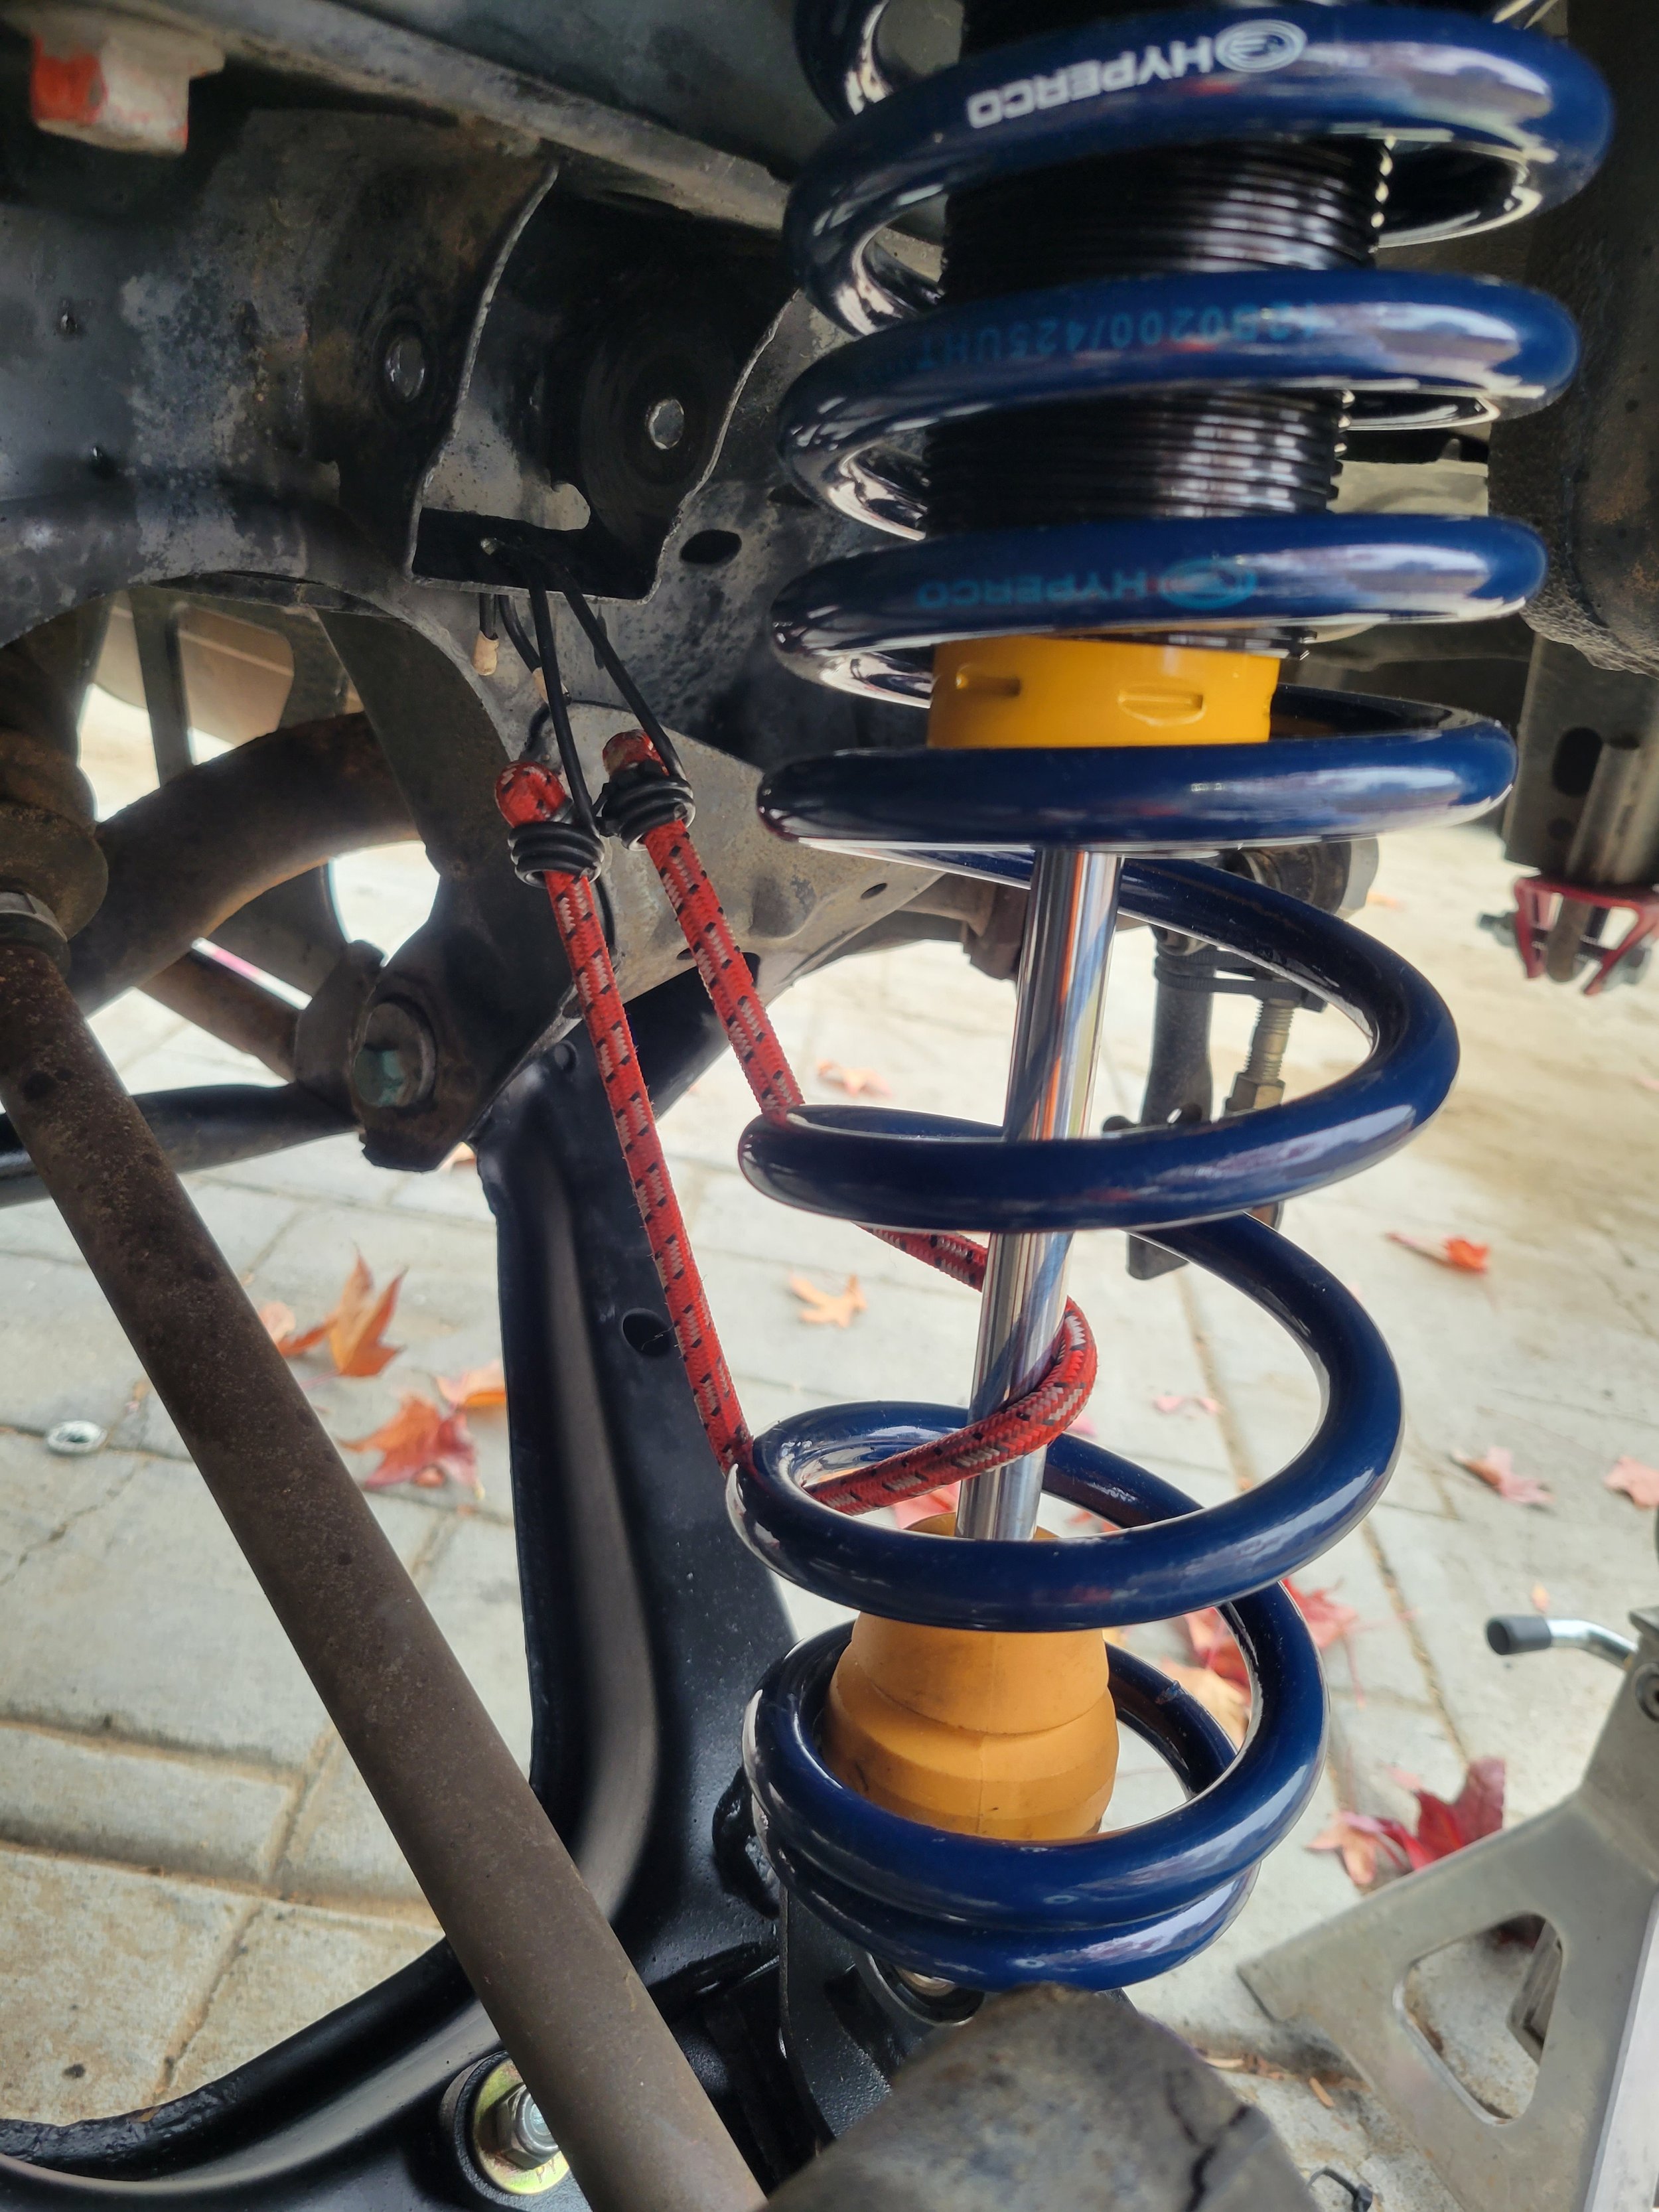
Look at this gorgeous new set of springy things. They are gonna be buttery smooth (I hope).
Hyperco dual rate springs (425/200 lb/in) - #12B0200/425UHT for front and rear
Koni Oval Track Shocks #30 7436
I requested the same springs/shocks for front and rear because I’ll be carrying extra rear load in Baja
Gorgeous custom parts from Paco Motosports, Miata Rallycross Coilovers
I also ordered the adjustable upper rear A-arms & extended front lower ball joints to try and get alignment back to correct. Maybe saving my CV axles a bit longer.
Soon I’ll get to test things out!

Installation Day
This turned out to be much more frustrating than I expected. Per instructions there are minor modifications required to fit the new upper suspension mount points. I preferred to remove as little metal as possible because every bit of steel less reduces strength for an important mount point. I was able to take care of the front adjustments with my Dremel and cut off discs, but the rear mounts are far too recessed to fit it in easily. At this point I resorted to buying new tools, I’ve been wanting a high speed reciprocating saw for some time and now was the time to buy it. The saw made perfect access and visibility for cutting clean edges, just took a while as the blades have tiny teeth and Miata steel was kinda thick. **I didn’t get any pictures of this process
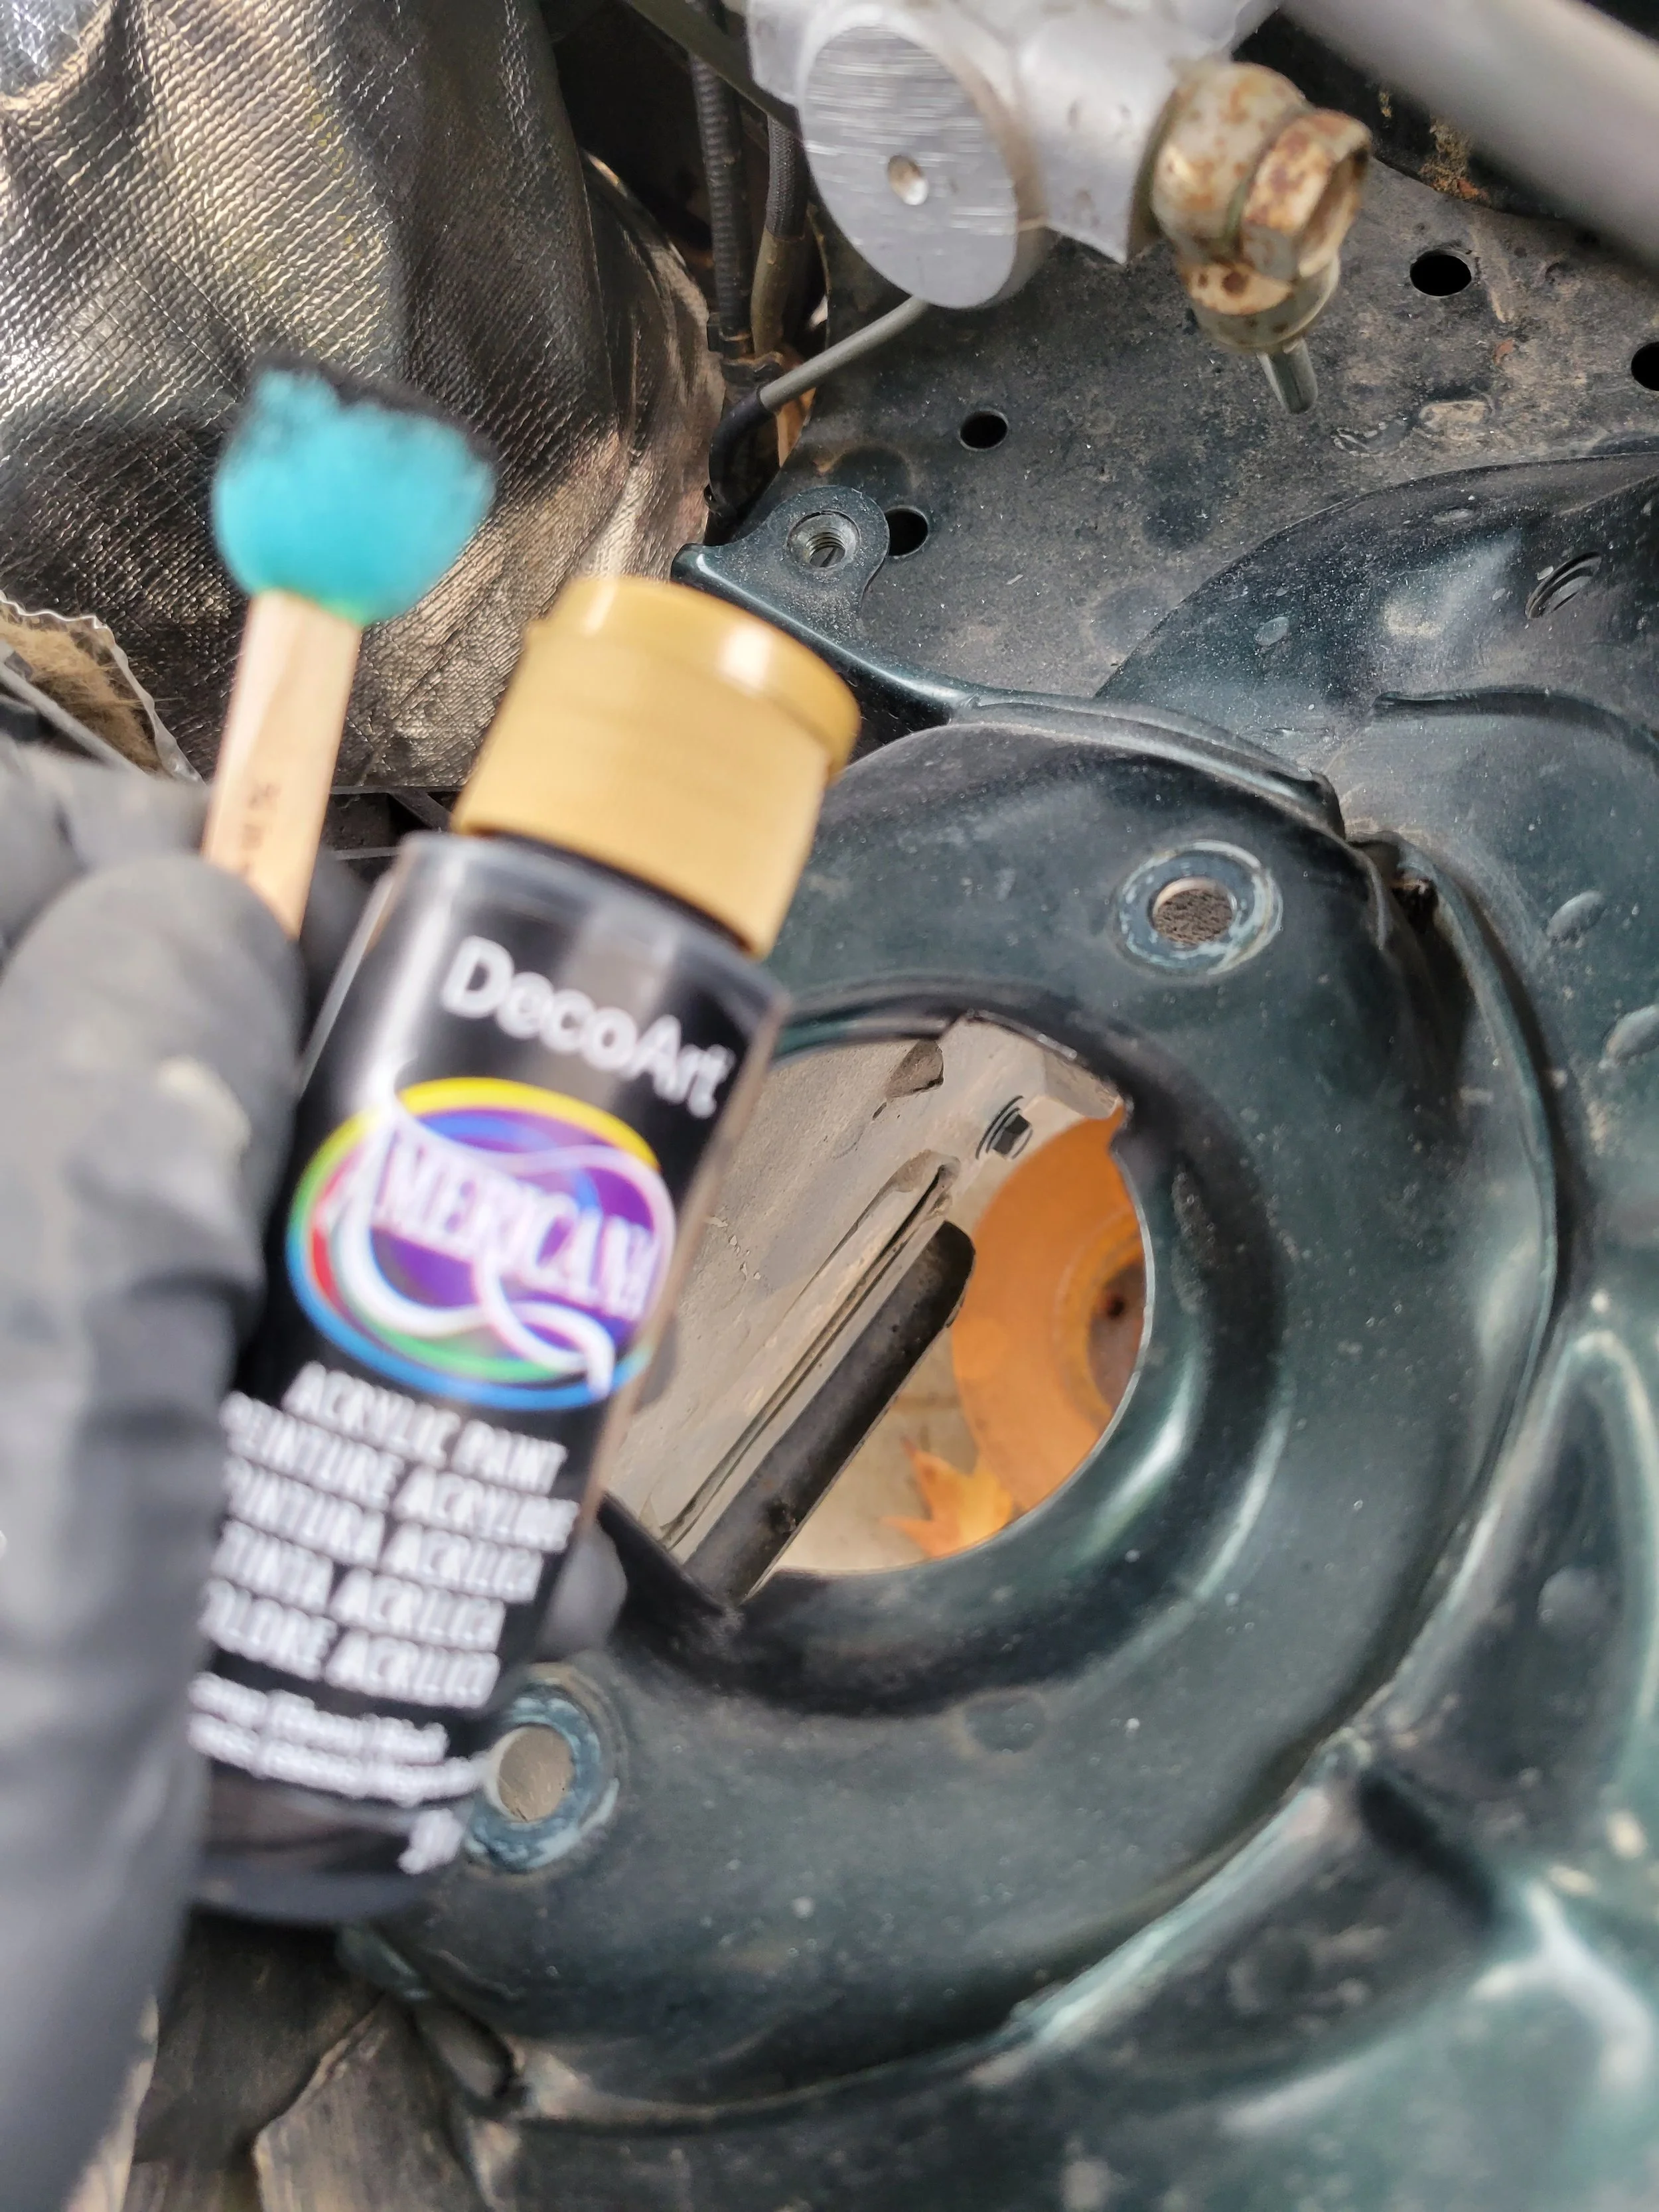
Once the modifications were complete I needed to protect that bare steel edge to try and stave off rust. A bit of acrylic paint applied via sponge brush did the trick. It will never see sunlight nor any real abrasion so the art store paint will be fine.
Final Mounting
Nothing too exciting about this process. Line up things and torque to spec.
One tip for the rear installation:
There is quite a bit to hang all at the same time, I opted to mount the shock as per instructions followed by using a small bungee cord to hold up the spring while I mounted the bottom bracket.
Tada!!


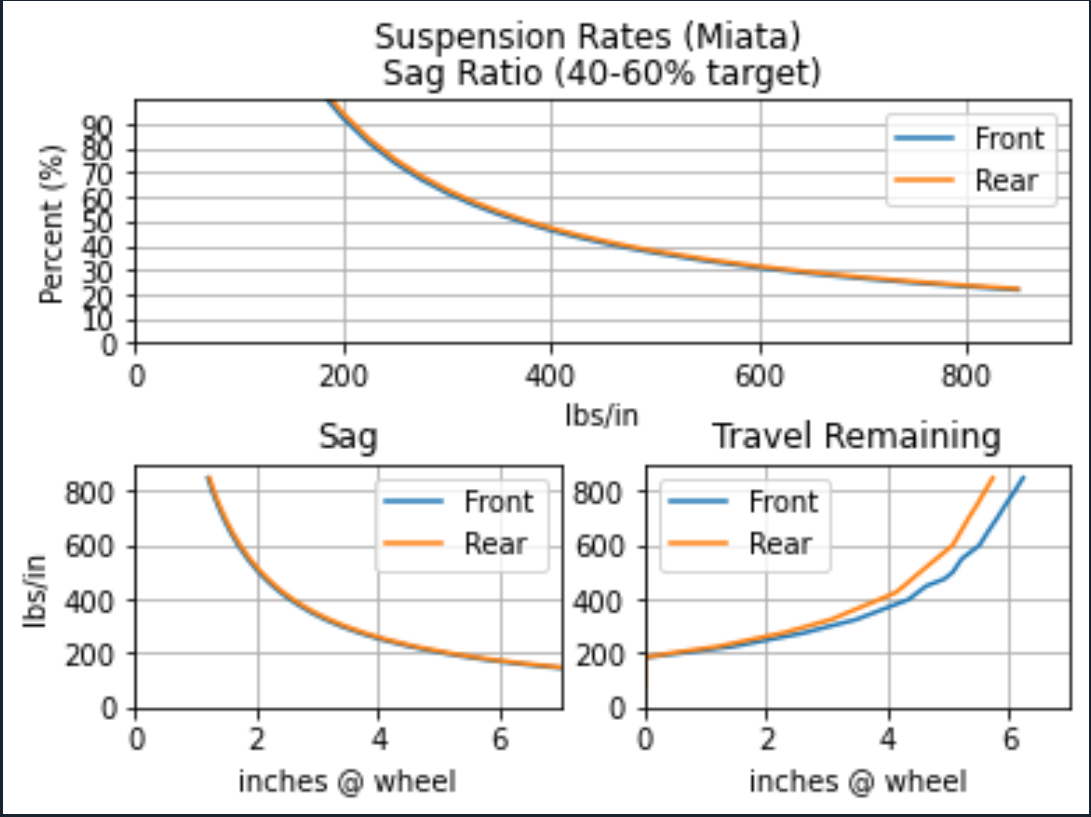
So it apparently lowers your stock Miata? This isn’t gonna work. I ended up adding a whole pile of preload on the fronts just to get it back to a reasonable height. It was enough preload that almost all the 200 lb/in spring travel was gone, leaving maybe 1/4”. Leading it to be considered pretty much useless. If the required preload takes up all the softer portion of a dual rate spring it means the shock/spring combination is not operating as designed and will only run on the higher spring rate. Instead of keeping the dual rate springs I ordered a new set of static ones, this would give me a larger range of compression on the same spring rate (actually a little softer).
After some maths via Python I landed on new springs with a front rate of 400 and rear 350. Both softer than the Paco setup and give me around 4” of travel at the wheel before bump stops and 3.5” of droop. This means I’ll eat up random rocks and pot holes without over extending or bottoming out the shocks. I calculated rates based on the anticipated Baja running weight, which is heavily rear biased.

Single Rate vs Dual Rate
As noted above I am going to run single rate springs instead of the dual rates. With my miata they just weren’t going to work out.
New springs:
Front - Hyperco 1812B0400
Rear - Hyperco 1812B0350
After I test a bit I may actually order a slightly softer set of springs, but at this time 350 and 400 were available and very close to target. I feel a 375 front and 325 rear would be ideal.
I’d recommend these types of rates even for a rally cross miata, although it can probably benefit from the dual rate springs for the rear.