Damn You Wires!
The final wiring saga continues for the 911. This evening I made significant progress with my wire tidying effort. Started from where I left last time with all the necessary lengthened wires and proceeded to meticulously make a home for each and then add its terminal. It is a slow tedious process which yields mostly clean wiring.
I’m always looking for a better organization of wires and this still doesn’t give me the professional look that I desire. I have full confidence in the wiring with respect to signals, grounds and connections. It just doesn’t quite have that naked presentable look yet. I’ll see what I can do with it, but at the end of the day they are all properly connected and tidy enough to troubleshoot if needed.
When landing each wiring group on the terminal block I chose to place the ‘source’ on the left for each terminal. This should help with understanding later about what provided the link to applicable source.
Biggest success for me what an engine start and idle without any issues and all signals appeared good. I’ll shake it down again later, but at least my methodical approach of moving wires didn’t disturb the setup, in theory….

Beginning
While it may appear to be chaos, I had a method to my madness.
Green tape (normally reserved for deletions from a harness) indicated the alpha or source for each bundle.
Blue tape on each bundle provided the details about that set of wires.
They all were ultimately zip tied in their respective set of wires to help me keep track of every wire without labeling them all again.
Most of the way there
Getting in a grove an making solid progress. It is a rinse and repeat process. Take bundle, remove alpha, add that ring terminal at appropriate length, apply heat shrink, repeat for all subsequent wires in the group.
At this stage it started to gain a shape and this is always the point when your crude vision for wires starts to take hold in reality. It is satisfying and drives you forward through the tedious task.

Loom it up!
I didn’t get a picture of the final result before pulling off each bundle to start applying looms, but I did a test fire of the system and it was successful.
This part is mildly tedious, but extremely satisfying for me. When I heat shrink on the wire sheathing it means I am done with that wire. No more touching it.
For these wires it was a bit annoying as I decided to add sheath and heat shrink after putting on terminations. In this case of moving wires it was a safer approach to prevent miss-wiring.

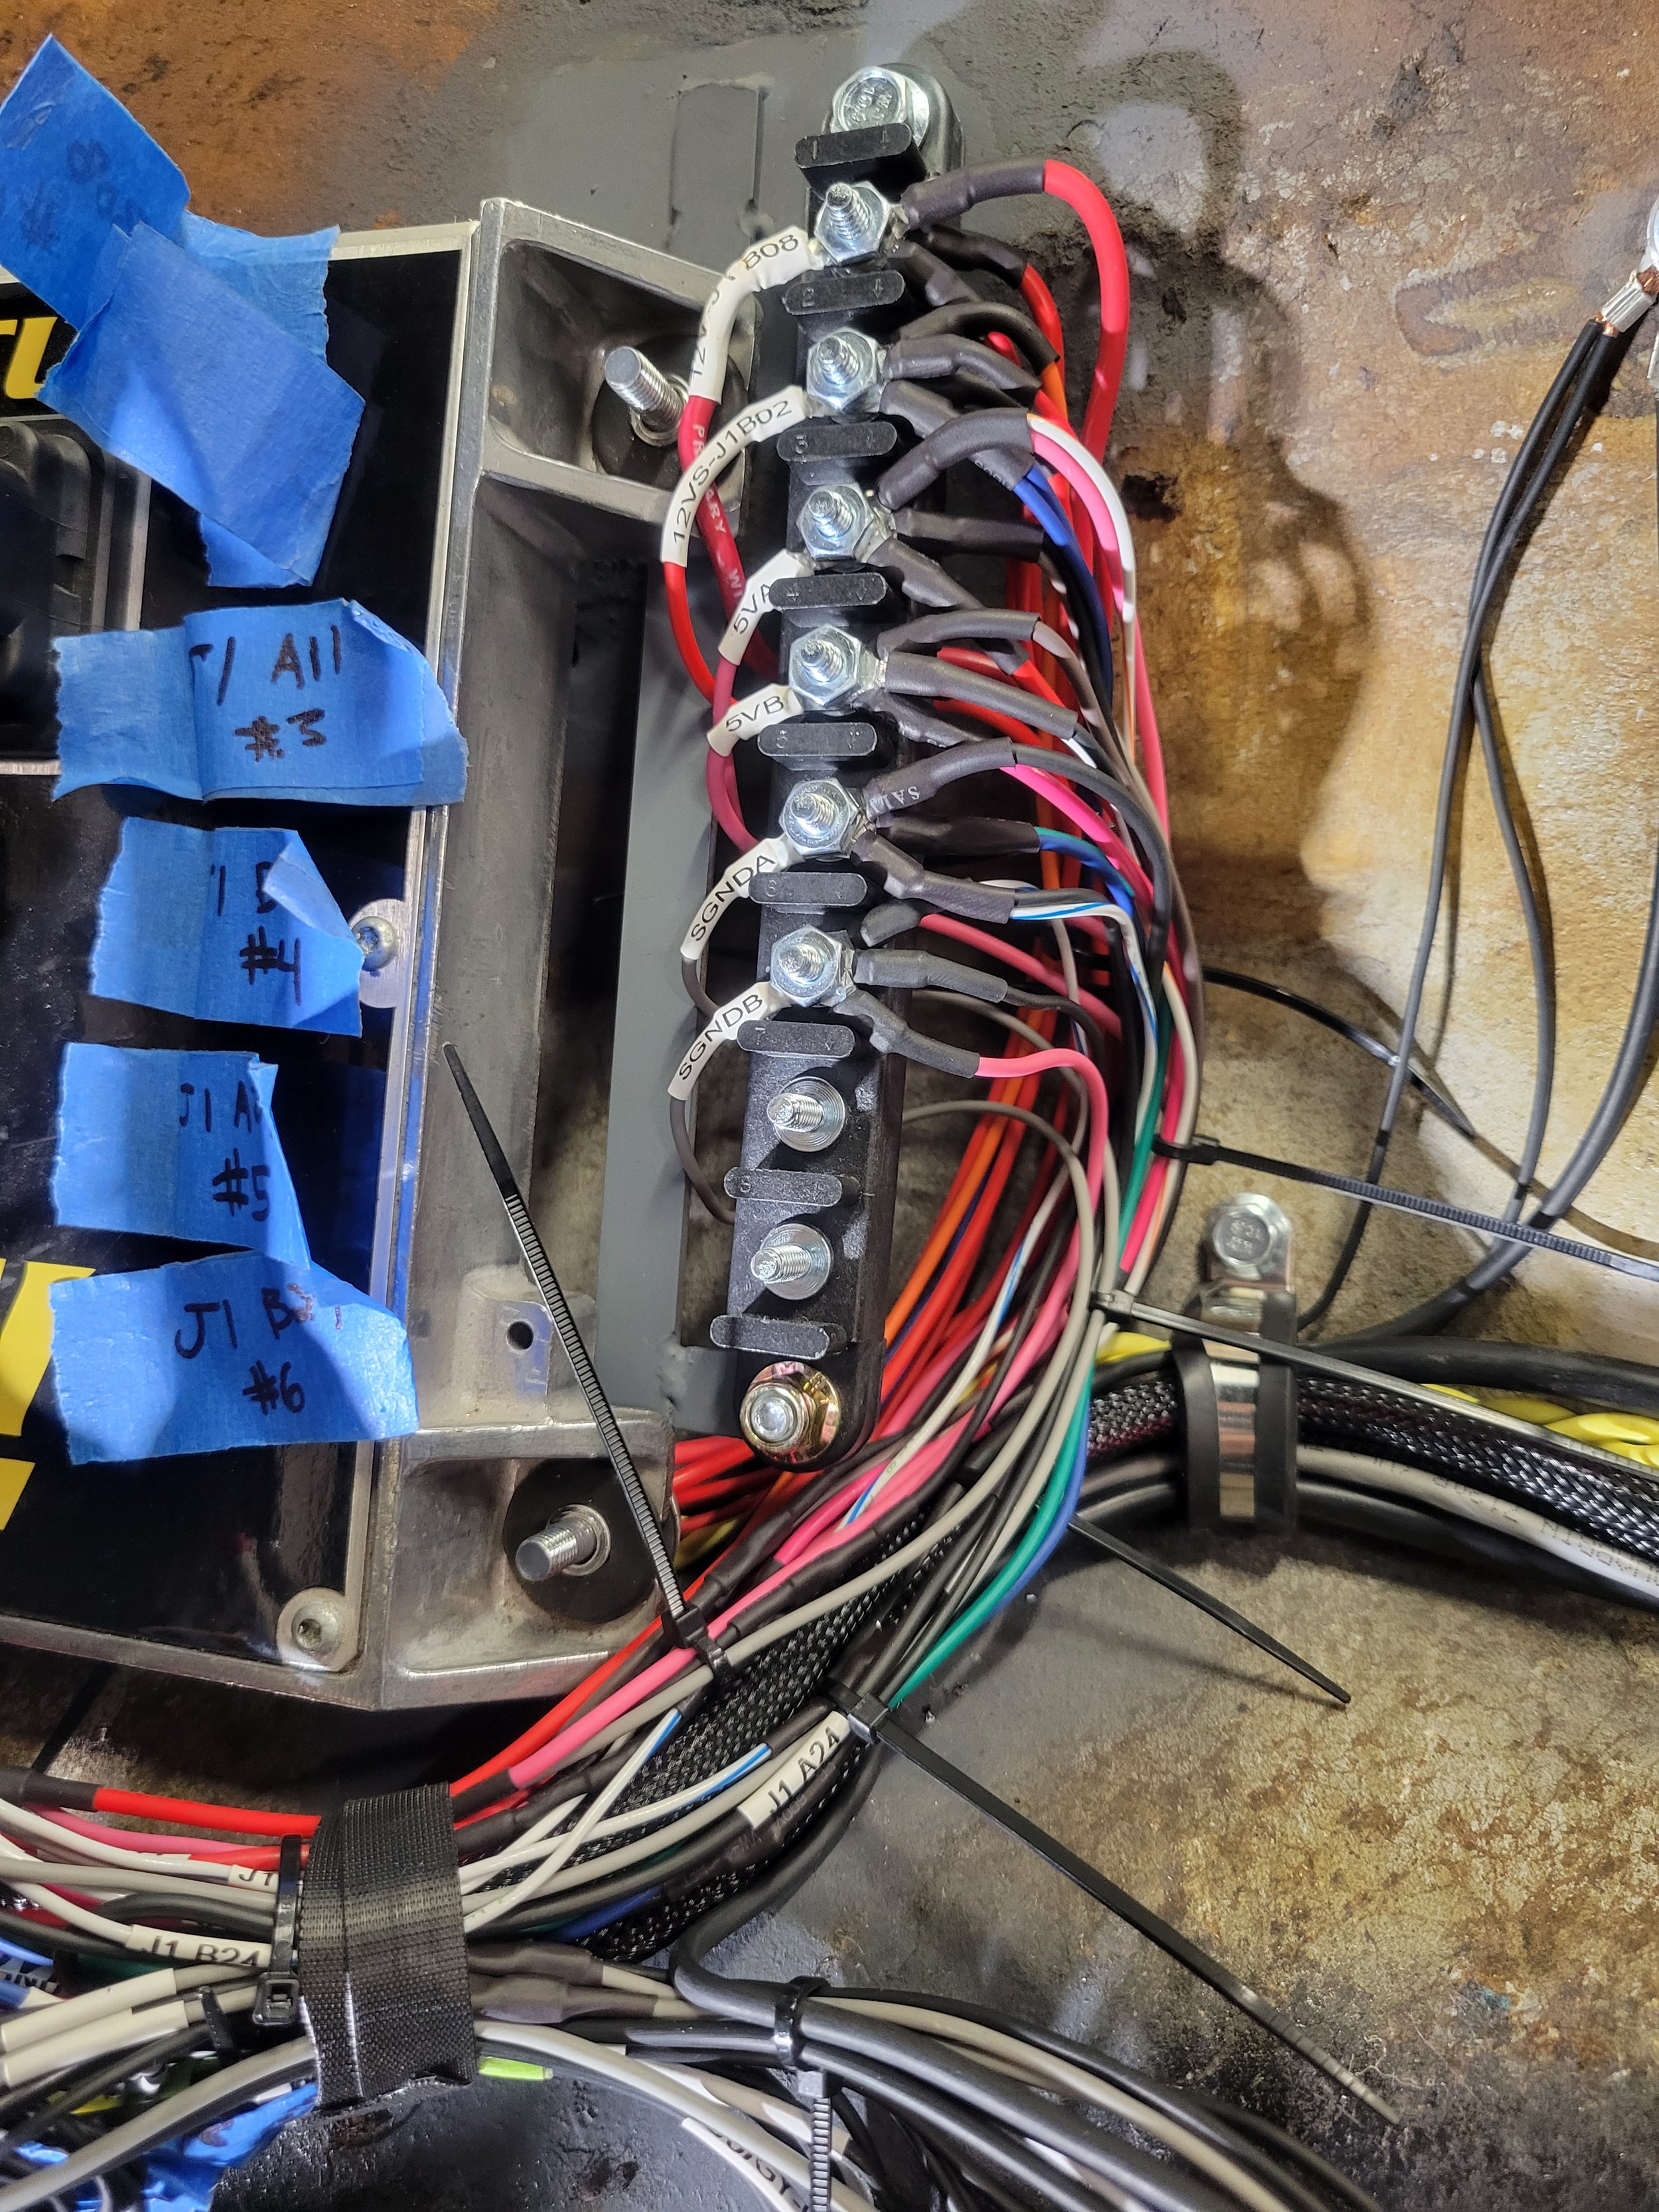
Above is the final result for this evening. I’ll use electrical tape to cover over the exposed wires in the middle and plan to coordinate with the interior guy on ways to hide a few of these wiring crimes.
Overall I am quite happy with the results, this was a fully custom engine wiring harness on an engine management computer that I had never worked with prior to this project. The list of extra sensors is quite long and will be documented in the build diary. The car runs solid and has been dyno tuned with zero issues beyond a handful of ECU setting items. It is a success when you take a car that you picked up and wired from nothing to the tuner and the only issue is ECU settings.
Looking forward to a test drive with this beast (~2500 lbs, ~400hp).
Until next time….